Showing posts with label mosaic madness. Show all posts

Wednesday, December 18, 2013

Mosaic Madness Class III

Hi Stampers! 

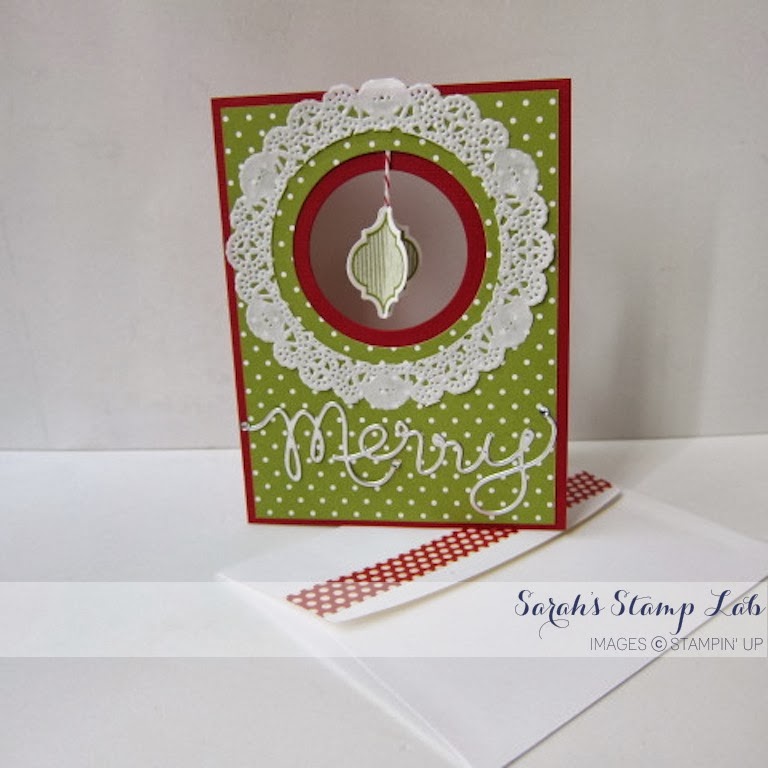
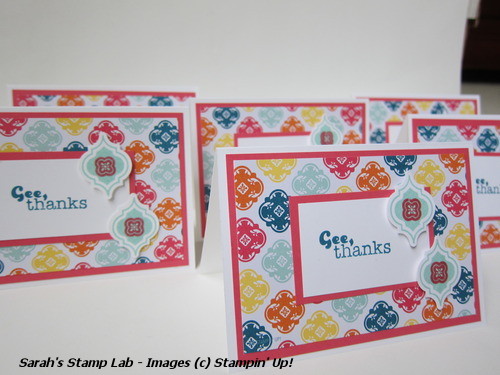
Today I'm back with another Christmas card using the Mosaic Madness stamp set.  If you want to see another Christmas card made using this set click on this link to check it out:


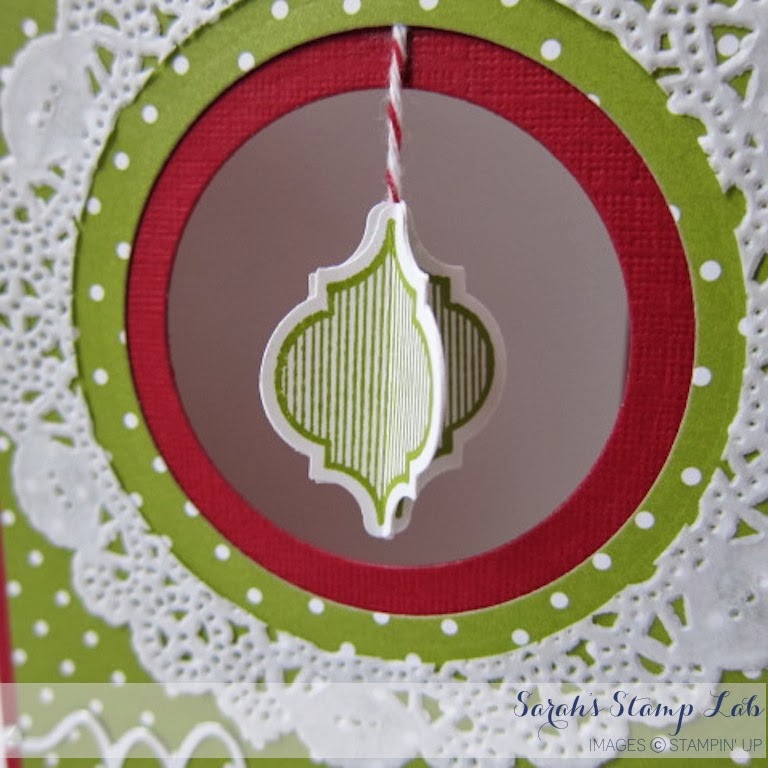
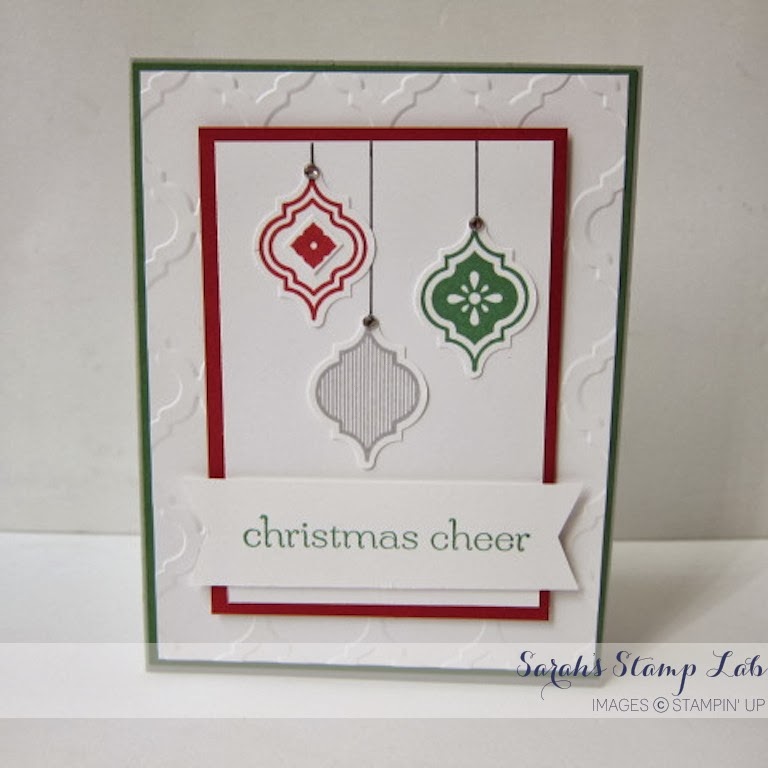
Today's card was cased from a fellow demo on the My Home Grown Art blog.  I changed it up a little because I wanted to add in more of the green.  I love green - can't get enough of it!


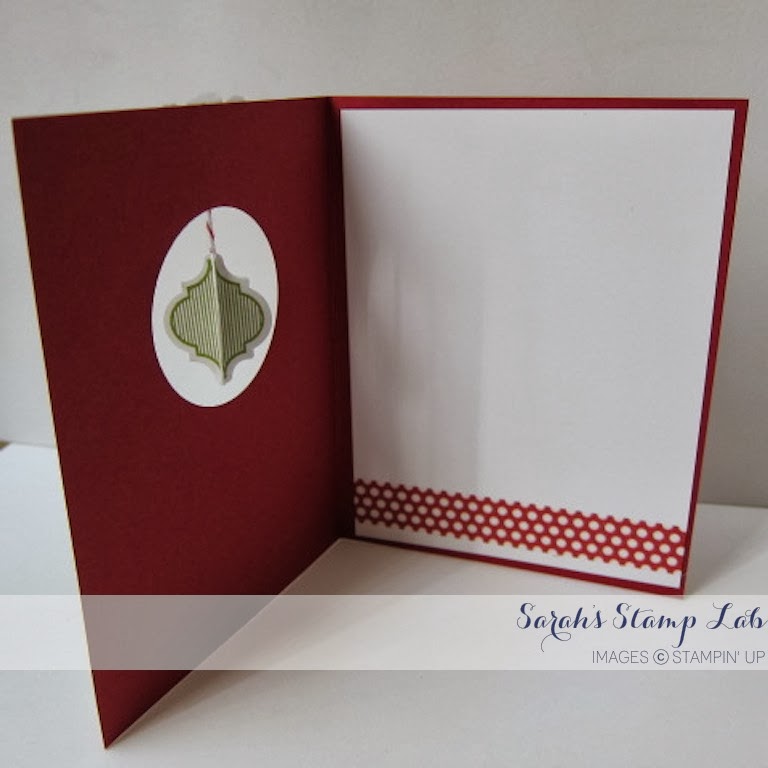
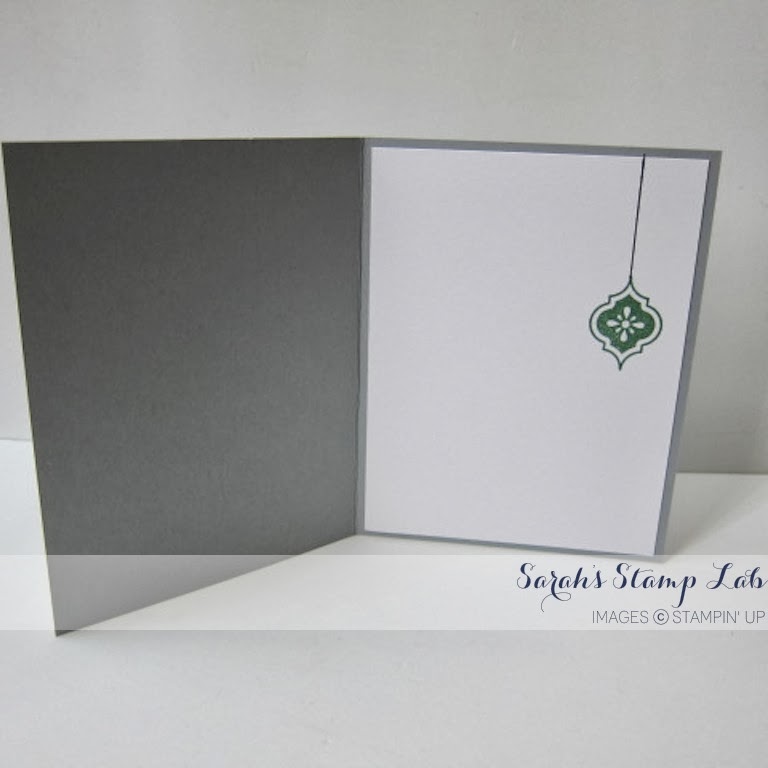
I added a piece of Whisper White to the card interior and then added another mosaic ornament!


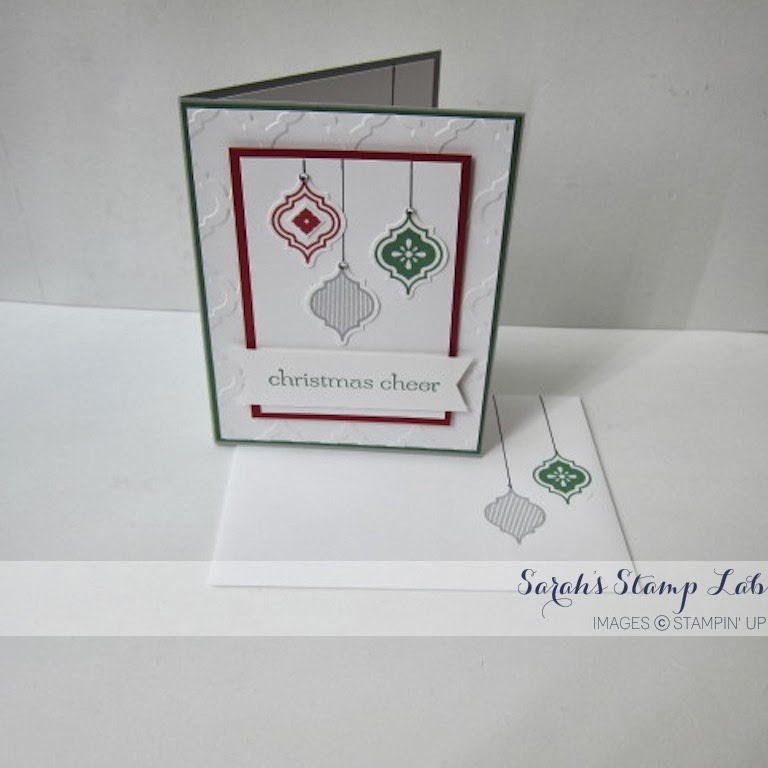
I also had to add some ornaments to the envelope as well.  I love to have everything be coordinated!


Stampin' Supplies:
Card Stock: Smoky Slate, Garden Green Cherry Cobbler, Whisper White
Stamps: Sweet Essentials, Mosaic Madness
Ink: Smoky Slate, Garden Green, Cherry Cobbler, Basic Black Stampin' Write Marker
Big Shot: Modern Mosaic Embossing Folder
Punches: Mosaic
Embellishments and tools: Basic Rhinestones, ruler or straight edge

Monday, December 16, 2013

Mosaic Madness Class I

Hi Stampers!

How many of your love the Mosaic Madness stamp set?  I know I do.  It's so versatile!  Today and on Wed. I'm going to show you how you can use that set to create beautiful Christmas cards.  These are just some of the cards that my customers made at my Mosaic Madness class.  It was so much fun!

For this card, I used the Mosaic stamp and punch to create a dangling ornament.  To create this ornament, I stamped the image 4 times on Whisper White card stock.  Then using the coordinating punch, I punched out all four images.  You next want to fold each punched piece in half.  Glue them together, but don's forget to glue the Baker's Twine down the center of the shape before finishing.  Voila - a 3D ornament for your card.


To create the window, I used the Circles Collection of framelits.  It was easy to make a window and then reverse mat it with the framelits.  If you use the Magnetic Platform (Item # 130658; $39.95) for your Big Shot, you can line up the framelits easily!


I used the Season of Style Designer Washi Tape to decorate the interior of the card and make a coordinating envelope.  Washi tape is super easy to use and it looks great!


Stampin' Supplies:
Card Stock: Whisper White, Cherry Cobbler Textured, Silver Foil
Designer Series Paper: Brights Stack
Stamps: Mosaic Madness
Ink: Old Olive
Punches: Mosaic
Big Shot: Circles Collection Framelits, Expressions Thinlits
Embellishments: Basic Rhinestones, Tea Lace Doilies, Cherry Cobbler Bakers Twine, Season of Style Designer Washi Tape


Monday, July 8, 2013

Quatrefancy Thank You

Hi Stampers!
I'm back!  Things are calming down for me now and I can finally get back to stamping and blogging!  YAY!

Today I'm going to share a project that I made around the time of the new annual catalog release.  I have several customers who are not local and I have to mail out their catalogs to them.  I thought a fun little thank you card would be a great surprise to add to the envie containing their catalog.  

I used the notecards and envelopes found in the annual catalog.  I love these cards.  They are great for making my thank your.  They are slightly smaller than an A2 card - 5" x 3-1/2".  You get 20 in a pack + envelopes.  This is a great option when you need to mass produce a card and you do not mind the card base being in Whisper White.  I always make sure to add lots of color to brighten them up!  


Here's a peek at the whole pile I made!  The Quatrefancy Designer Series Paper is so bright and cheery!  


Stampin' Supplies:
Cardstock: Whisper White, Strawberry Slush, Whisper White Notecards
Designer Series Paper: Quatrefancy
Ink: Pool Party, Strawberry Slush, Island Indigo
Stamps: Mosaic Madness, Really Good Greetings
Punches: Mosaic