I'm almost home! Can't wait to tell everyone all about my trip! :-)
I still have one final potential swap card to share with you. This one was a little more involved, and with my limited free time, that's the reason I didn't reproduce it! It's still super cute, and you wouldn't believe how easy it is to make such a fancy shaped card!
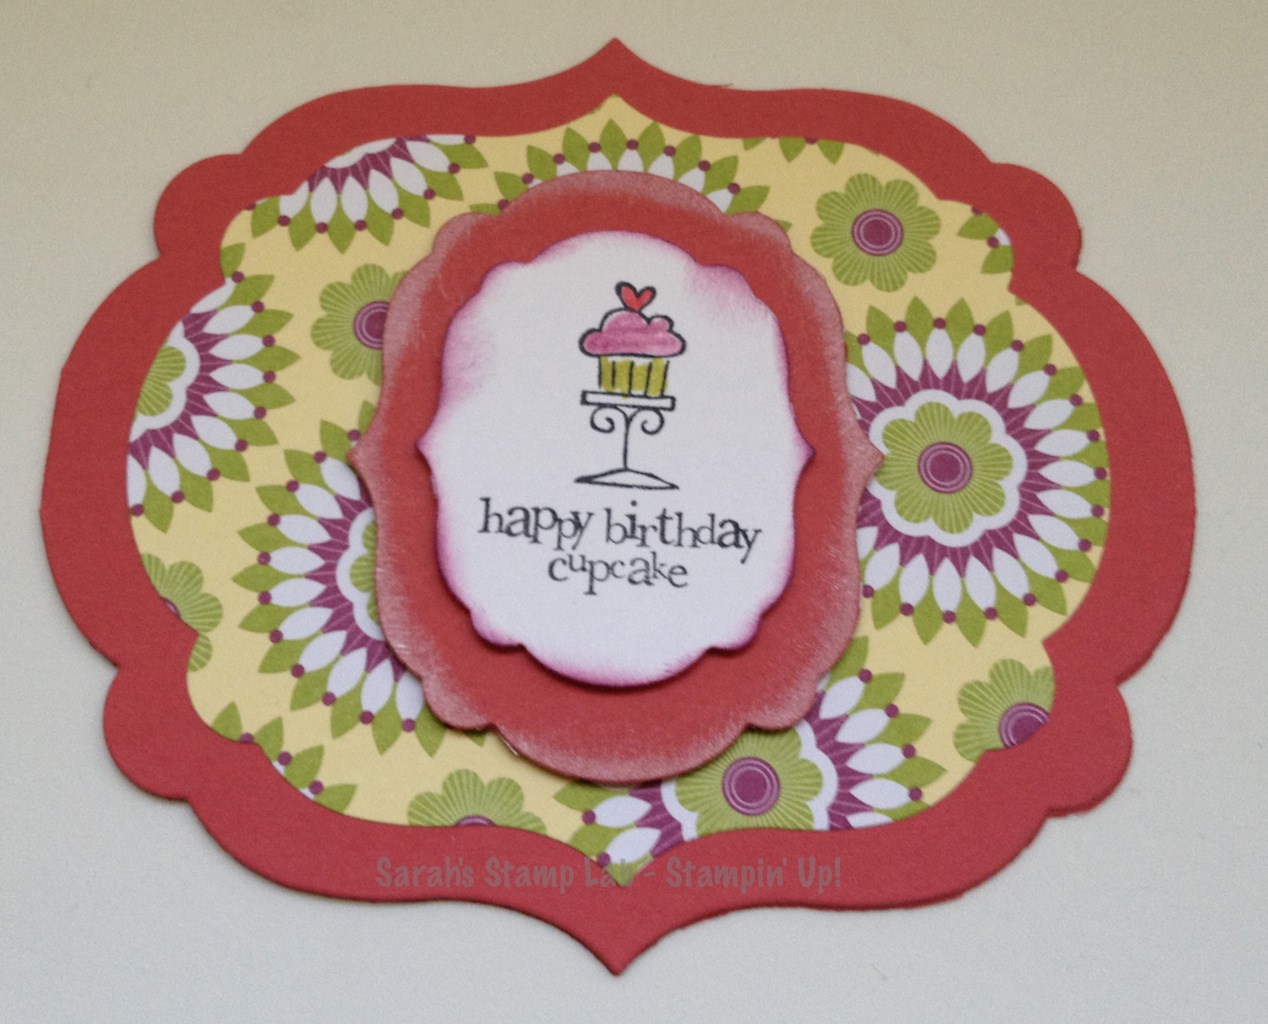
If you want to make a card shaped like one of your framelits, it's really easy. Cut a half sheet of card stock, as if you were making a regular old A2 size card, score it down the middle, and fold it over. Then line up your framelit over the folded card. Make sure that the crease is just within the cutting area of the framelit. Cut the card on the Big Shot as you normally would. The frame lit will cut through two layers.
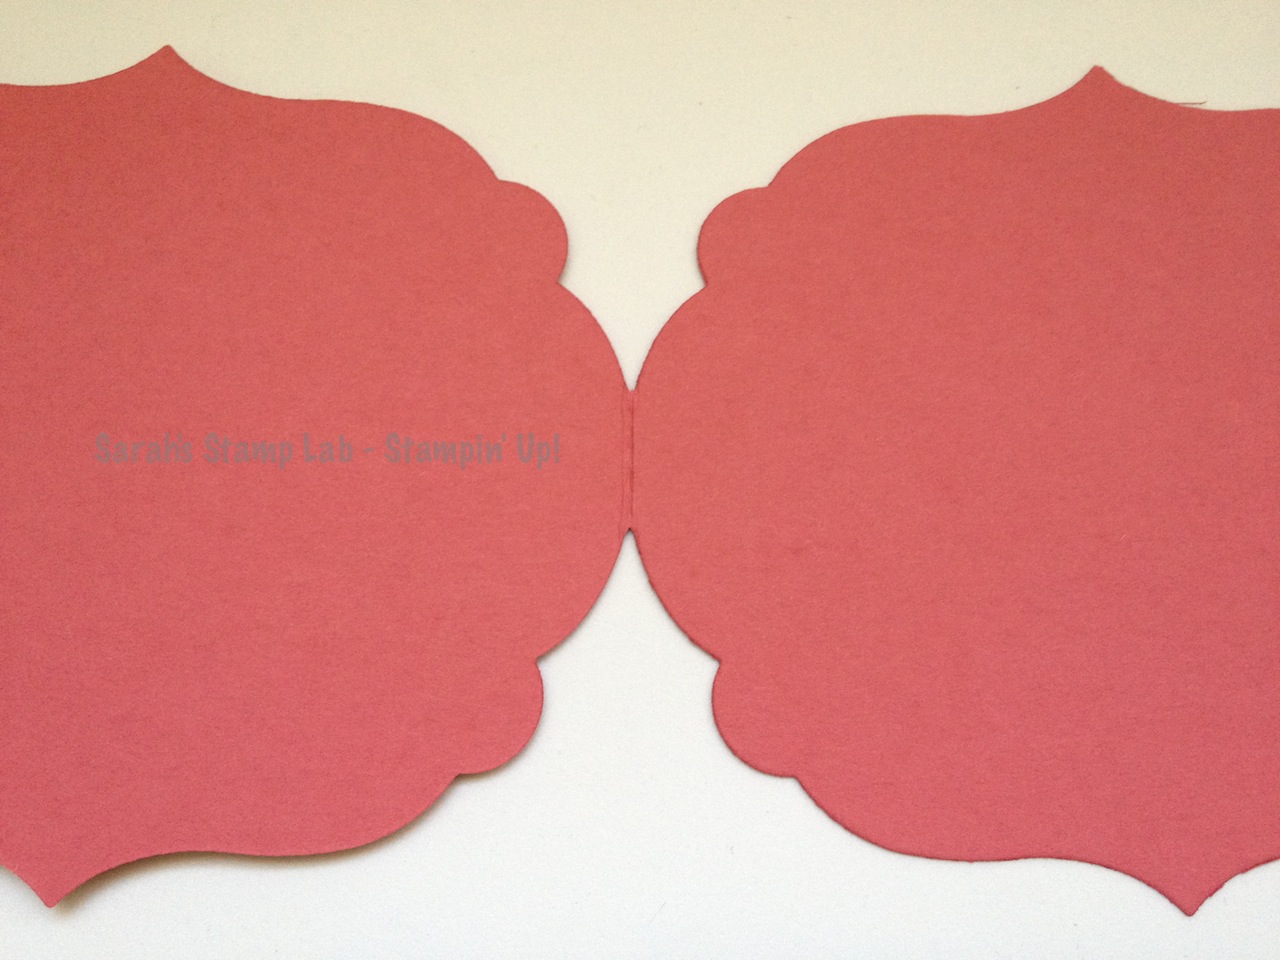
You can see that there is a very small amount of the crease that is not cut off. I hope you get a chance to try this out. I would LOVE to see what you have made!
Card Stock: Primrose Petals, Whisper White
Designer Series Paper: Floral District
Stamps: Best of Birthdays
Ink: Jet Black StazOn, Lucky Limeade, Rich Razzleberry, Primrose Petals Stampin' Write Markers, Illuminate Stamp Pad
Big Shot: Labels Collection Framelits
Other: Sponge Daubers
Remember, I am currently unavailable to take orders by phone or email. If you would like to place an order, please place one online at: