Showing posts with label masculine. Show all posts

Saturday, July 5, 2014

Wonderful Words Challenge

Hi Stampers!

I'm a fan of reading the Moxie Fab World blog.  I have gotten a lot inspiration from their posts for my cards and scrapbook layouts.  They recently posted a challenge to use word dies in a project - the Wonderful Words Challenge.  Word dies are a hot new trend in the papercrafting world and I could not resist making a card for this challenge.

I decided to combine the word die with a new technique I am working on which is using more watercoloring in my projects.

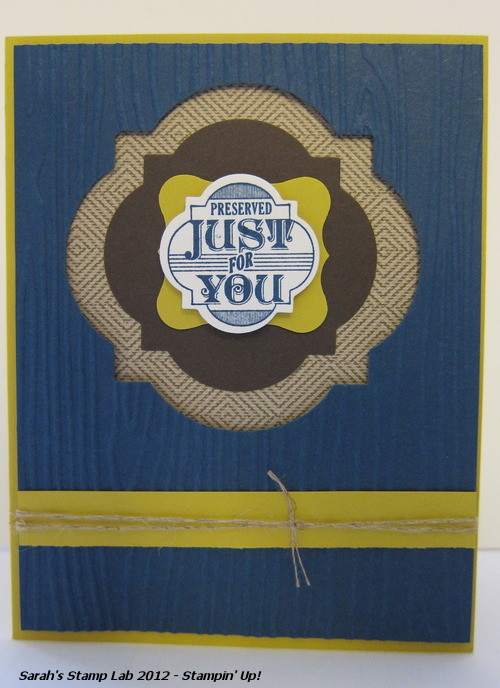
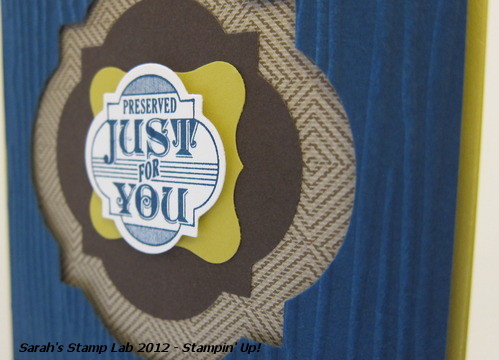
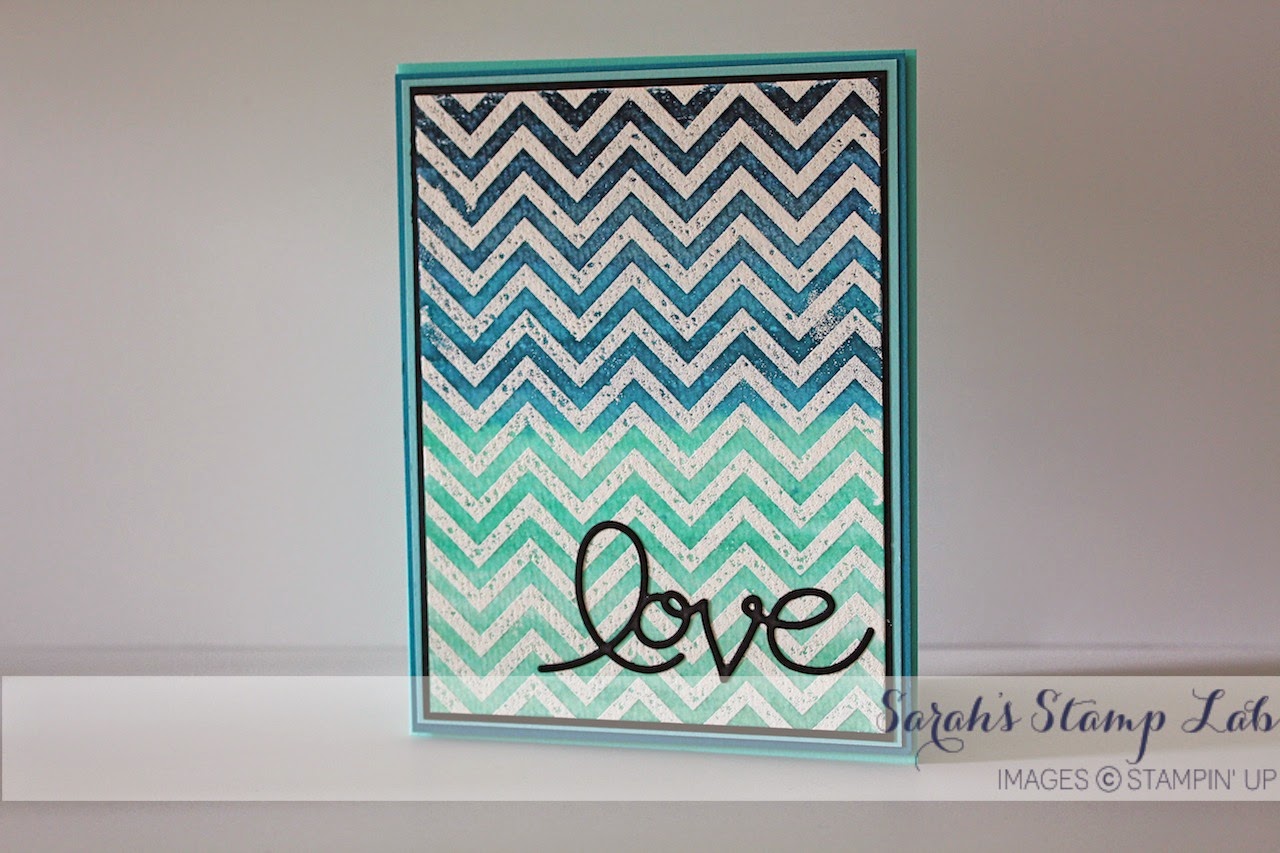
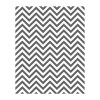
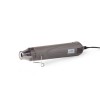
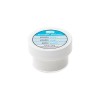
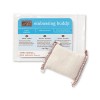
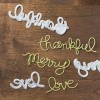
To create this card front, first I used the Positively Chevron stamp to heat emboss the image on a sheet of watercolor paper.  I used white embossing powder to really make the image stand out.   Then I used ink refills and my aqua painter to create the ombre effect.  I pull out a piece of wax paper, and I add one drop of each ink refill I'm going to use to the paper to create a little pallet.  Using the Aquapainter, I pick up a little bit of the lightest color (Pool Party) and then just wash it over one end of the design.  Then I go to the next darkest color (Coastal Cabana) and repeat the process, overlapping the washes to get a blended look.  Then I did a wash of Island Indigo and finally a wash of Midnight Muse.  I really saturated the paper so I used my Heat Tool on setting 1 to dry it.  Then I used Tombow liquid glue to adhere the watercolor paper down to the first mat (Basic Black).  I did this just to make sure I had a secure bond between the papers in case the watercolor paper started to warp from being wet.  The rest of the card was assembled with Snail adhesive.  I used the Expression Thinlits to cut out the word "love" to add to the lower right corner.  When adhering these very thin words, I pull out my waxed paper again, make a drop of Tombow liquid glue and then I use a toothpick to put glue on the back of the word.  I have found this to be the least messy process!

My hubby loved getting this card for our anniversary!  It was masculine but the script word added just enough "softness" for  an anniversary card.

I hope this inspires you to try using word dies and watercoloring!  Any questions?  Just leave them in the comments below!

Stampin' Supplies:


Sunday, November 25, 2012

Friendship Preserves Day 5

Hi Stampers!

Today I have a masculine card for you! Yaaaaay!!!!  I think masculine cards are the one project type that everyone is always asking about.  Today's card also has some small components on it....a great way to use up some scraps!


Framelits are just so great!  Not only can you use them to cut out the shape it's designed for, but the negative of the cut out is a great design element as well!


Stampin' Supplies:
Cardstock: Summer Starfruit, Midnight Muse, Early Espresso, Whisper White
DSP: Comfort Cafe
Ink: Midnight Muse
Stamps: Friendship Preserves
Big Shot: Window Frames Framelits, Woodgrain Embossing Folder (love this item!!!)
Other: Curly Label Punch, Linen Thread (Often overlooked in the catalog, but it is a "manly" ribbon!)

Have a great Stampin' Day!  Don't forget about the Online Extravaganza, going on until November 28th!

Wednesday, September 12, 2012

Button Buddies Day 4

Hi Stampers!

Welcome to the final day of my Button Buddies class samples.  Today's card is sooo cute!  I made this card with more masculine colors but you can easily change it up to be more feminine or brightly colored for kids! I love how you can bend the Bitty Banners to give a little more dimension to your card.

Stampin' Supplies:

·       5 ½” x 8 1/2” Marina Mist Cardstock
·       2 ½” x 3 3/4” Tangerine Tango Cardstock
·       2 ¼” x 3 ½” and 1” x 3” Whisper White Cardstock
·       1” x 4” Old Olive Cardstock
·       1” x 1 ½” Midnight Muse Cardstock
·       Pretty in Pink and Tangerine Tango Stamp Pads
·       Basic Black Stampin’ Write marker
·       Old Olive Designer Button
·       Piggy stamp from Button Buddies
·       Happy Birthday stamp from Itty Bitty Banners
·       Scallop Edge Border Punch
·       Bitty Banners Framelits
·       2 1/8” Mini Brads
·       Adhesive, Glue Dots, Dimensionals, paper piercing tool, and Scissors
·       Whisper White A2 envelope

To see the other samples from this class, click the links below:

Sneak Peek time!!!

This Sunday I am hosting my first in a series of monthly Christmas card classes!  This month the focus is on the Chock-Full of Cheer stamp set.  I have loved this set since I first saw it released in the 2012-2013 Idea Book and Catalog.  Check out page 40 of the catalog for the entire product suite!


FREE STUFF ALERT!!!


Check out my promotions page to find out how you can get a free spool of the beautiful new 3/8" Stitched Satin In Color ribbon.  This deal is not to be missed!!!!