
Hi Stampers!
Hope you all had a great weekend! Are you excited for daylight savings time? I love it! I finally get to see the light of day!!! Yay!
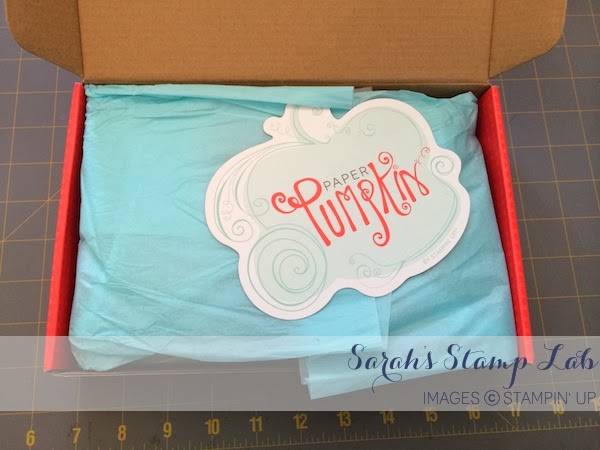
Today I have a tour of the February My Paper Pumpkin kit. My Paper Pumpkin is the monthly paper crafting kit from Stampin' Up! It's so much fun to get a little surprise crafting kit in the mail every month.
As usual, I open the kit to find a little thank you note from Stampin' Up!
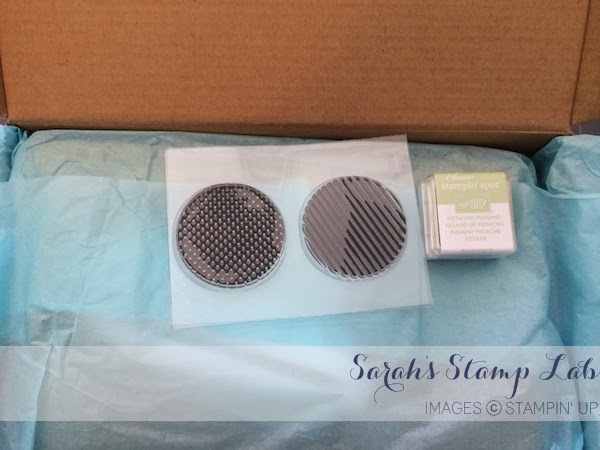
This month we received photopolymer stamps! Yay! I love the photopolymer stamps so much because they are clear! That means you can see where you stamp. That means perfect stamp placement - and that means that all of your friends will be super impressed with your beautifully stamped projects.
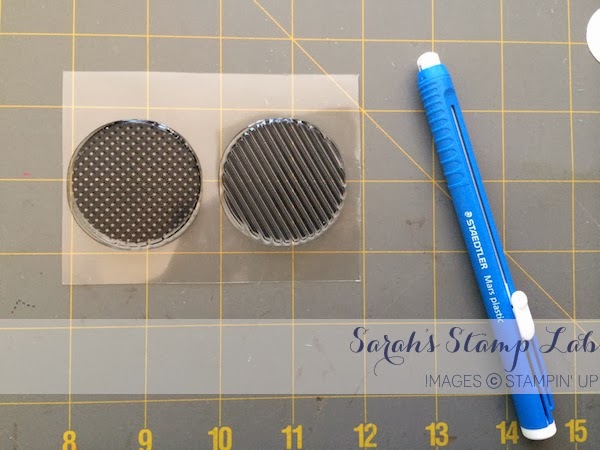
There are two stamps, a polka dot circle and a striped circle. This month's Stampin' Spot is Pistachio Pudding - one of my favorite new In Colors.
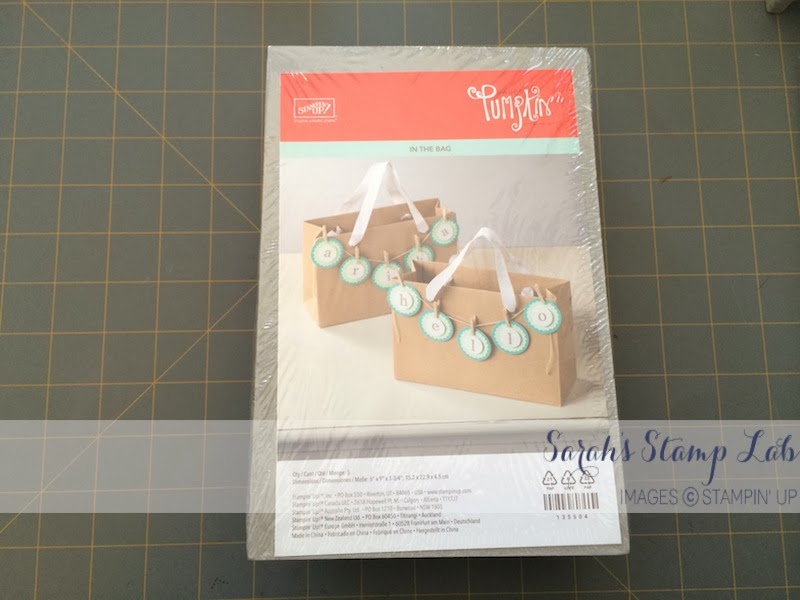
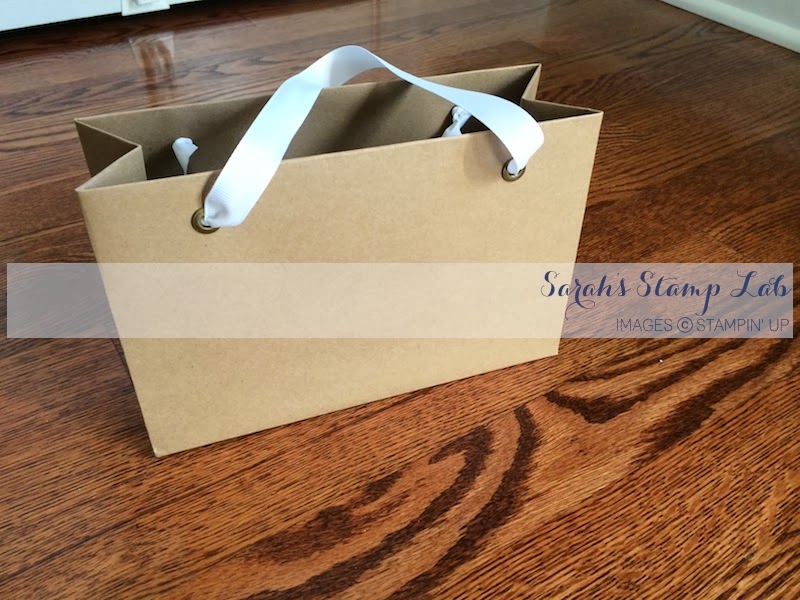
Here's the packet with instructions and supplies. This month we are creating adorable little gift bags!
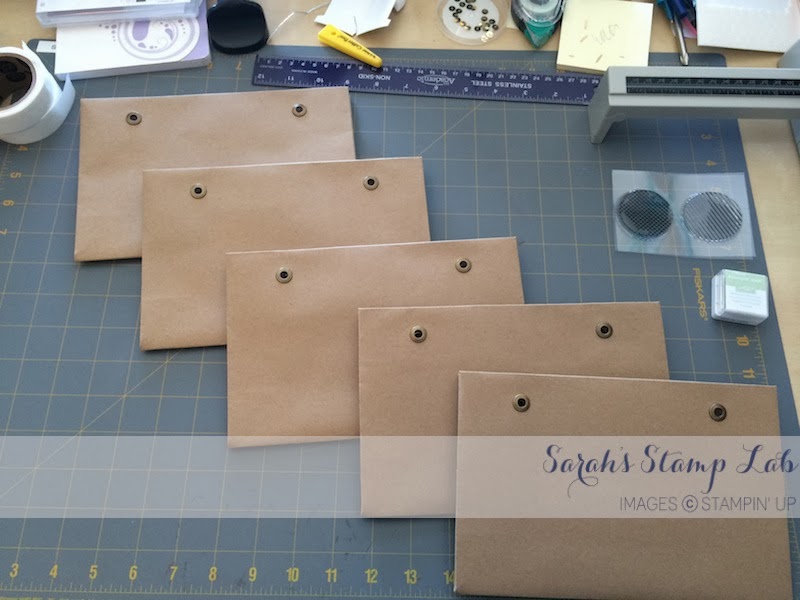
Five craft gift bags. Five!
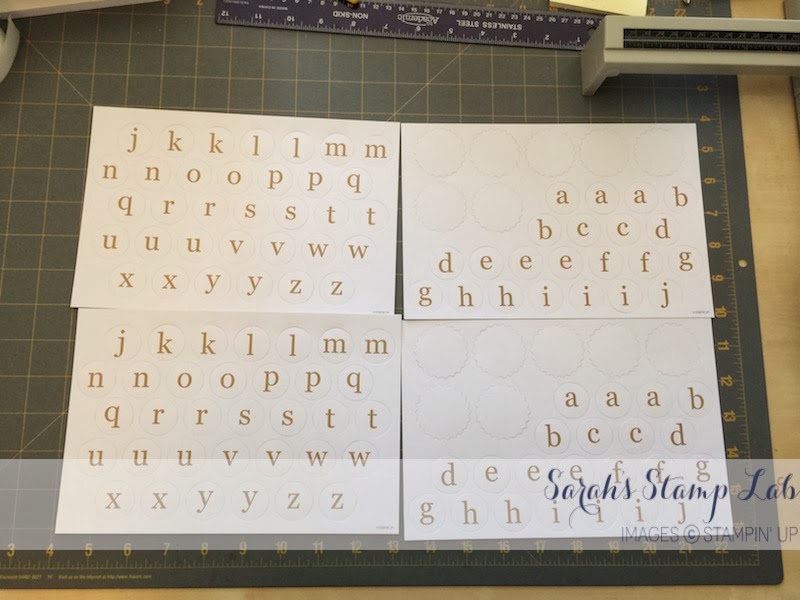
Four sheets of punch out alphas in Baked Brown Sugar.
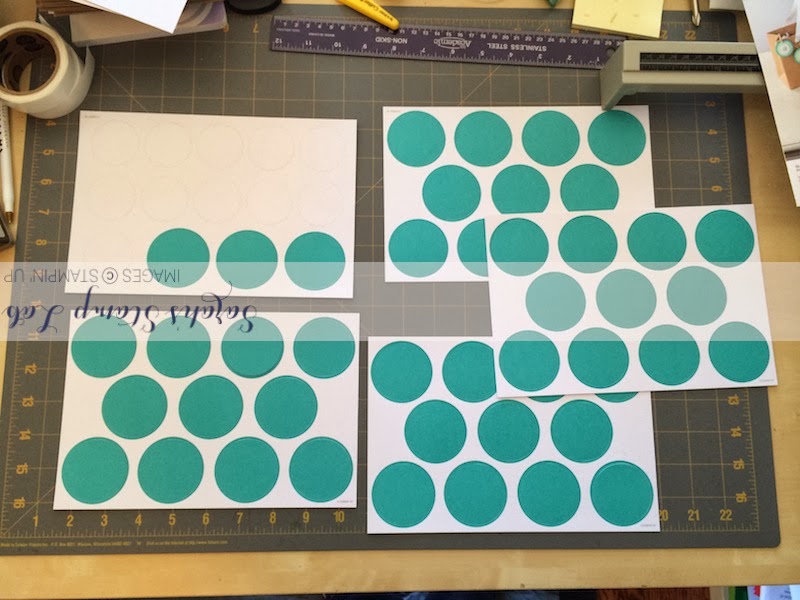
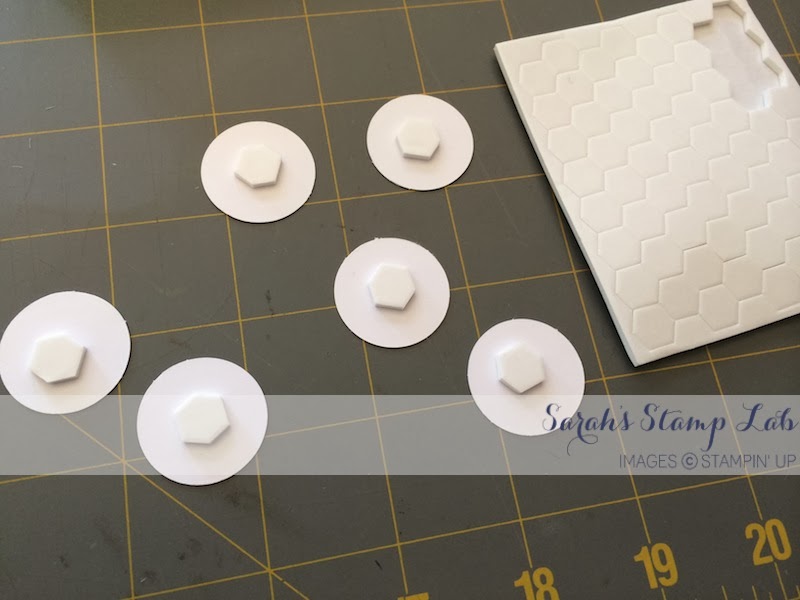
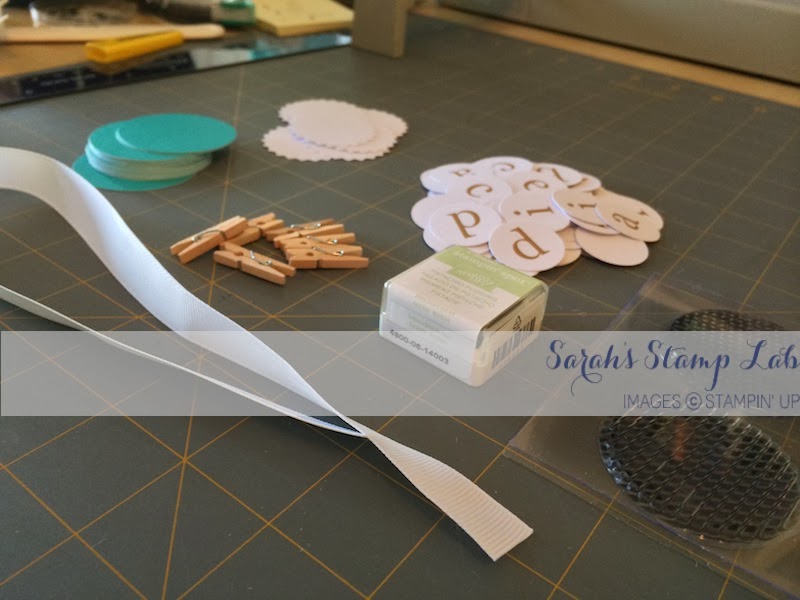
Bermuda Bay punch out circles and Whisper White "star burst" style punch outs.
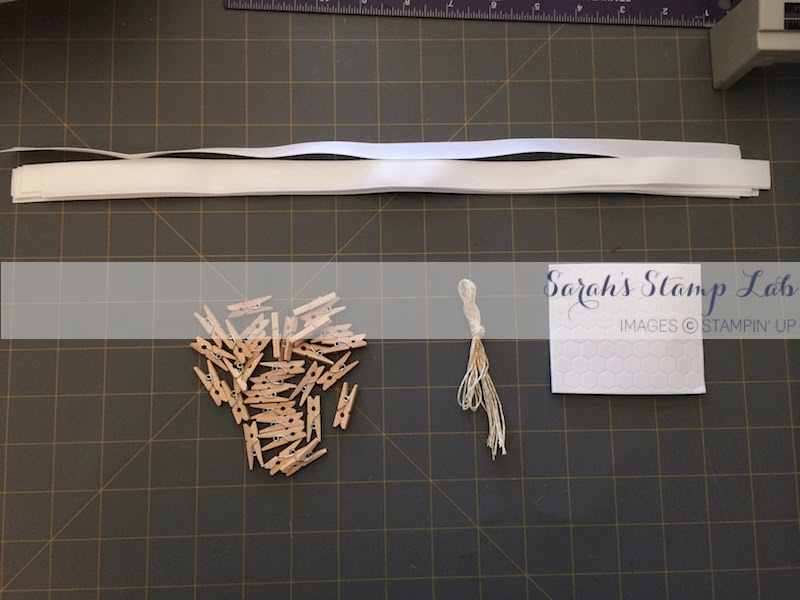
The kit also comes with 10 pieces of Whisper White wide grosgrain ribbon, a ton of mini clothes pins, some Crushed Curry baker's twine, and Dimensionals!
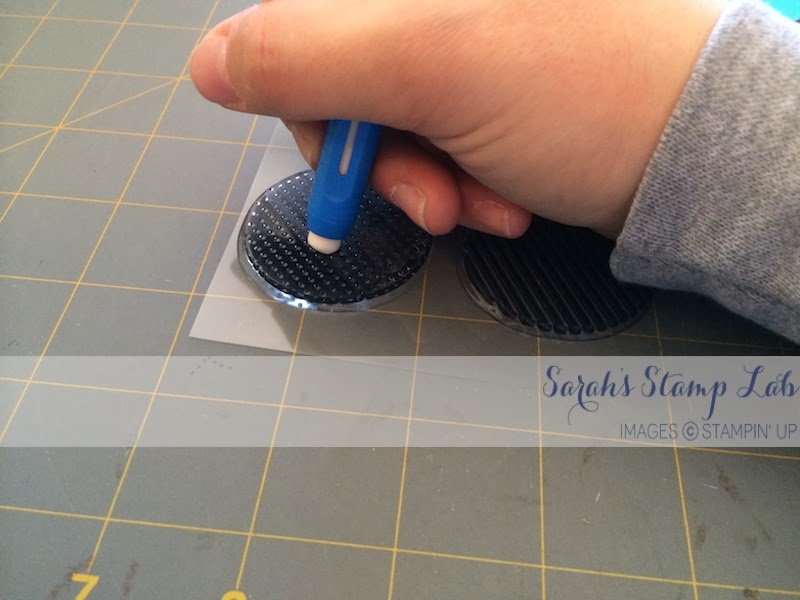
Some people have some issues with photopolymer stamps because when they first go to use them, sometimes they have problems with getting a nice, crisp stamped image. The problem is that in the manufacturing process, there is a residue that's on the stamps. The best way to get rid of the residue is to "dirty" up your stamps. What I have found is that all you need is a handy, dandy eraser!
Remember these eraser pencils? This is my favorite stamp dirtying tool. I erase the whole stamping surface of the stamp to dirty it up. Then I will ink up the stamp and stamp on a piece of scratch paper a couple times. Then I'll clean the stamp with my Stampin' Scrub and I'm good to go!
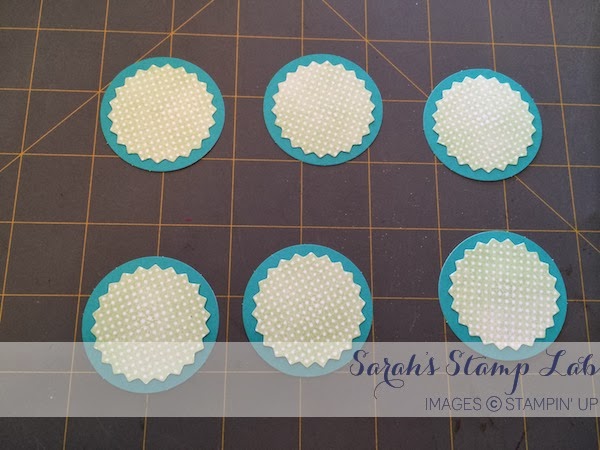
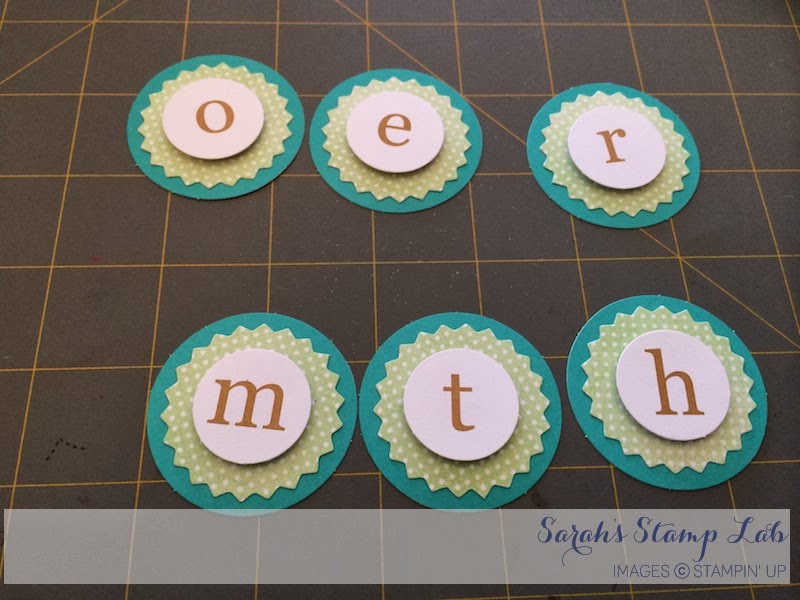
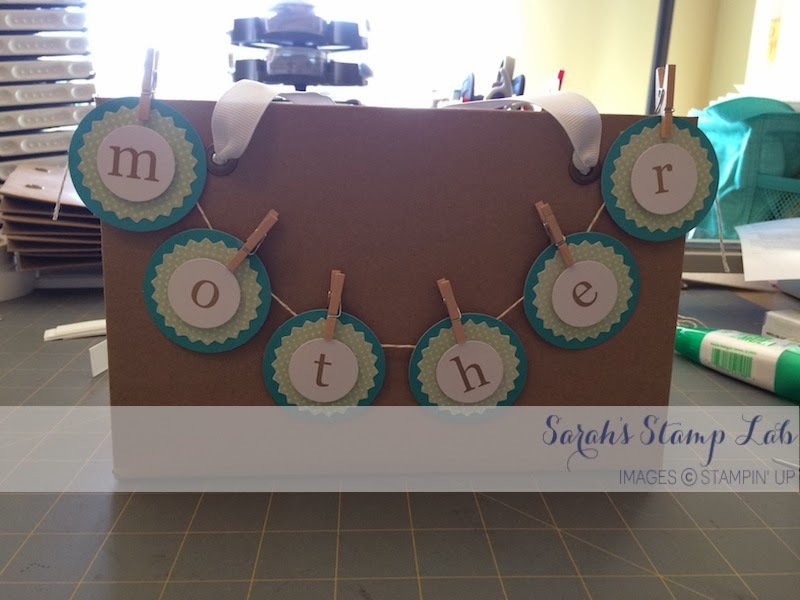
Now on to the project. I stamped the polka dot circle, in Pistachio Pudding ink, on the star burst circles. I adhered them to the Bermuda Bay circles.
Then I selected the letters I wanted to use and popped them up on Dimensionals.
This is what the panels look like all put together!
Now on to the bag! First you want to put a knot at the end of one piece of ribbon.
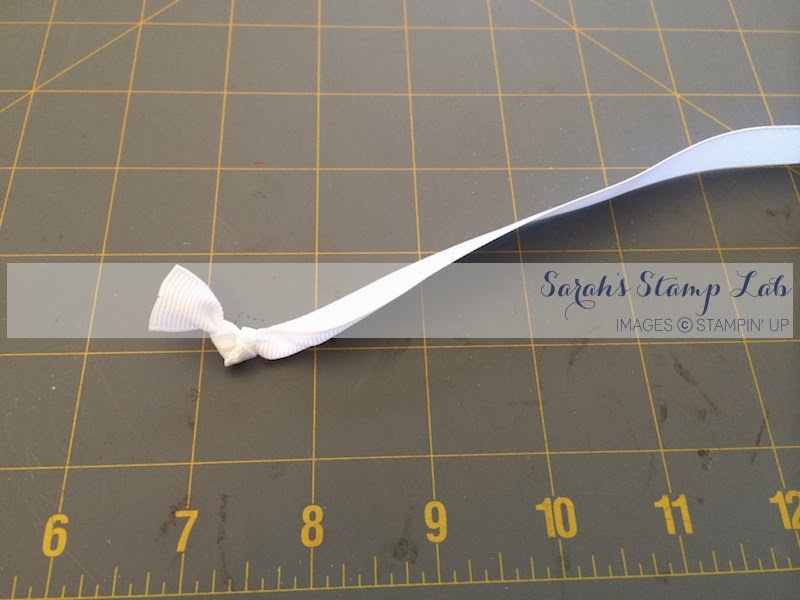
Thread the ribbon through the first hole from the inside of the bag to the outside. Then thread it through the second hole from the outside to the inside. Knot the other end. Repeat on the other side of the bag with a second piece of ribbon.
Using the mini clothes pins and baker's twine, I first clip on the first and last letter. Then I add in the remaining letters. If you want to have a sort of permanent way of keeping the letters on, I taped them on to the bakers twine and then put the clothes pin on.
Here's the finished bag!
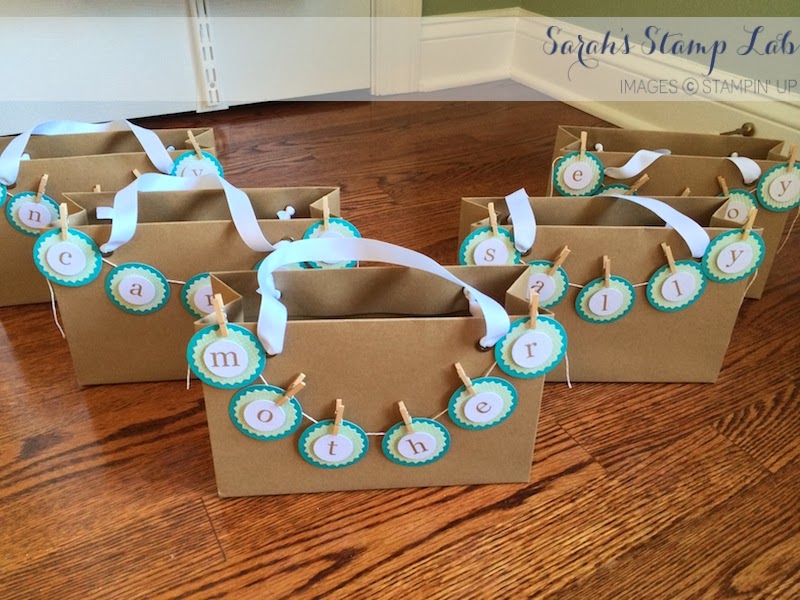
I made up four more. Two I personalized with people's names and two I just put "enjoy" on. I figured that it's a nice, general word to put on a gift bag and can be used for many occasions!
Check out all of the leftovers! I'm stashing these away because I think they would be great for cards and scrapbook layouts. Plus these stamps will be so useful for other types of cards!
I hope you enjoyed the tour through this month's Paper Pumpkin! If you are interested in becoming a member of the My Paper Pumpkin subscription now is a great time! From now through March 31st, 2014, any new subscriber will get two bonuses! With your starter kit, Stampin' Up! will also send you a pack of 2012-2014 In Color Stampin' Write markers (a value of $14.95) and as a personal thank you for subscribing in the month of March, I will send you a free mystery prize! Click on the link below to join.