Wednesday, December 25, 2013

The 2013 Mega Christmas Post! (Sort of...)

Merry Christmas Stampers!!!

Last year I created my very first Mega Christmas Post!  Normally I make so many Christmas cards that I don't have enough time to blog about them individually.  So to catch up on all of my blogging, I created a mega post of all of the remaining projects!  This year, either (a) I didn't make as many Christmas projects or (b) I was actually almost completely caught up because I only have two holiday type projects left to share!

Now on to the two remaining projects!

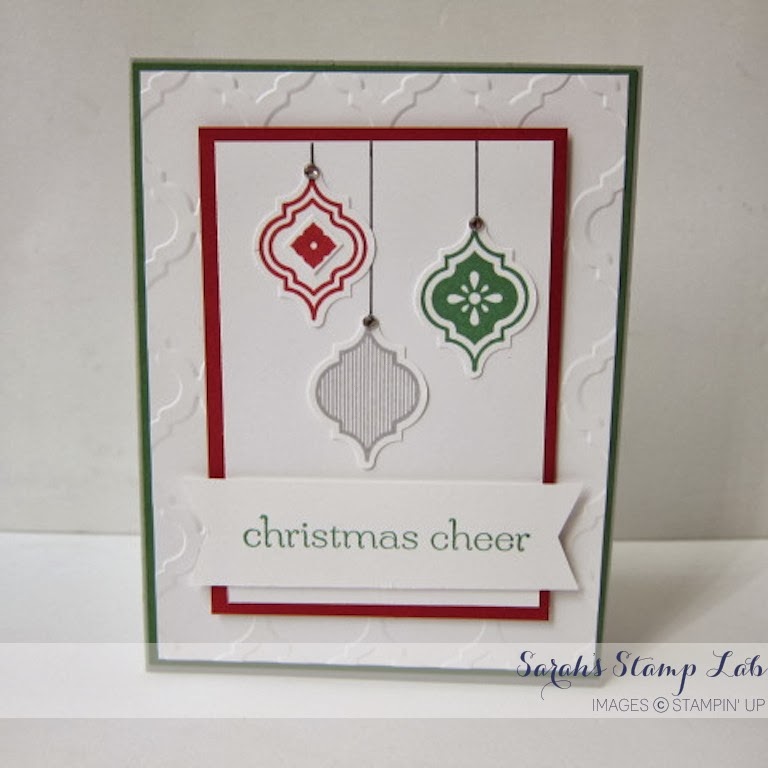
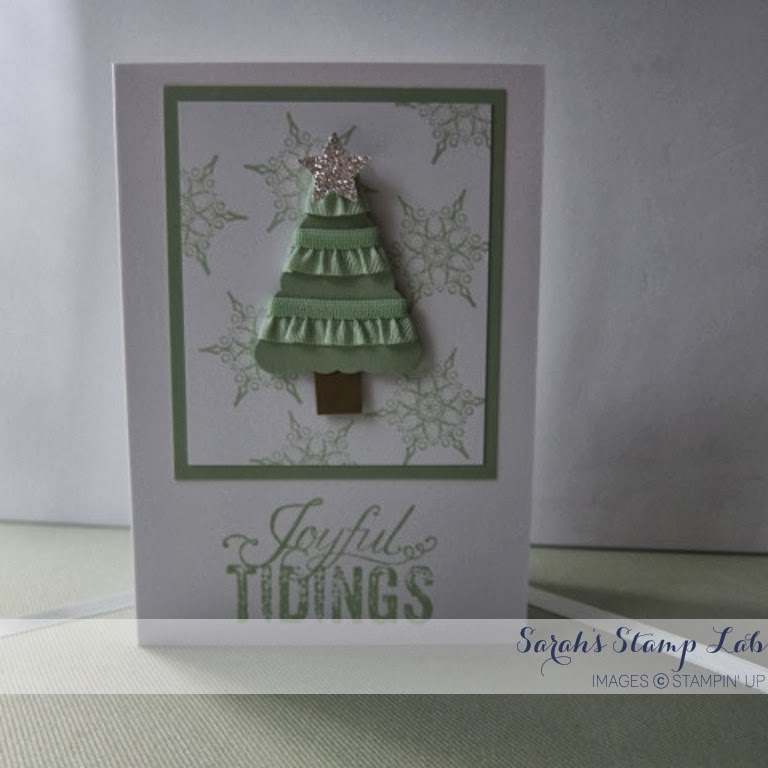
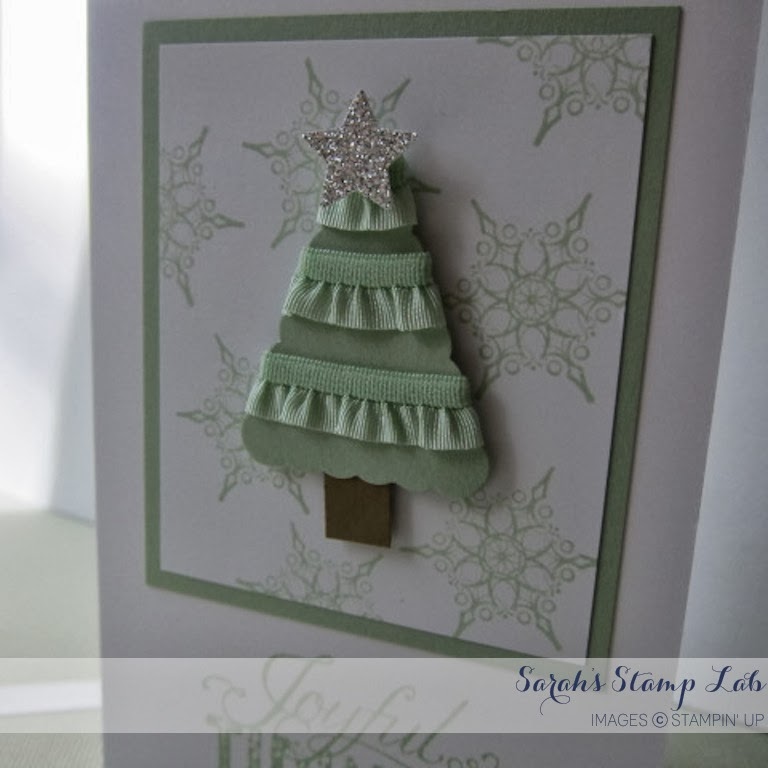
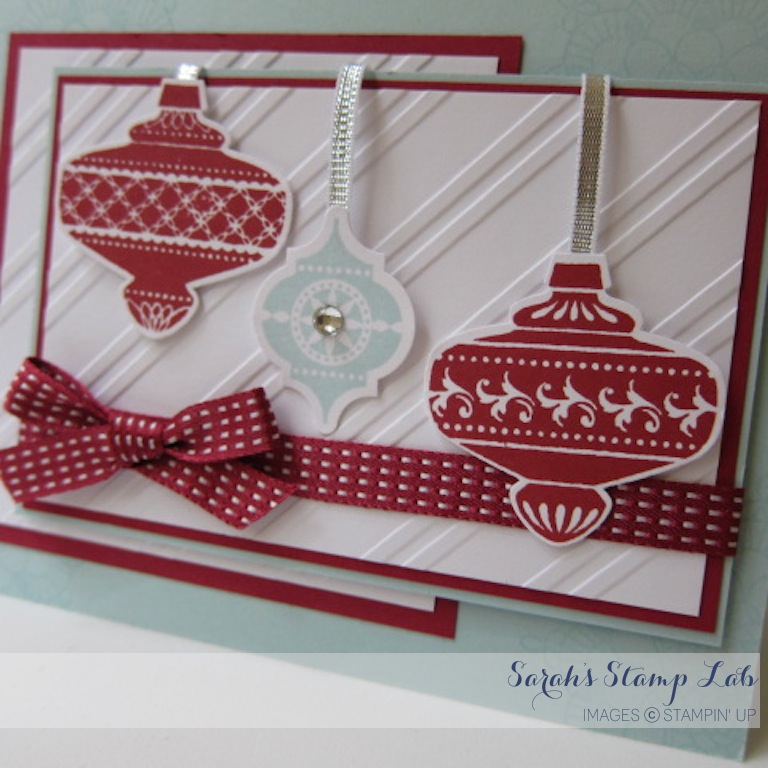
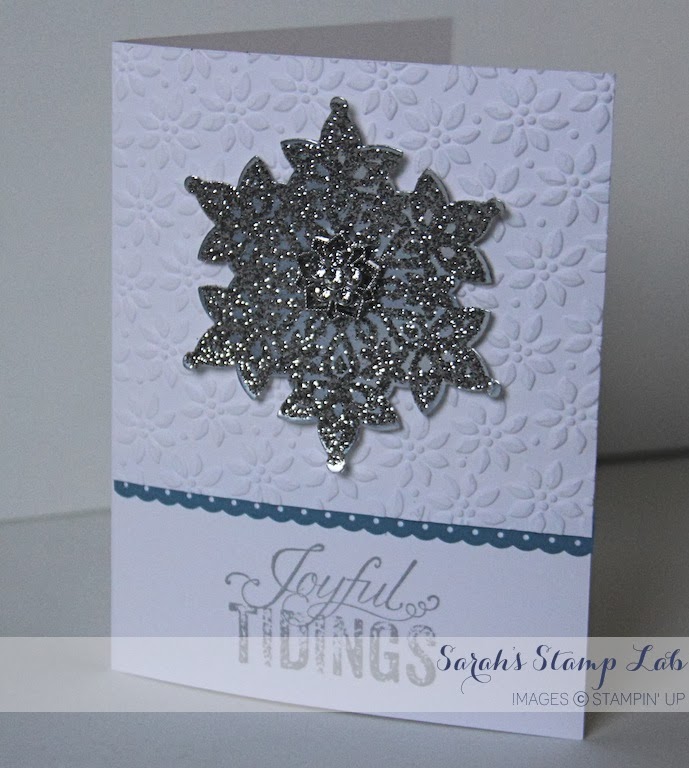
First up is a card that was inspired by one that I had seen in the SU Demonstrator magazine, Stampin' Success.  In the magazine, they had used Smoky Slate embossing powder for the snowflake image, but I want way more sparkle!  If you want to have your stamped images in glitter, then the Heat n Stick powder will be your best friend! 

To make a glittery stamped image, here's what you do:

1. Ink your stamp in Versamark and stamp on the cardstock.
2. Coat the stamped image in Heat n Stick powder, just as you would if you were using embossing powder.
3.  Heat the powder until it turns clear.  Then sprinkle glitter over the image and shake off the excess.
4. Heat the image again to set the glitter. Super easy!

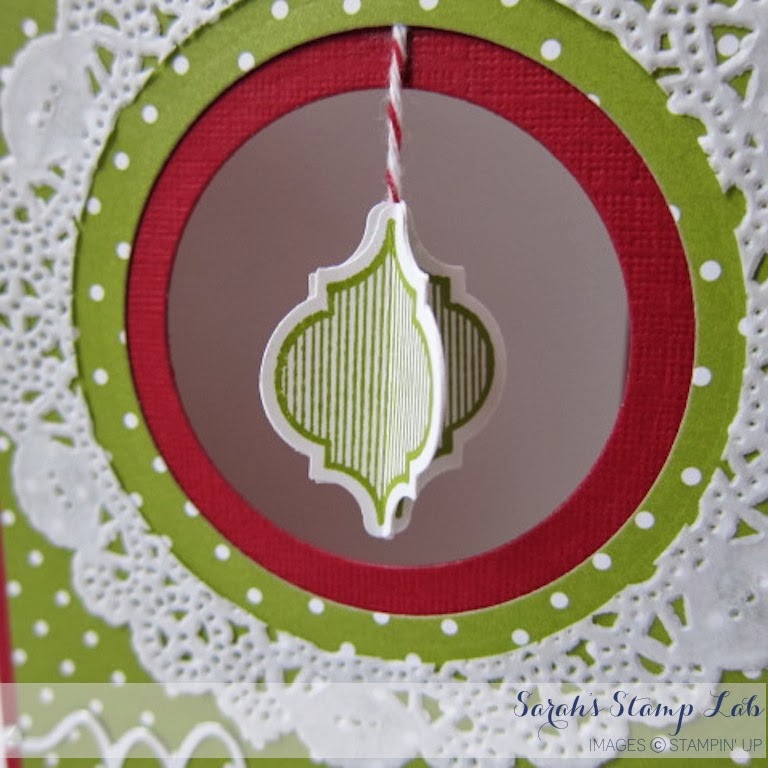
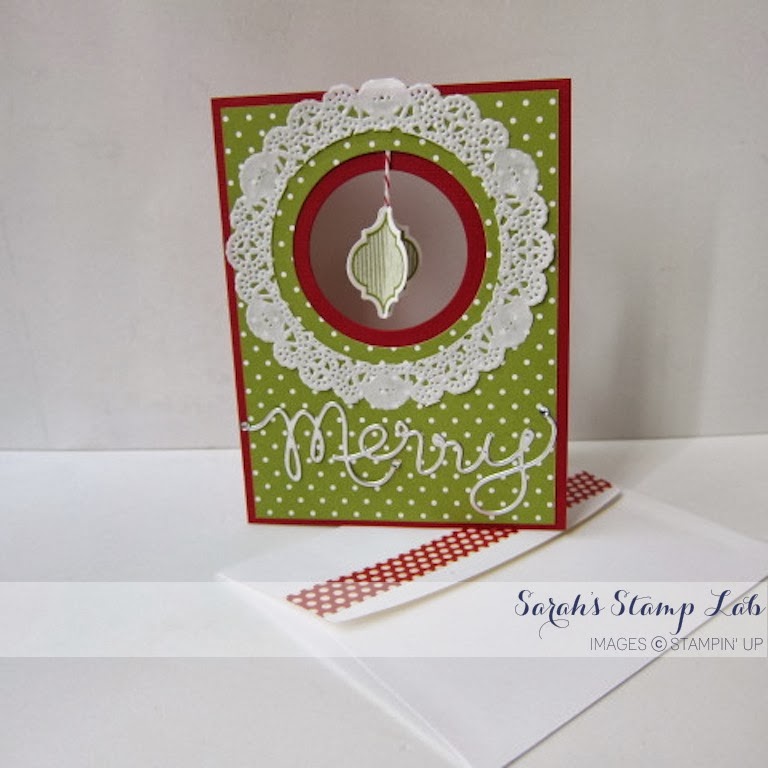
I added a Frosted Finishes Embellishment to the center for even more sparkle.  You can never have enough sparkle!  I think I had glitter on me for a week after making this card! :-)


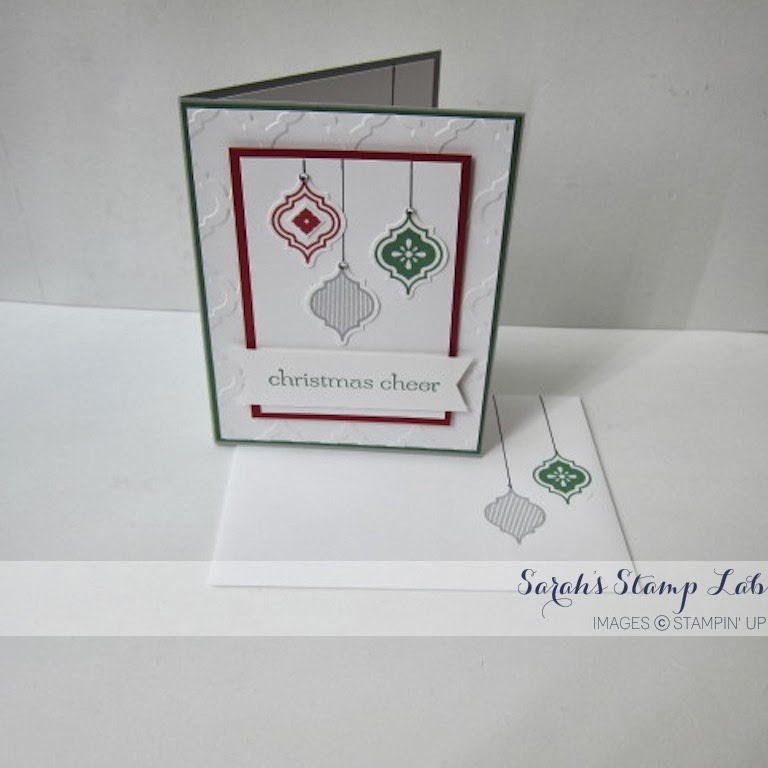
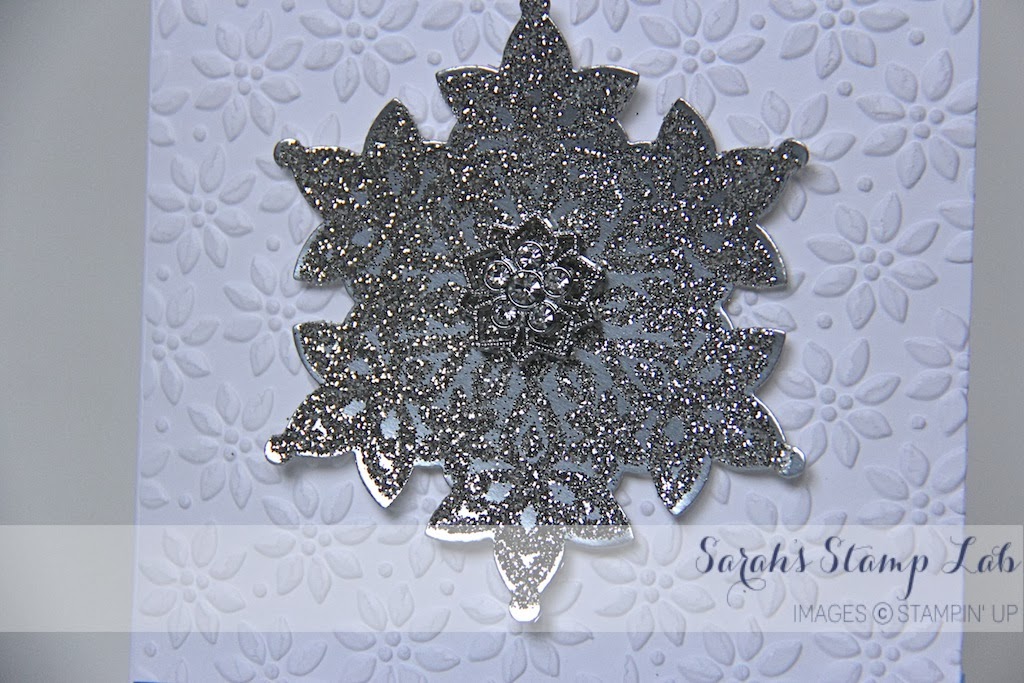
 Here's a close up of the snowflake.  Yes, that is the Silver Foil paper.  You can both dry and heat emboss it and it works beautifully! 


Stampin' Supplies:
Card Stock: Whisper White, Marina Mist, Silver Foil
Stamps: Festive Flurry, Christmas Messages
Ink: Versamark, Smoky Slate
Big Shot:  Petals-a-Plenty Embossing Folder, Festive Flurry Framelits 
Punches: Dotted Scallop Ribbon
Embellishments: Silver Stampin' Glitter, Frosted Finishes, Heat n Stick Powder, Heat Tool


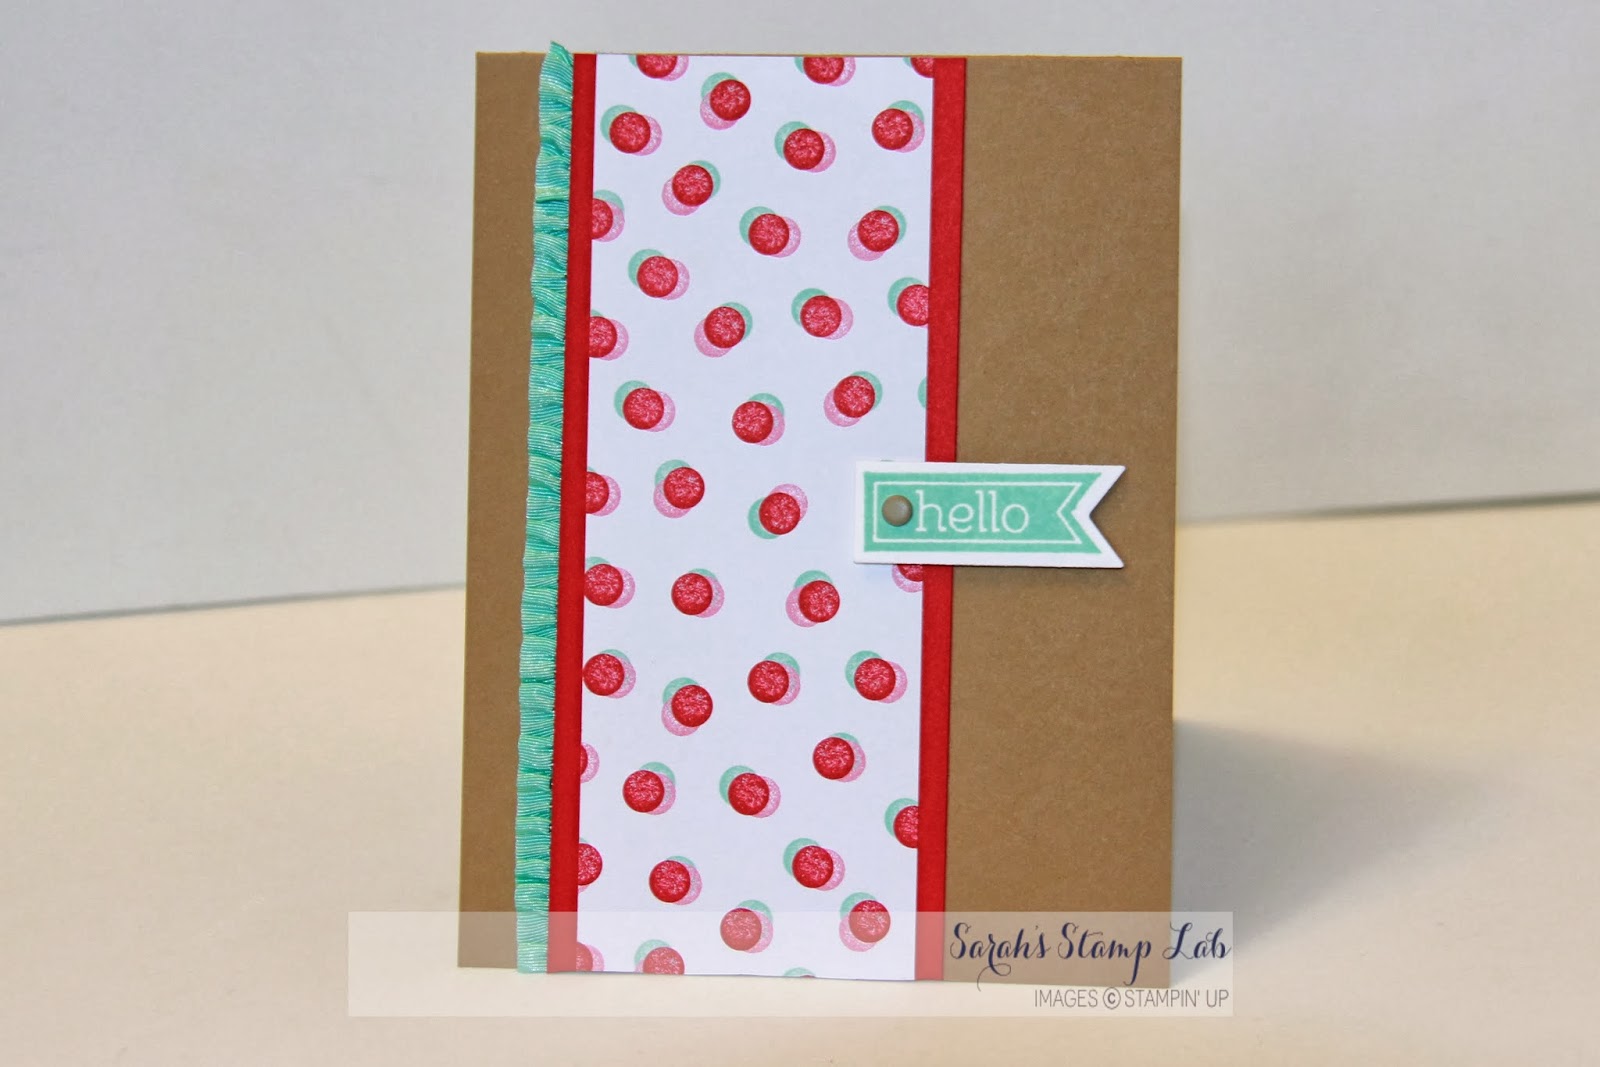
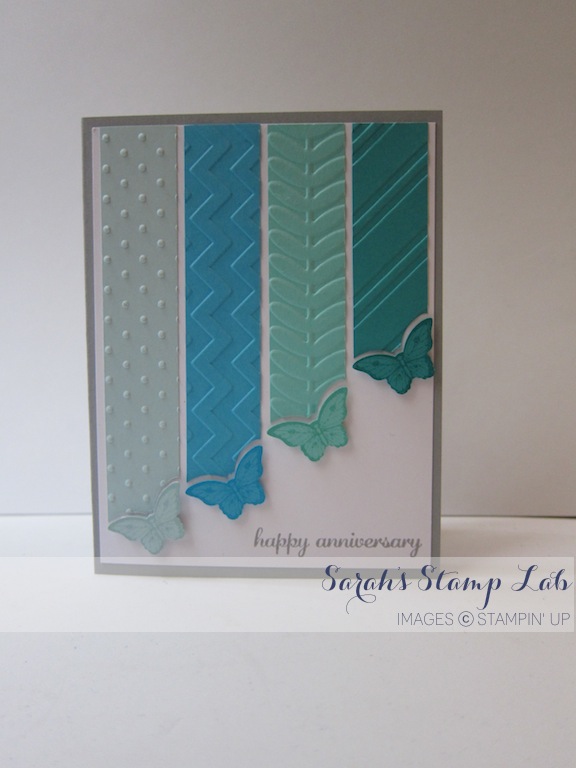
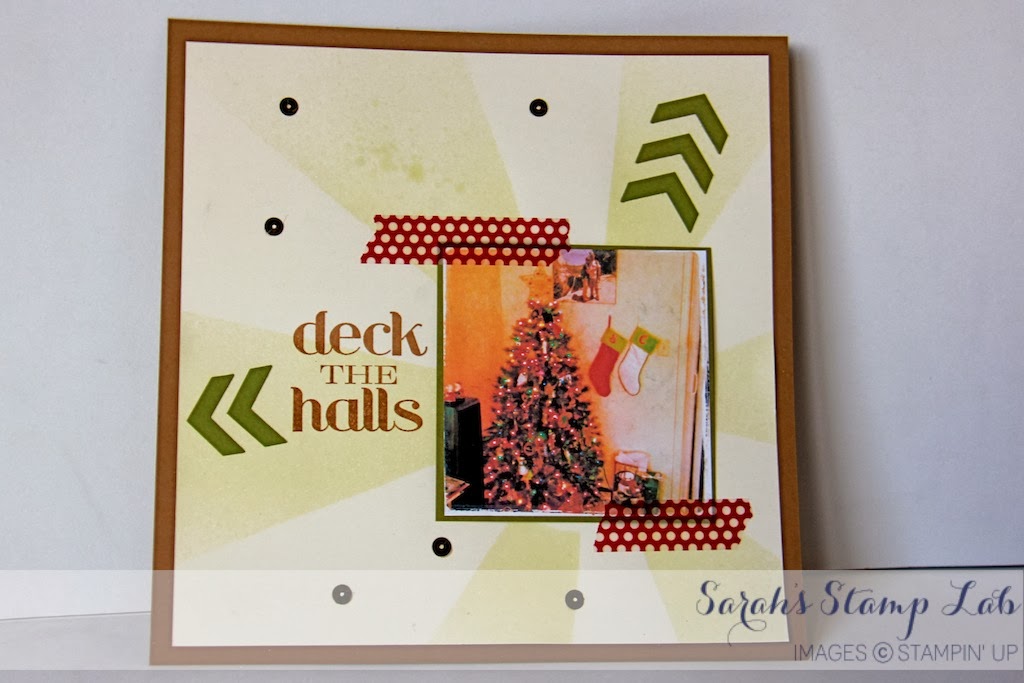
Next up I have a scrapbook page to share with you.  I was dying to try out this starburst technique.  I love the way it came out!  So easy!  Look back for when this technique is featured at my Technique Time class.  I can't wait to teach it to you!

I made a solution of isopropanol, Old Olive re-inker, and some Champagne shimmer paint.  Sadly, the shimmer paint is retired.  Boo hoo!

I loved adding some fun elements to this page like the chevron punch outs and washi tape.


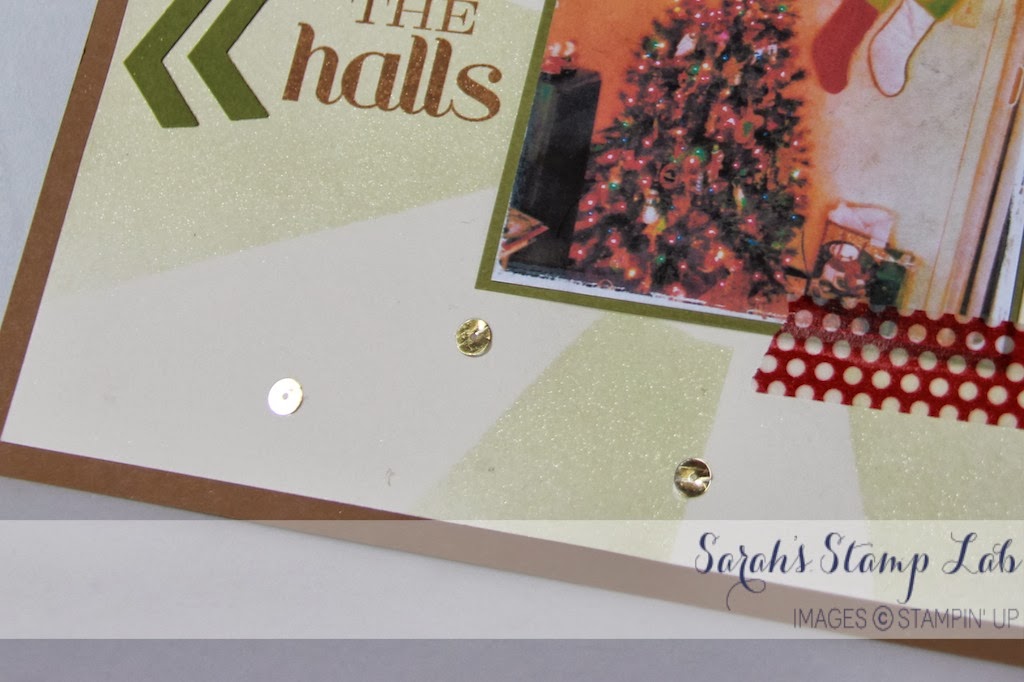
Here's a close up to allow you to see the shimmer in the sprayed areas of the page.  Also, can you spot the new product used on this scrapbook page?  I'll give you some hints....they are round and gold and shiny and available for purchase January 3rd!


Stampin' Supplies:
Card Stock: Baked Brown Sugar, Very Vanilla, Old Olive
Stamps: Christmas Messages
Ink: Baked Brown Sugar, Old Olive re-inker
Punches: Chevron Border
Embellishments: Season of Style Washi Tape, Gold Sequin Trim (available Jan 3rd), Stampin' Spritzer

I hope everyone has a fantastic Christmas!!

Monday, December 23, 2013

A Banner Christmas CASE

Hi Stampers!!

Today I have a jolly Christmas card to share with you that I cased from the Stampin' Up! demonstrator's magazine - Stampin' Success.  This is one of the many perks of being a demonstrator.  I love getting the magazine every other month.  It's chock full of fantastic ideas that I can copy or just use as inspiration and then share with you - my blog readers and customers!

This card is just so bright and cheery!  Let me tell you, I whipped out my Stampamajig to create the fun chevron border.  I would never have been able to do that free hand.  I am really happy with how it came out!  I also LOVE the glimmer paper banner - you need to have some sparkle for the holidays!


Stampin' Supplies:
Card Stock: Real Red, Whisper White, Gumball Green, Silver Glimmer
Stamps: A Banner Christmas
Ink: Gumball Green, Sahara Sand, Early Espresso, Real Red
Punches: Bracket label
Embellishments: Real Red 1/4" Stitched Grosgrain Ribbon

RSVP Deadline!

You still have time to sign up for my Fabulous Favors class!  The deadline to sign up is Dec. 28th.  We will be creating 4 fun favors and you will get a full color tutorial to take home. The fee for this class is $20.  See my Class Schedule tab above for more details.

Friday, December 20, 2013

Strawberry Slush In Color Club Sample

Hi Stampers!!!

Christmas is quickly approaching!  Today I have a super fast and easy card you can make at the last minute.  I was inspired by a card I saw on the Stamp with Amy K blog.  Instead of an A2 size card I used the Stampin' Up! notecards and envelopes.  I always keep a pack of these on hand for quick cards that I need to make. 

This was my sample for the Strawberry Slush month of In Color Club.  Do you want to join in on the next round of In Color Club?  Look  for more details beginning in May 2014!


There's lots of glitz on this card!  I love the sparkle!  You can easily add some glitter to the ornament using the two-way glue pen and the new silver glitter in the 2013 Holiday Catalog!


Stampin' Supplies:
Card Stock: Whisper White notecards/envelopes, Whisper White, Strawberry Slush, Silver Glimmer
Ink: Strawberry Slush
Stamps: Sweet Essentials, Christmas Collectibles
Punches: Christmas Ornament
Big Shot: Stylish Stripes Embossing Folder
Embellishments: Two way glue pen, Silver Stampin' Glitter

CLASSES!

I have announced my January 2014 class schedule and the RSVP dates are rapidly approaching!   If you are interested in the Fabulous Favors class, the RSVP deadlines is Dec. 28th!  Check out the "Class Schedule" tab at the top of the page for all of details on my upcoming classes!

Wednesday, December 18, 2013

Mosaic Madness Class III

Hi Stampers! 

Today I'm back with another Christmas card using the Mosaic Madness stamp set.  If you want to see another Christmas card made using this set click on this link to check it out:


Today's card was cased from a fellow demo on the My Home Grown Art blog.  I changed it up a little because I wanted to add in more of the green.  I love green - can't get enough of it!


I added a piece of Whisper White to the card interior and then added another mosaic ornament!


I also had to add some ornaments to the envelope as well.  I love to have everything be coordinated!


Stampin' Supplies:
Card Stock: Smoky Slate, Garden Green Cherry Cobbler, Whisper White
Stamps: Sweet Essentials, Mosaic Madness
Ink: Smoky Slate, Garden Green, Cherry Cobbler, Basic Black Stampin' Write Marker
Big Shot: Modern Mosaic Embossing Folder
Punches: Mosaic
Embellishments and tools: Basic Rhinestones, ruler or straight edge

Monday, December 16, 2013

Mosaic Madness Class I

Hi Stampers!

How many of your love the Mosaic Madness stamp set?  I know I do.  It's so versatile!  Today and on Wed. I'm going to show you how you can use that set to create beautiful Christmas cards.  These are just some of the cards that my customers made at my Mosaic Madness class.  It was so much fun!

For this card, I used the Mosaic stamp and punch to create a dangling ornament.  To create this ornament, I stamped the image 4 times on Whisper White card stock.  Then using the coordinating punch, I punched out all four images.  You next want to fold each punched piece in half.  Glue them together, but don's forget to glue the Baker's Twine down the center of the shape before finishing.  Voila - a 3D ornament for your card.


To create the window, I used the Circles Collection of framelits.  It was easy to make a window and then reverse mat it with the framelits.  If you use the Magnetic Platform (Item # 130658; $39.95) for your Big Shot, you can line up the framelits easily!


I used the Season of Style Designer Washi Tape to decorate the interior of the card and make a coordinating envelope.  Washi tape is super easy to use and it looks great!


Stampin' Supplies:
Card Stock: Whisper White, Cherry Cobbler Textured, Silver Foil
Designer Series Paper: Brights Stack
Stamps: Mosaic Madness
Ink: Old Olive
Punches: Mosaic
Big Shot: Circles Collection Framelits, Expressions Thinlits
Embellishments: Basic Rhinestones, Tea Lace Doilies, Cherry Cobbler Bakers Twine, Season of Style Designer Washi Tape


Friday, December 13, 2013

Pistachio Pudding In Color Club Sample

Hi Stampers!

Today I'm sharing my sample that I gave to all of my In Color Club members for the month of Pistachio Pudding!  I originally got the idea to create this adorable little tree from the Stamping Rox blog and added it on to my own card design.  Creating this tree is sooooo easy!  All you need is the Petite Pennants punch and some of the In Color Ruffle Stretch Ribbon!  I used the Word Window punch for the trunk, but you can easily cut a piece of cardstock for this without the punch.  (The punch just makes it easier!)  After punching out the tree, I cut three lengths of ribbon, wrapped them around the triangle, secured with glue dots and that was it!  Sooooooo simple but soooooo cute!


Here's a close up of the tree.  I used Dimensionals to adhere it to the card so give it even more dimension.  It adds a lot of great texture to an otherwise simple card.  I love Pistachio Pudding for holiday cards.  It's such a nice, soft green.  So pretty!

Stampin' Supplies:
Card Stock: Whisper White Notecards/Envelopes, Pistachio Pudding, Whisper White, Soft Suede, Silver Glimmer
Stamps: Snowflake Soiree, Christmas Messages
Ink: Pistachio Pudding,
Punches: Petite Pennants, Word Window, Merry Minis
Embellishments: Pistachio Pudding 3/8" Ruffle Stretch Trim

Thursday, December 12, 2013

New Photopolymer Stamps - Countless Sayings 1 & 2!

Hi Stampers!

Quick announcement for today!  Stampin' Up! has just released to brand new photopolymer stamp sets: Countless Sayings 1 and Countless Sayings 2!  Aren't they adorable!  I can't wait to get my hands on them!


Here's a card sample from the Stampin' Up! website using this set!


Another sample from the SU website:


Check out the flyer for more info as well as an adorable "Love Stinks" card!  It makes me think of the Wedding Singer......whooopideedoo!


Wednesday, December 11, 2013

Christmas Gifts Card

Hi Stampers!

Today I have a Christmas card that I made because I wanted to play with the fantastic ribbon that is in the 2013 Holiday catalog.  It looks fantastic when layered together and the contrast between the grosgrain and the burlap gives a lot of nice texture the card.

I used my Stampin' Write markers to color the stamp so that I could make the gifts be different colors.  I also like the contrast of the two different patterned papers on this card.  I also like that if you changed up the colors on this card, you can use it as a birthday card as well!


Here is a close up of how I layered all of the elements for the focal point of the card.  


Stampin' Supplies:
Card Stock: Whisper White, Old Olive, Cherry Cobbler textured
Designer Series Paper: Season of Style, Brights Stack
Stamps: Wishing You
Ink: Old Olive and Cherry Cobbler Stampin' Write Markers
Punches: 1-3/4" Circle
Big Shot: Window Frames Framelits
Embellishments: Cherry Cobbler 1" Stitched Grosgrain Ribbon, 1-1/4" Burlap Ribbon, Basic Pearls

Monday, December 9, 2013

Christmas Collectibles Card

Hi Stampers!

Today I have a fun Christmas card for you in some non-traditional holiday colors.  I used the Christmas Collectibles and the Very Merry Tags stamp sets because they have coordinating punches.

I was inspired by a card that I saw on another blog for this card but sadly I cannot remember which blog.  :-(


I left the ornaments only attached by the ribbon on the top so when you move the card, the ornaments have some movement as well.  I thought it would just add a little touch of fun.


Stampin' Supplies:
Card Stock: Soft Sky, Whisper White, Raspberry Ripple
Stamps: Delicate Doilies, Christmas Collectibles, Very Merry Tags
Ink: Raspberry Ripple, Soft Sky
Big Shot: Stylish Stripes Embossing Folder
Punches: Christmas Ornament, Mosaic
Embellishments: Basic Rhinestones, 1/8" Silver Ribbon, Raspberry Ripple 3/8" Stitched Satin Ribbon

Sunday, December 8, 2013

FMS115 + New Product Sneak Peek!

Hi Stampers!

It's snowing!  I guess winter is really here and I have to finally face the fact that I don't live in the desert.  Boo!  The only good thing about snow is that it is an excellent excuse to stay in and stamp!

Today I have a card that made using some of the new goodies I was able to pre-order from the Stampin' Up! Occasions 2014 catalog.  You will be able to order from this catalog beginning on January 3rd, 2014.  If you are in need of a catalog, send me an email and I can get one sent out to you!

My card was inspired by this week's challenge on the Freshly Made Sketches blog.

This was the sketch for the challenge this week.
And here's my card!  I love the clean and simple design!  And hello...don't you love that NEW Designer Series Paper???? It's fabulous and I love the color combo!  Also check out the cute new stamp  and I'll let you in on a secret....I did not cut that banner by hand....


Stampin' Supplies:
Card Stock: Baked Brown Sugar, Real Red, Whisper White
Designer Series Paper: Fresh Prints Stack (available Jan. 3rd, 2014)
Stamps: Perfect Pennants (available Jan. 3rd, 2014)
Ink: Coastal Cabana
Big Shot: Banners Framelits Dies (available Jan. 3rd, 2014)
Embellishments: Neutrals Candy Dots, Coastal Cabana 3/8" Ruffle Stretch Trim


Wednesday, December 4, 2013

Butterfly Anniversary

Hi Stampers!

Today I have a fun anniversary card to share with you that I made for my brother-in-law and sister-in-law. They got married in Aruba and one of my favorite memories of that trip was going to the Butterfly Farm.  Of course, their card had to feature butterflies and the butterflies are in all the colors of the ocean and sky in Aruba!


I love the font for the Happy Anniversary sentiment.  This is from the Express Yourself hostess exclusive stamp set!  You can only order this set with hostess rewards. Want to earn hostess rewards?  Contact me about having a stamping party for you and friends and you can have the chance to earn FREE product!
Stampin' Supplies:
Card Stock: Smoky Slate, Whisper White, Soft Sky, Tempting Turquoise, Pool Party, Bermuda Bay
Stamps: Papillion Potpourri, Express Yourself (hostess)
Ink: Soft Sky, Smoky Slate, Tempting Turquoise, Pool Party, Bermuda Bay
Punches: Bitty Butterfly
Big Shot Embossing Folders: Perfect Polka Dots, Chevron, Vine Street (retired), Stylish Stripes

NEW CLASS SCHEDULE POSTED

I have added my January 2014 class schedule to the blog.  Click HERE to see what I'm offering next month and EMAIL me if you are interested in signing up for a class.  If you have a group of 3 or more who are interested in a private stamping class, contact me.  All of my classes can be made into private events for you and your friends!

UPCOMING EVENT

I will be vending at the Mother Seton High School Craft Fair this Saturday, Dec. 7th from 9:00am - 4:00pm in Clark, NJ.  Gift items and stocking stuffers will be for sale.  I will also have infomation on my upcoming classes.  Stop by to say hello and talk to me about all things Stampin' Up!  The admission to this craft fair is FREE!  Yay!!!!  Hope to see you there!!!!

Tuesday, December 3, 2013

Blog Candy Winner!

And the winner is.....


yea free give-a-way!


Your kit will be in the mail to you this week!
Congrats!

Sunday, December 1, 2013

New December Promotions!

Hi Stampers!

It's the first day of December.  The count down to Christmas is on.  Every month on the 1st of the month, Stampin' Up! has some exciting promotions to share with you!

Get prepared for Valentine's Day with the new line of A Whole Lot of Love products!  This promotion starts today, Dec. 1st, until Jan. 27th or as supplies last.

Click on this flyer for all of the details:


Click here to see the images of all of the stamps in this new product line:


December Best of 25 Years Stamp Set Reveal!

Best of Sale-A-Bration!!!


ITEM #134393
$14.95


Don't forget that the Holiday Sale is still on!  Tomorrow there will be some new 24 hour Door Buster items announced so be sure to check out my online shop for all of the new sale items.

Did you enter to win a free card making kit from me yet?  There's still time!  Go to this post for details on how to enter: