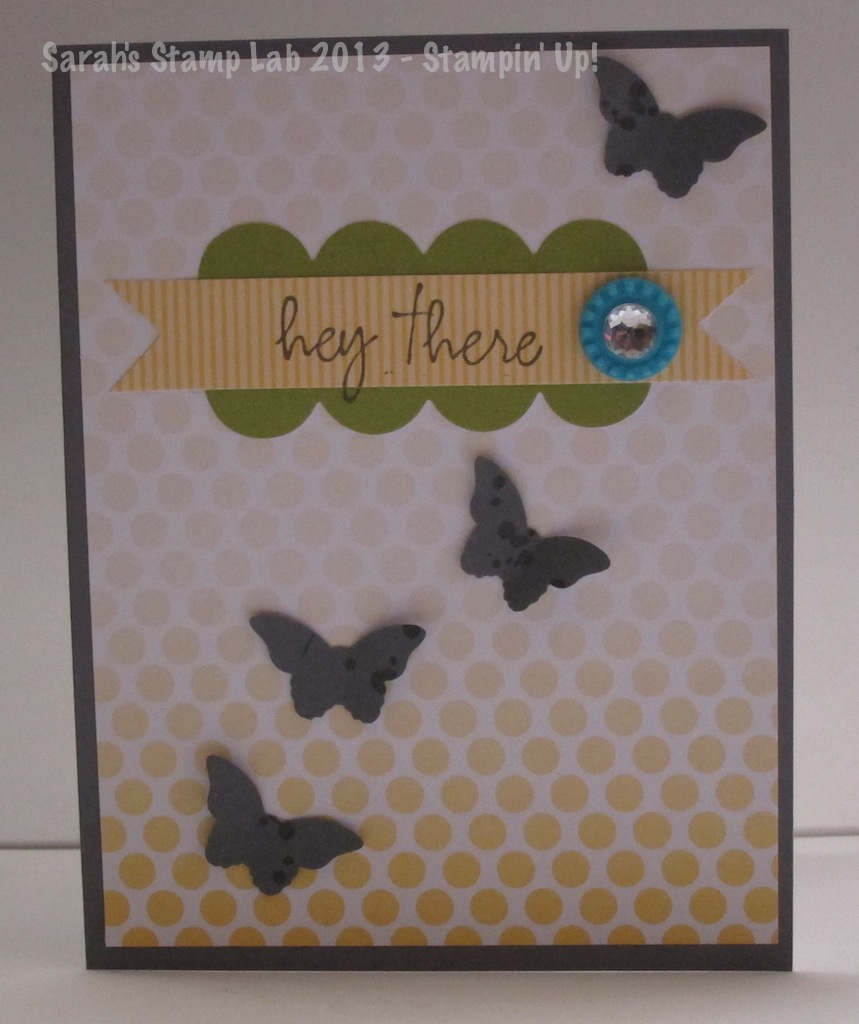
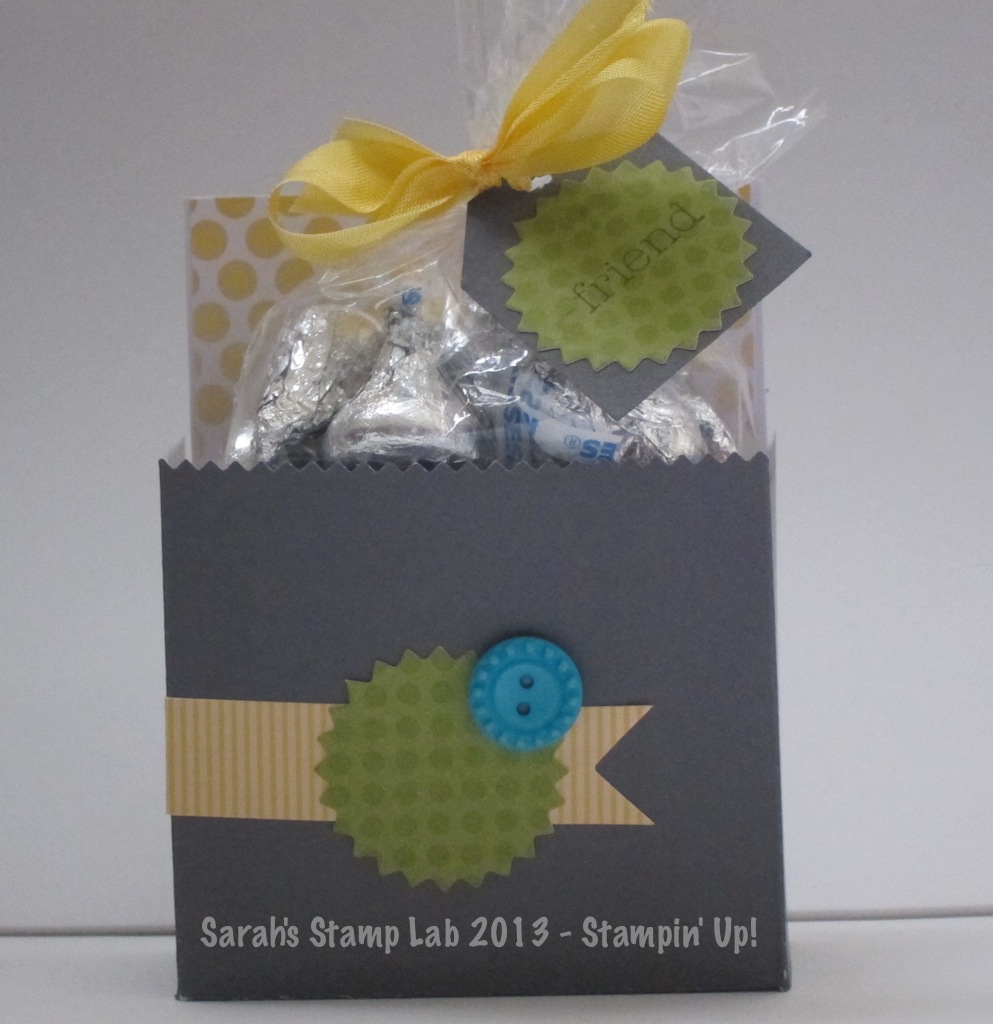
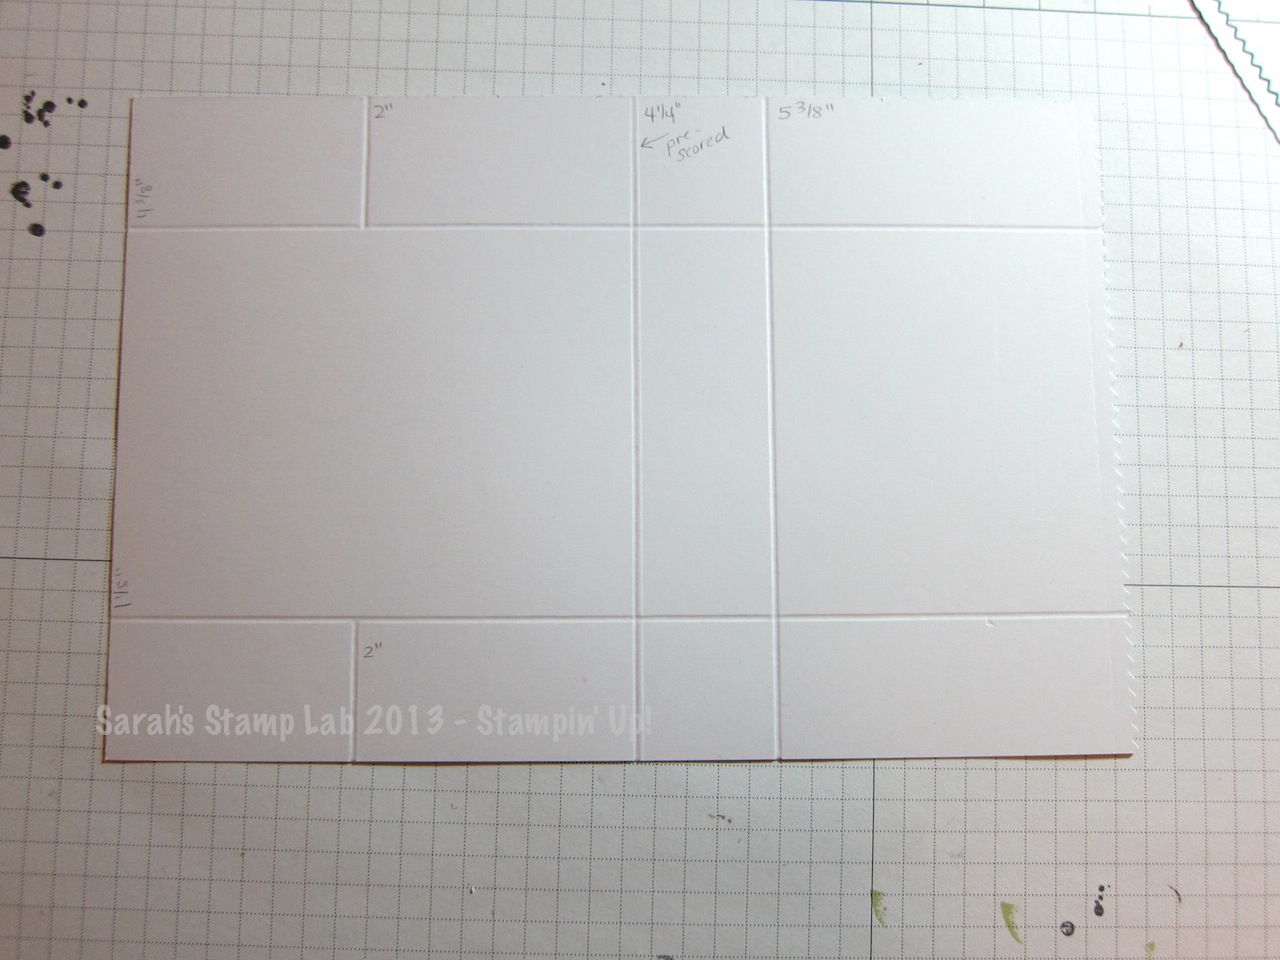
Showing posts with label My Paper Pumpkin. Show all posts

Monday, July 27, 2015

50% Off Sale: Try out Paper Pumpkin for 2 Months!!


From now thru September 10th, 2015, you can subscribe to the Paper Pumpkin kit of the month club for half the price!  If you've never tried Paper Pumpkin, now is a great time-get 50% off your first two months. A deal like this is too good to pass up!

Use the code HALFOFF to join Paper Pumpkin before September 10, 2015, and get 50% off the first two months! After that, keep the creativity coming for only $19.95 + tax per month (shipping included). 

Get Started
It's so easy to get started. Simply sign up for the program by visiting PaperPumpkin.com and click Get it. Every month a new, surprise project kit arrives at your doorstep. Just think of the anticipation of creating a fun project to pin, showoff, and share with your friends and family#every month!
Of course, you'll want to know more. So here's the nitty gritty:
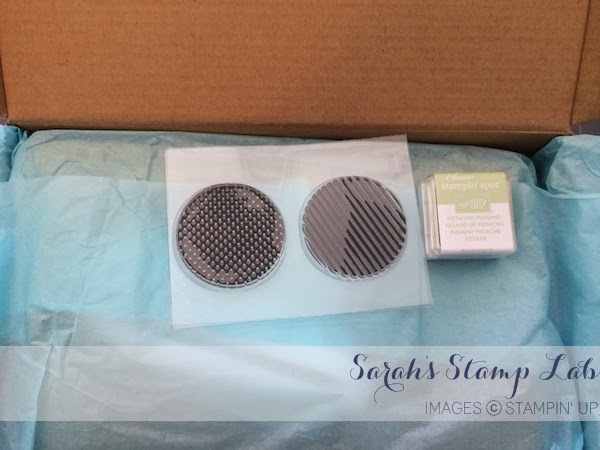
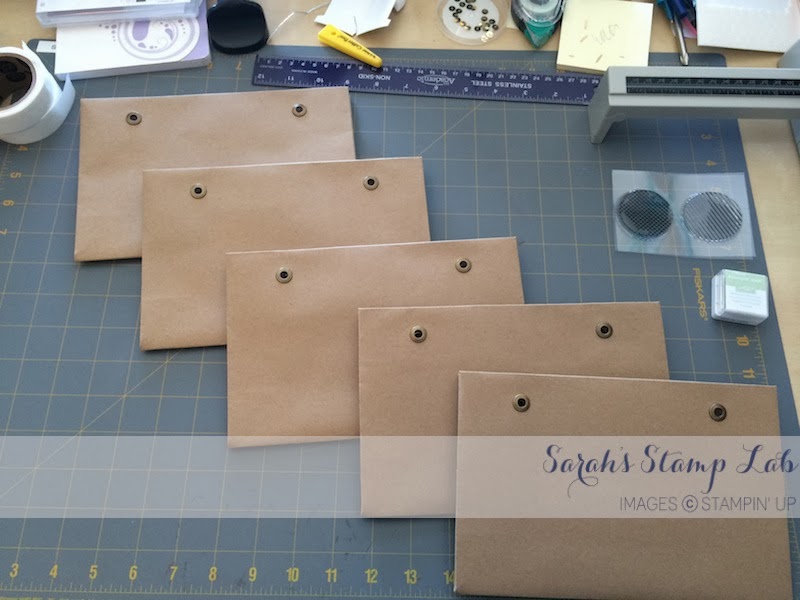
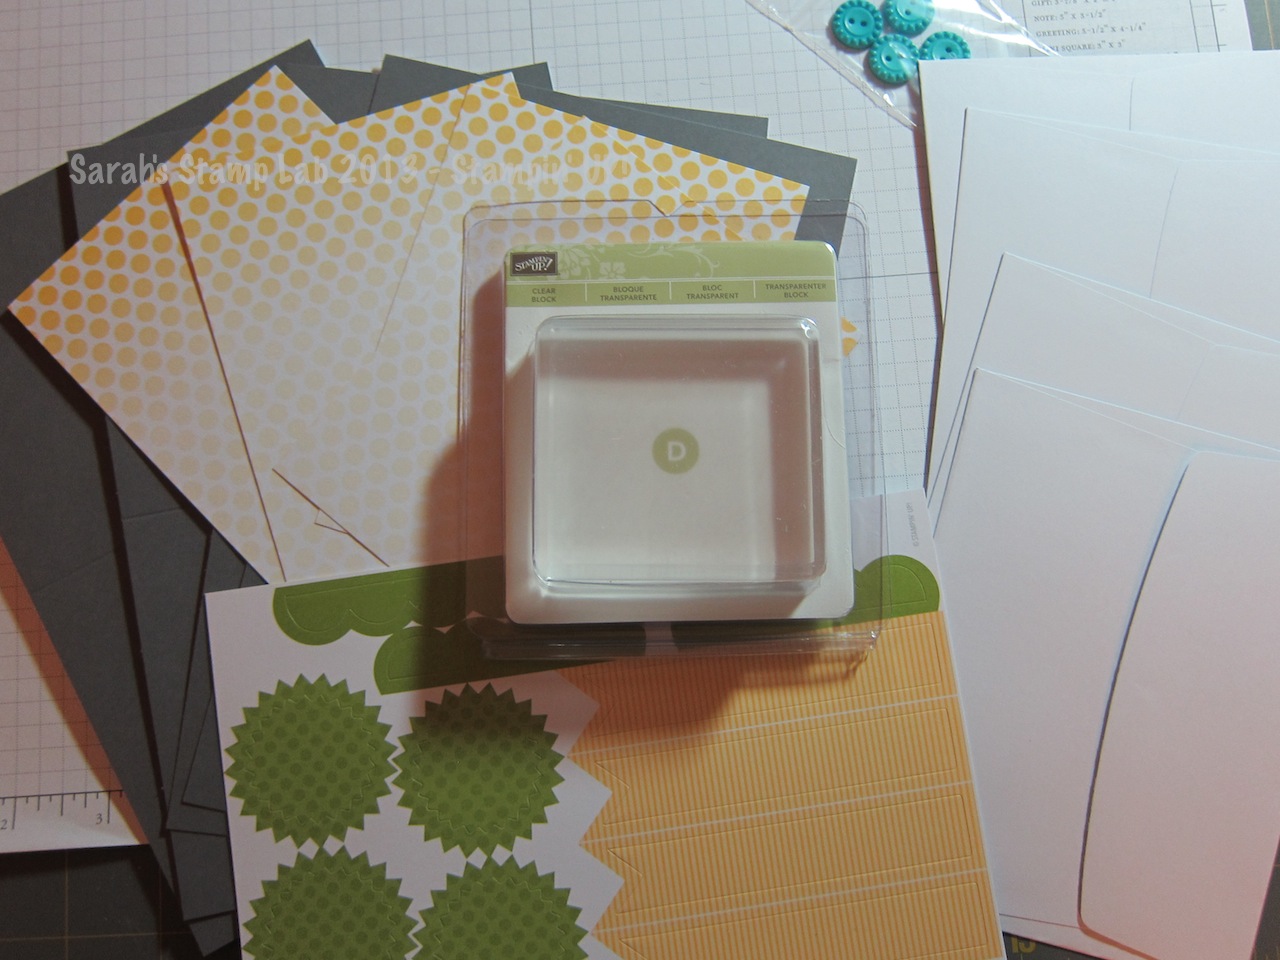
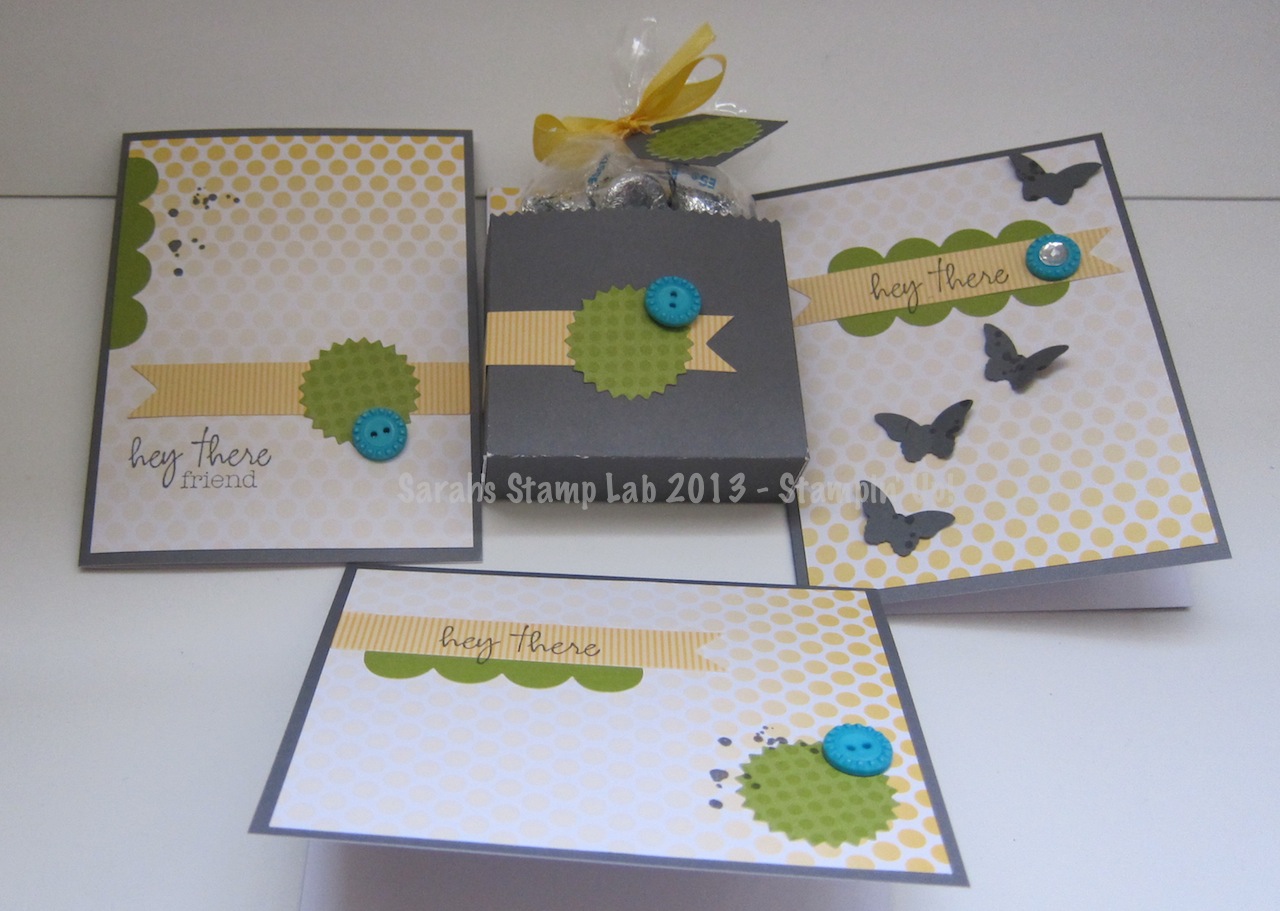
  • Each month we send you a unique, surprise kit with a project-cards, journals, décor, and more! (We've even color-coordinated, measured, and cut everything for you!)
  • Each kit includes stamps, ink, paper, and accessories-everything but adhesive.
  • Each kit gives you a 30-minute creativity escape.
  • We will ship your Paper Pumpkin on or around the 15th of the month. 
  • You need to sign up for a kit by the 10th of the month to get that month's kit. If you sign up on the 11th of the month, your first kit will come the next month. (Let's say you sign up on May 10, we'll send your kit around May 15. If you sign up on May 11, we'll send your first kit around the June 15.)
  • A Paper Pumpkin membership is $19.95 per month (and shipping is included!) There's no commitment, you can cancel your monthly Paper Pumpkin at anytime. You can also skip a month if you want.
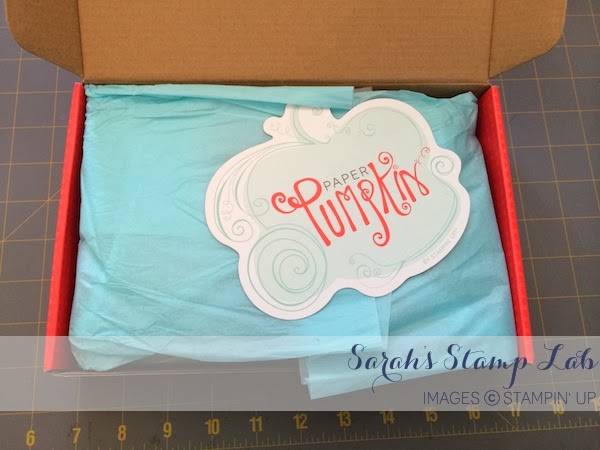
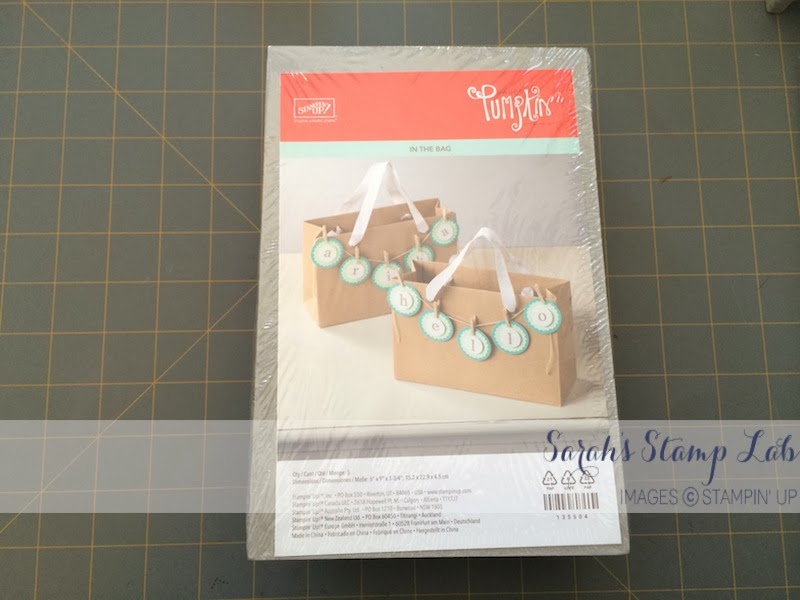
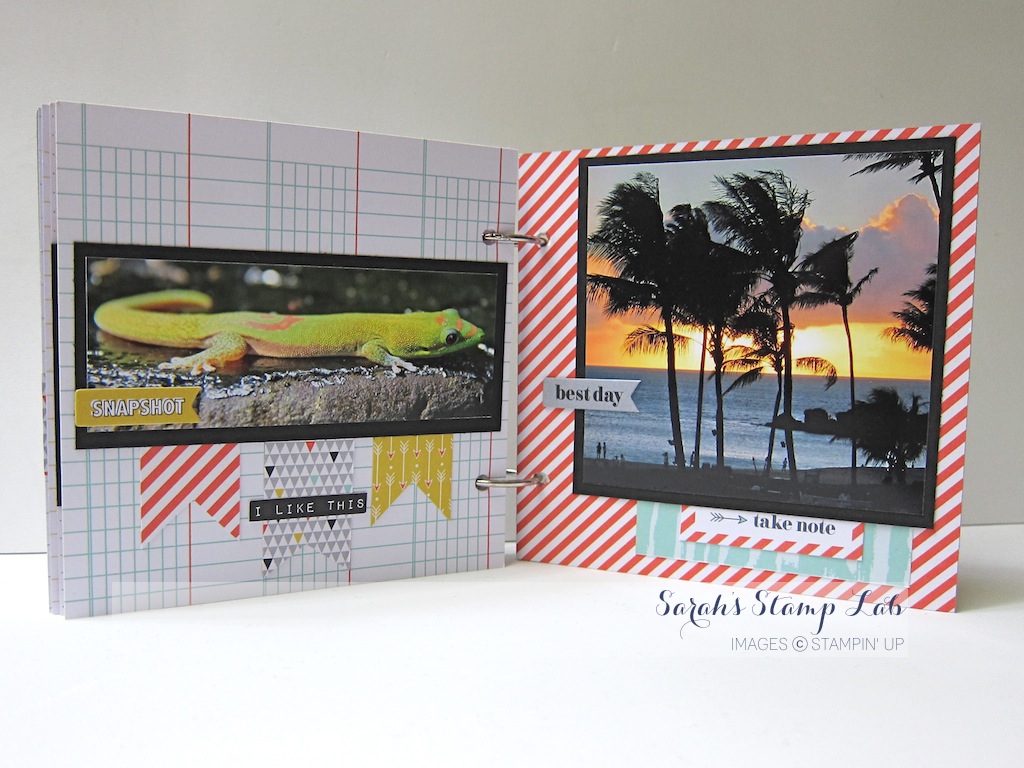
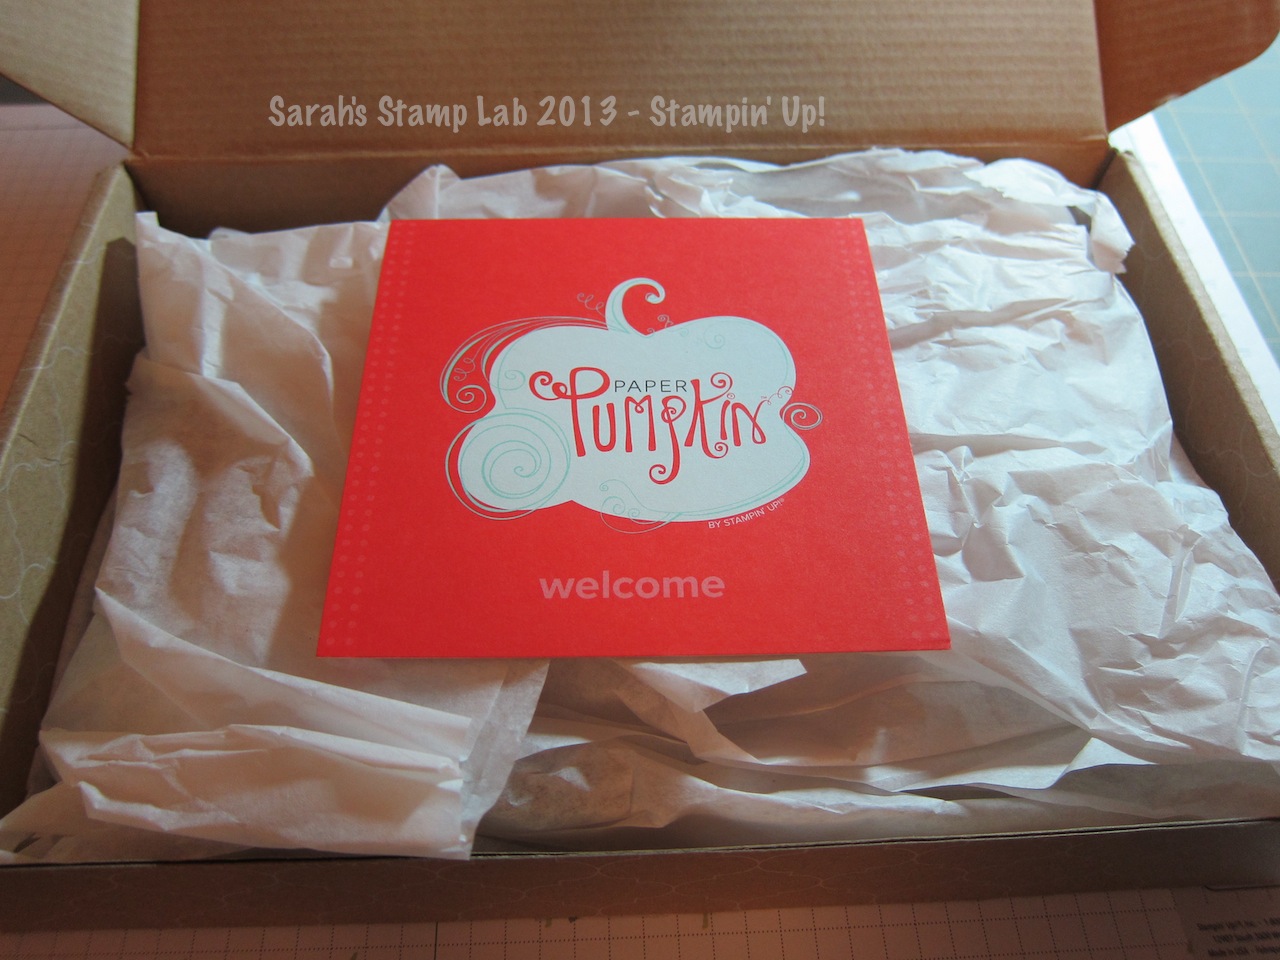
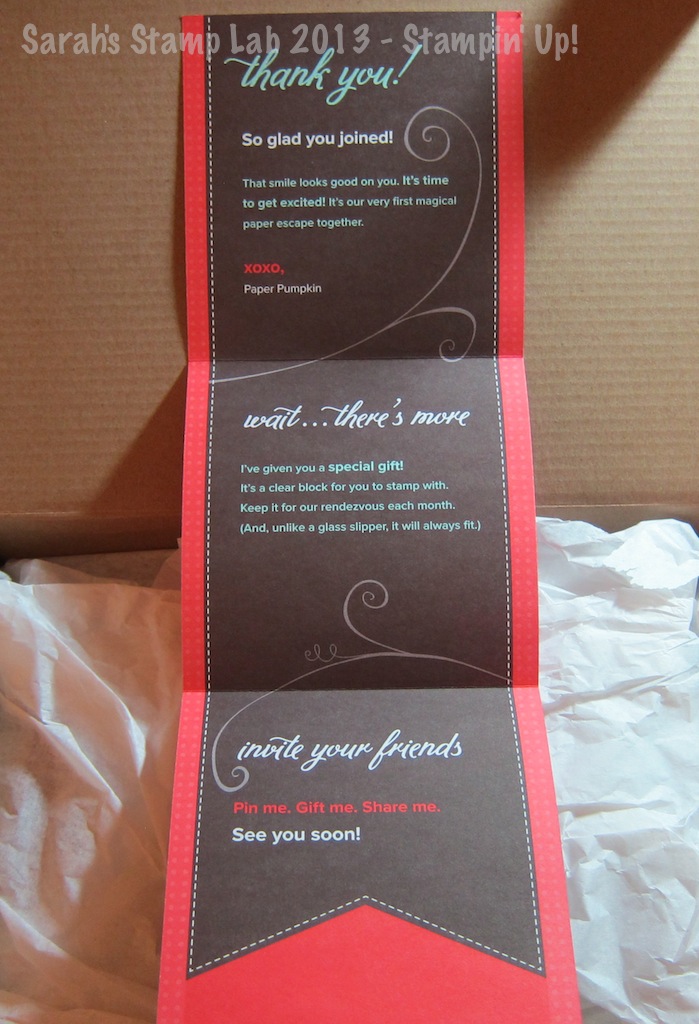
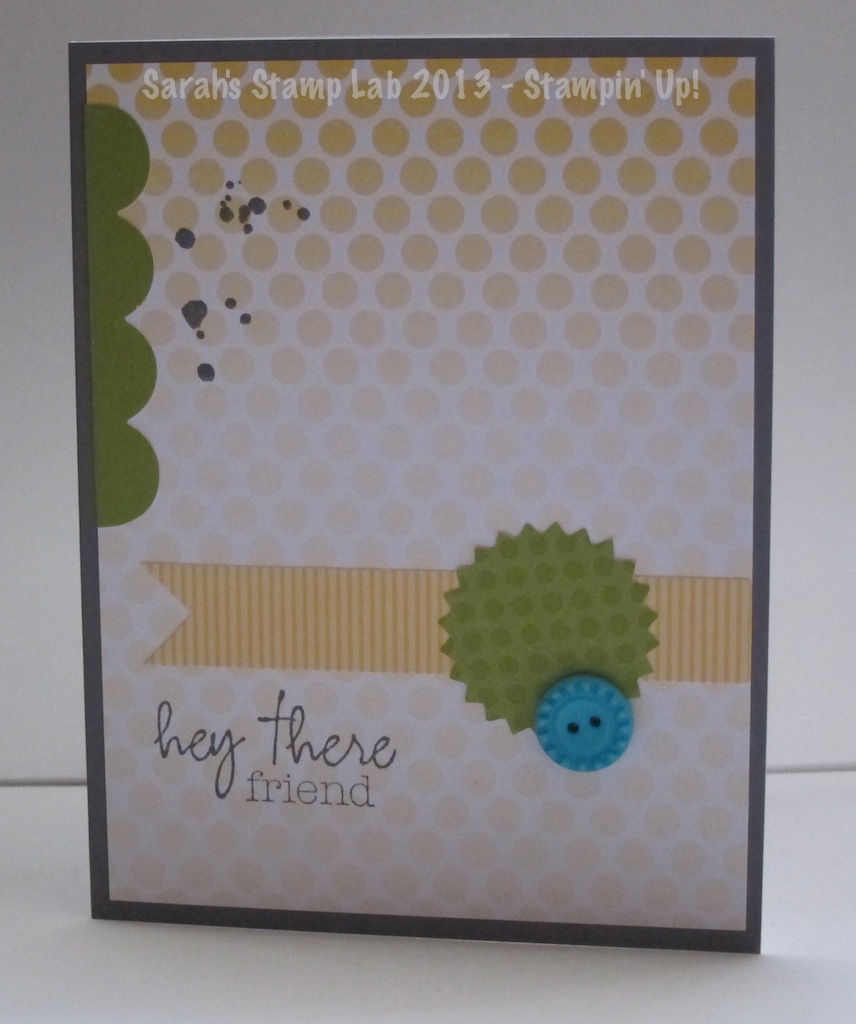
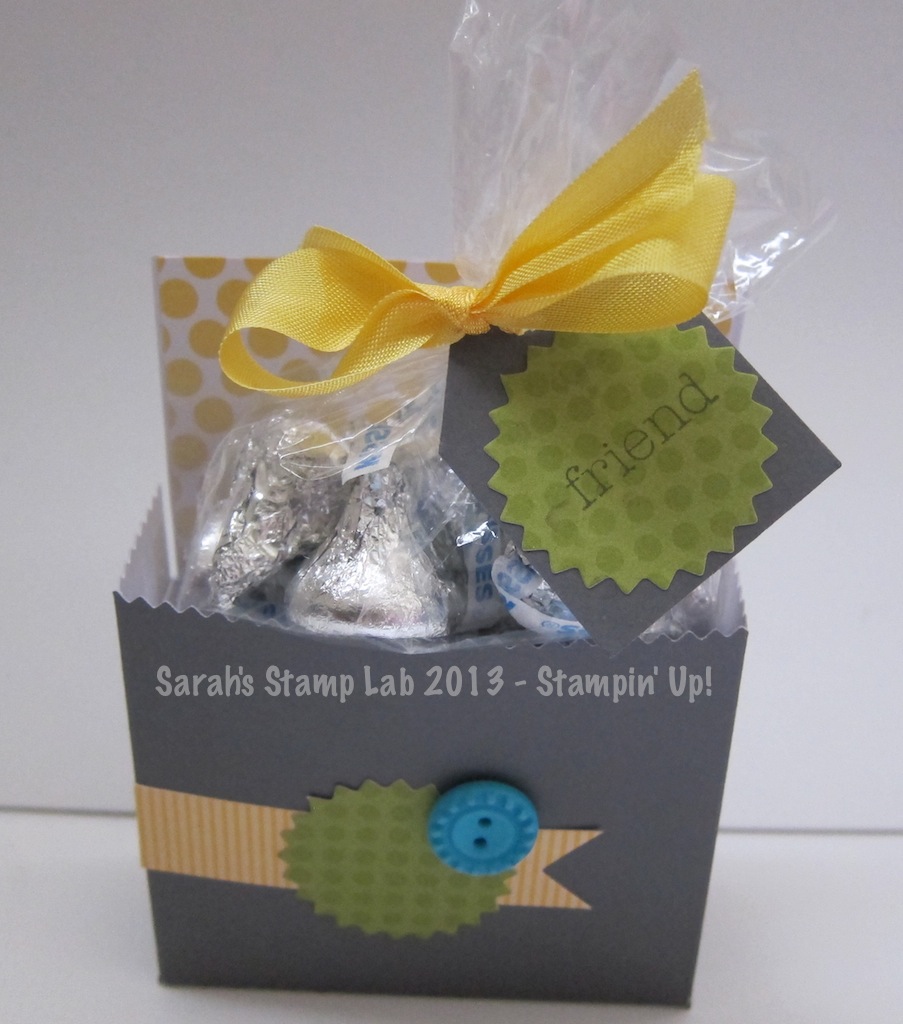
Here's a peek inside the July 2015 kit:


The Fine Print:
  • For new subscribers only.
  • Available for month-to-month subscriptions, not prepaid subscriptions.
  • Discount applied to one kit per month for the first two months of a new subscription. After the first two months, the price for each month's kit will go to the regular price: $19.95.
  • Visit PaperPumpkin.com to join.
  • Enter the Promo Code, HALFOFF when you sign up.
  • New subscribers must join by Thursday, September 10, 2015; 11:50 PM (MT).

Monday, March 10, 2014

Take a Tour of the Feb 2014 Paper Pumpkin Kit

Hi Stampers!

Hope you all had a great weekend!  Are you excited for daylight savings time?  I love it!  I finally get to see the light of day!!!  Yay!

Today I have a tour of the February My Paper Pumpkin kit.  My Paper Pumpkin is the monthly paper crafting kit from Stampin' Up!  It's so much fun to get a little surprise crafting kit in the mail every month.

As usual, I open the kit to find a little thank you note from Stampin' Up!

This month we received photopolymer stamps!  Yay!  I love the photopolymer stamps so much because they are clear!  That means you can see where you stamp.  That means perfect stamp placement - and that means that all of your friends will be super impressed with your beautifully stamped projects. 

There are two stamps, a polka dot circle and a striped circle.  This month's Stampin' Spot is Pistachio Pudding - one of my favorite new In Colors.


Here's the packet with instructions and supplies.  This month we are creating adorable little gift bags!


Five craft gift bags.  Five!


Four sheets of punch out alphas in Baked Brown Sugar.


Bermuda Bay punch out circles and Whisper White "star burst" style punch outs.


The kit also comes with 10 pieces of Whisper White wide grosgrain ribbon, a ton of mini clothes pins, some Crushed Curry baker's twine, and Dimensionals!


Some people have some issues with photopolymer stamps because when they first go to use them, sometimes they have problems with getting a nice, crisp stamped image.  The problem is that in the manufacturing process, there is a residue that's on the stamps.  The best way to get rid of the residue is to "dirty" up your stamps.  What I have found is that all you need is a handy, dandy eraser!


Remember these eraser pencils?  This is my favorite stamp dirtying tool.  I erase the whole stamping surface of the stamp to dirty it up.  Then I will ink up the stamp and stamp on a piece of scratch paper a couple times.  Then I'll clean the stamp with my Stampin' Scrub and I'm good to go!


Now on to the project.   I stamped the polka dot circle, in Pistachio Pudding ink, on the star burst circles.  I adhered them to the Bermuda  Bay circles.


Then I selected the letters I wanted to use and popped them up on Dimensionals.


This is what the panels look like all put together!


Now on to the bag!  First you want to put a knot at the end of one piece of ribbon.


Thread the ribbon through the first hole from the inside of the bag to the outside.  Then thread it through the second hole from the outside to the inside.  Knot the other end.  Repeat on the other side of the bag with a second piece of ribbon.


Using the mini clothes pins and baker's twine, I first clip on the first and last letter.  Then I add in the remaining letters.  If you want to have a sort of permanent way of keeping the letters on, I taped them on to the bakers twine and then put the clothes pin on.

Here's the finished bag!


I made up four more.  Two I personalized with people's names and two I just put "enjoy" on.  I figured that it's a nice, general word to put on a gift bag and can be used for many occasions!


Check out all of the leftovers!  I'm stashing these away because I think they would be great for cards and scrapbook layouts.  Plus these stamps will be so useful for other types of cards!


I hope you enjoyed the tour through this month's Paper Pumpkin!  If you are interested in becoming a member of the My Paper Pumpkin subscription now is a great time!  From now through March 31st, 2014, any new subscriber will get two bonuses!  With your starter kit, Stampin' Up! will also send you a pack of 2012-2014 In Color Stampin' Write markers (a value of $14.95) and as a personal thank you for subscribing in the month of March, I will send you a free mystery prize!  Click on the link below to join.


Wednesday, September 18, 2013

June My Paper Pumpkin

Hi Stampers!

Well I am certainly waaaaay behind on my My Paper Pumpkin kit posts!  Today I'm sharing with you the cards I made with the June Kit.  This kit was all about hexagons.  Isn't it adorable?  I love the little windows cut in the card stock.  The best part is that everything is already cut and ready for you to put together.  My Paper Pumpkin is an easy way to get a little crafting into your busy schedule.

This card is the one featured in the kit instructions.

For the next card, I changed the sentiment.  Recognize it?  That's the one that came with your Paper Pumpkin Welcome Kit!  Also, I put some of the hexagon sticker on the inside of the card so that they can be seen through the cut outs.  Just another fun idea to change up the project.


For this card, I simply changed the orientation from landscape to portrait.  To change up the sentiment, all you have to do is just apply ink to the "HELLO" part of the stamp.  This is easy to do with the Stampin' Spot included in the kit.  Keep a baby wipe on hand to wipe off any excess ink that might occur from over-zealous inking of your stamp.  Hey, it happens.


And finally, this card is my hexagon explosion!  I feel like I just kept adding and adding and adding hexagons to this one.  I love how it turned out.  In fact, you could cover the entire cardfront in hexagons and make it look like a quilt!


I hope you have enjoyed seeing the cards I made with the June 2013 My Paper Pumpkin kit.  If you would like to start getting Paper Pumpkins delivered right to your door step, click on THIS link to readd more about it and sign up!

Monday, August 5, 2013

May Paper Pumpkin Part 2

Hi Stampers!

This is the second installment of my May My Paper Pumpkin kit posting.  If you want to see the first part of this project, click HERE.

This kit is for a brag book that was part of my My Paper Pumpkin kit of the month club.  I love the bright geometric papers, and I thought they would be great to capture some highlights of my honeymoon to Hawaii.

This is the fourth page layout from the album.  The "Love This" stamp is also included in the kit.  I love the arrow shaped paper clip as a fun accent.

This is the fifth page layout.  Here I added in some Basic Black card stock, and used stamps from the Designer Typeset Photopolymer stamp set and Sent with Love (retired).


This is the sixth page layout.  Here I used some more Basic Black card stock added in.  I also took some of the scraps of the patterned paper included with the kit to create little banner flags to accent the lizard photo.


Finally, we have the back cover.  I kept it simple, but included the ticket sticker and put the date of our wedding on the ticket.  And what Hawaii album would be complete without a photo of a gorgeous orchid?  Cute, right?


If you are interesting in signing up for  My Paper Pumpkin subscription, you can join at a discounted rate!  Sign up before August 31st, using the coupon code PUMPKINDEAL and you will get your first two months at $10 per month.  After the first two months, the subscription price is $19.95, including shipping.  

Sign Up Here:

Monday, July 29, 2013

May Paper Pumpkin Part 1

Hi Stampers!

I am a little behind on my My Paper Pumpkin posts.  Sorry about that, I have really been trying my best to play catch up on all Stampin' Up related items.  This week I'm going to give you a double dose of My Paper Pumpkin!  The May PP kit was aimed at easy scrapbooking.  You were given all of the supplies needed to create an adorable brag book.  As you probably can tell from my blog, I am not a scrapbooker.  I get overwhelmed with the choices and forget about creating a 12x12 layout - ack!  That's why I love cardmaking so much...it's a much smaller canvas!

The Paper Pumpkin kit made creating this brag book a snap!  I wanted to share all of the layouts with you, so I'm going to split this project into two posts.

First up - the cover.  I decided that a brag book is definitely something you love showing off to people.  Therefore, I took photos from something I really loved for it....my Hawaiian honeymoon!  Hawaii is my favorite place on Earth!

See that cook film strip border?  That was a sticker included with the kit.  In fact, all of the elements on the page are stickers from the kit!  See? I told ya it was easy.
The first 2 page layout.  I added in some Basic Black cardstock to mat the turtle photo.  I also used my Basic Black Stampin' Write marker for journaling.


The second two page layout - I became a little more adventurous with the elements on my pages.  Adding in the little strip of patterned paper to the pages was a great way to use up some of the scraps.


The third 2 page layout.  I used the ABC-123 Outline Alphabet and Numbers stamp set to spell out "KONA" in the lower left corner.  The other stamp "The Good Life" came with the Paper Pumpkin.  That stamp is great for scrapbookers or those of you who create Project Life books.


Look at me....a self proclaimed non-scrapbooker who is scrapbooking!  My Paper Pumpkin made it so easy!  Everything was coordinated and ready for me to use. 

Do you want to get a monthly papercrafting surprise in your mailbox?  Then join My Paper Pumpkin!  If you sign up with me as your demonstrator before August 31st, you can get your first two months for only $10 per month (shipping included)! 


Enter in the code: PUMPKINDEAL

After the first two months, the subscription price goes up to $19.95 per month (shipping included).  Email me if you have any questions about My Paper Pumpkin, or any Stampin' Up! products!

Friday, May 17, 2013

The April Paper Pumpkin

Hi Stampers!

This month I'm a little late in posting my My Paper Pumpkin samples because I was traveling, but here it is!!!  How much fun did you have making the cards in this kit?  They were seriously fun to put together. Seriously.

Here is the card that is shown in the kit instructions.  There are two small sentiment stamps - "you kick booty" and "love your guts".  


I flipped the orientation of the card and then used the Designer Typeset Alphabet Photopolymer stamp set to make my own sentiment.


This one is a case of a card shown by the amazingly talented Shannon West at the Baltimore Regional. I did not do it justice, as you can see by my horrible misaligned stamp and shadow.  Anyway, you get the jist - I combined the two sentiment stamps by partially inking each one up.  Make sure you use your Stampamajig when doing this!


Finally I wanted to make a 3D item with this kit.  I came up with this cute little lip balm holder.


I used the Designer Typeset stamp set again to add in the "kissable". I then stamped the lips from the Best of Love and added some Crystal Effects.


I even added in some of the patterned paper that comes with the kit to the interior.


Here are all of the projects in one picture.


I hope that you have enjoyed the projects I have posted today!

If you want to get a fun stamping kit in the mail, click on the link below to sign up!


This post has been submitted for the Paper Pumpkin Challenge Blog!


Friday, March 22, 2013

My Paper Pumpkin is Finally Here!

Hi Stampers!

This week I received my Welcome Kit for the My Paper Pumpkin Kit Club.  It was so exciting to see the box waiting for me when I got home. I knew that in a matter of minutes I would have some fun projects completed!  The Welcome Kit is the first kit that you will receive when you sign up for the subscription, no matter what month.  If you cancel and then re-subscribe you will receive the Welcome Kit again.  Just thought I would pass along that bit of info to you!


Look on the Stamp Lab blog every month to see that month's kit as well as additional projects you can make using the kit supplies.  Did you miss a post?  No worries, all of the My Paper Pumpkin posts will be listed under the My Paper Pumpkin tab at the top of the page.  Remember, a lot of the stamps provided in the kits will be exclusive kit designs and they will not be available for purchase from Stampin' Up!


So this is what the kit looks like when you first open it.  In the future your kit will come in the orange My Paper Pumpkin box.  Stampin' Up! had a lot of the Welcome Kits still in the brown craft boxes.  No worries, it's still adorable!


There is a sweet little note inside the box.


Wrapped up in tissue - makes you feel like it's Christmas morning!


Inside you will find a Basic Gray Stampin' Spot and your exclusive stamps for this kit.


This is the kit packet.  The color image is your set of instructions.


Everything you need to make fantatic projects.  Colors featured are Basic Gray, Daffodil Delight, Lucky Limeade, Whisper White, and Tempting Turquoise.  In the welcome kit you will also get a D Block as a thank you for joining gift!  Save this block for use with future kits.


When opening your Stampin' Spot, keep the sticker on one side still intact.  This way you won't loose your lid!


I made 4 different projects with this kit.


This card was made following the instructions included with the kit.


This one features the same components with a different layout.  Also, I only inked up the "hey there" part of the stamp.  This is easy to do with the Stampin' Spot.  I also stuck the green circle to the card and then stamped the splatter spots overlapping the green circle.

With a few extra items you can go from a more masculine card type/design to one that's more feminine and whimsical.  I cut the Daffodil Delight banner on the opposite end with a fish tail and used two of the scalloped stickers to create a sentiment banner.  I punched out some Basic Gray butterflies with the Bitty Butterfly punch, and stamped the splatter marks on them.  Then I added some sparkle with a Large Basic Rhinestone.


Finally I used the remaining kit components to make this little box to hold some treats!


Here's how you create the box:

1. Decorate the short edge of the card base with an Edgelit or border punch.  Here I used the Finishing Touches Edgelit.


2. Place the short edge of the card stock on the top of your Simply Scored tool and score at 1-1/8" and 4-3/8".


3. With the long edge on the top of the Simply Scored tool, score at 2" to the score line, and score at 5-3/8".  You will automatically have a score line at 4-1/4" because the card base is pre-scored.


4. Cut out the two rectangles starting from the 2" score lines.  You can use these scraps for punching out the butterflies featured in the card shown above.


5. Cut along the remaining two score lines to make flaps.  Fold along all of the remaining score lines and use your bone folder to make crisp creases.


6. Apply Sticky Strip as shown.


7. Assemble the box and decorate!


Feel free to contact me with any questions or if you would like to order any of the extra supplies used to make these projects.  

If you would like to sign up for My Paper Pumpkin, visit the website and kindly select me, Sarah Souza,  as your demonstrator.