Showing posts with label scrapbooking. Show all posts

Tuesday, July 7, 2015

May 2015 Hip Kit Club - Kill a Kit

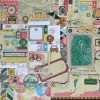
I had recently signed up to receive the Hip Kit Scrapbooking monthly club.  I have not been disappointed so far with the kits. They are chock full of tons of supplies.  I get the main kit, the embellishment add on, and the card stock add on.  I got 7 layouts out of this kit and I still have a lot left over to add to my stash!

Here are all of the layouts that I made with this kit!

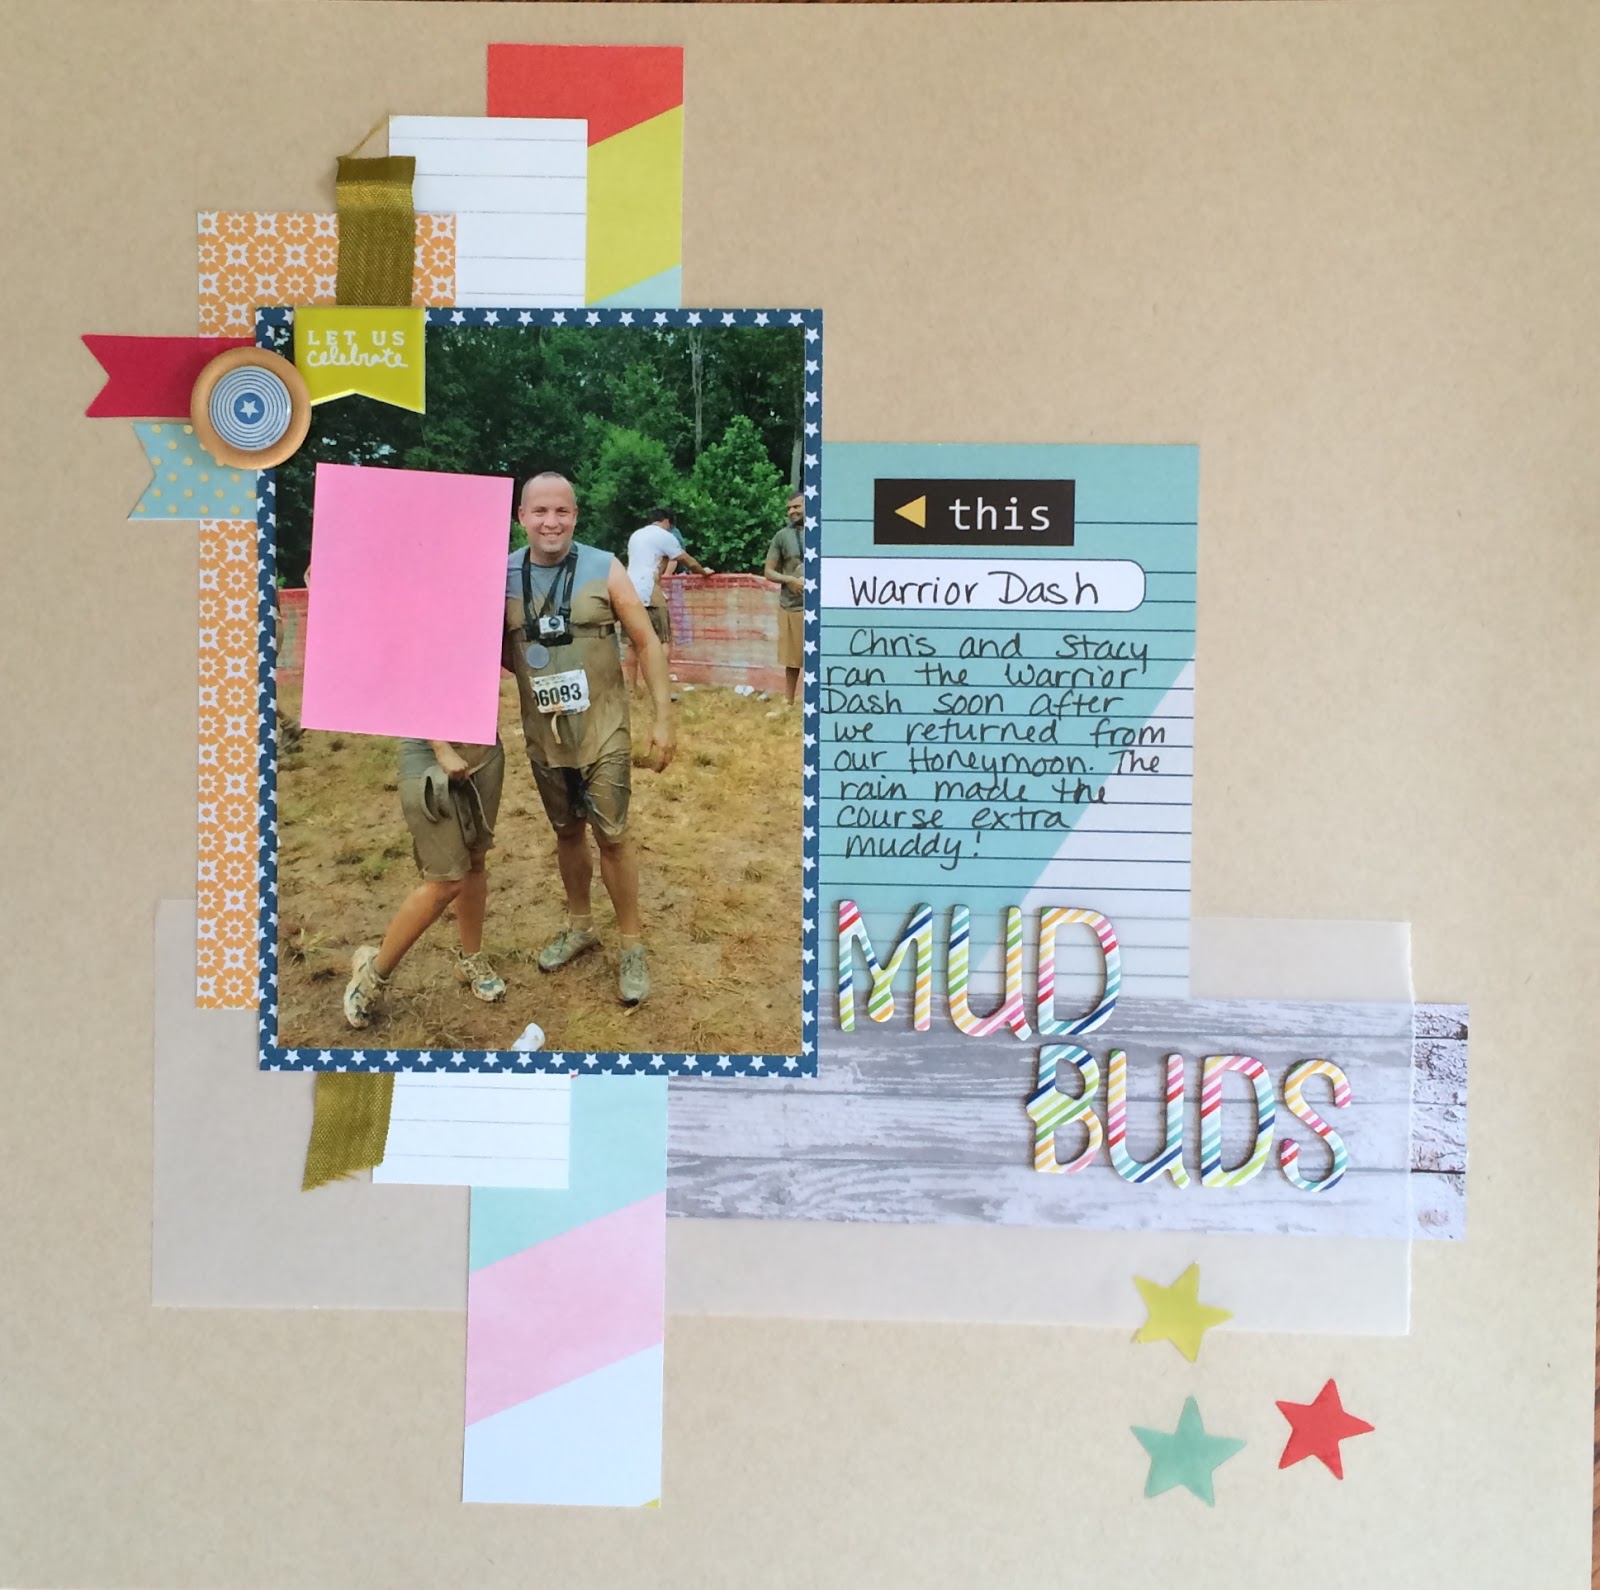
1. Mud Buds: All supplies from the kit except for the wood button accent which is from Freckled Fawn and the piece of olive seam binding which is from my stash.

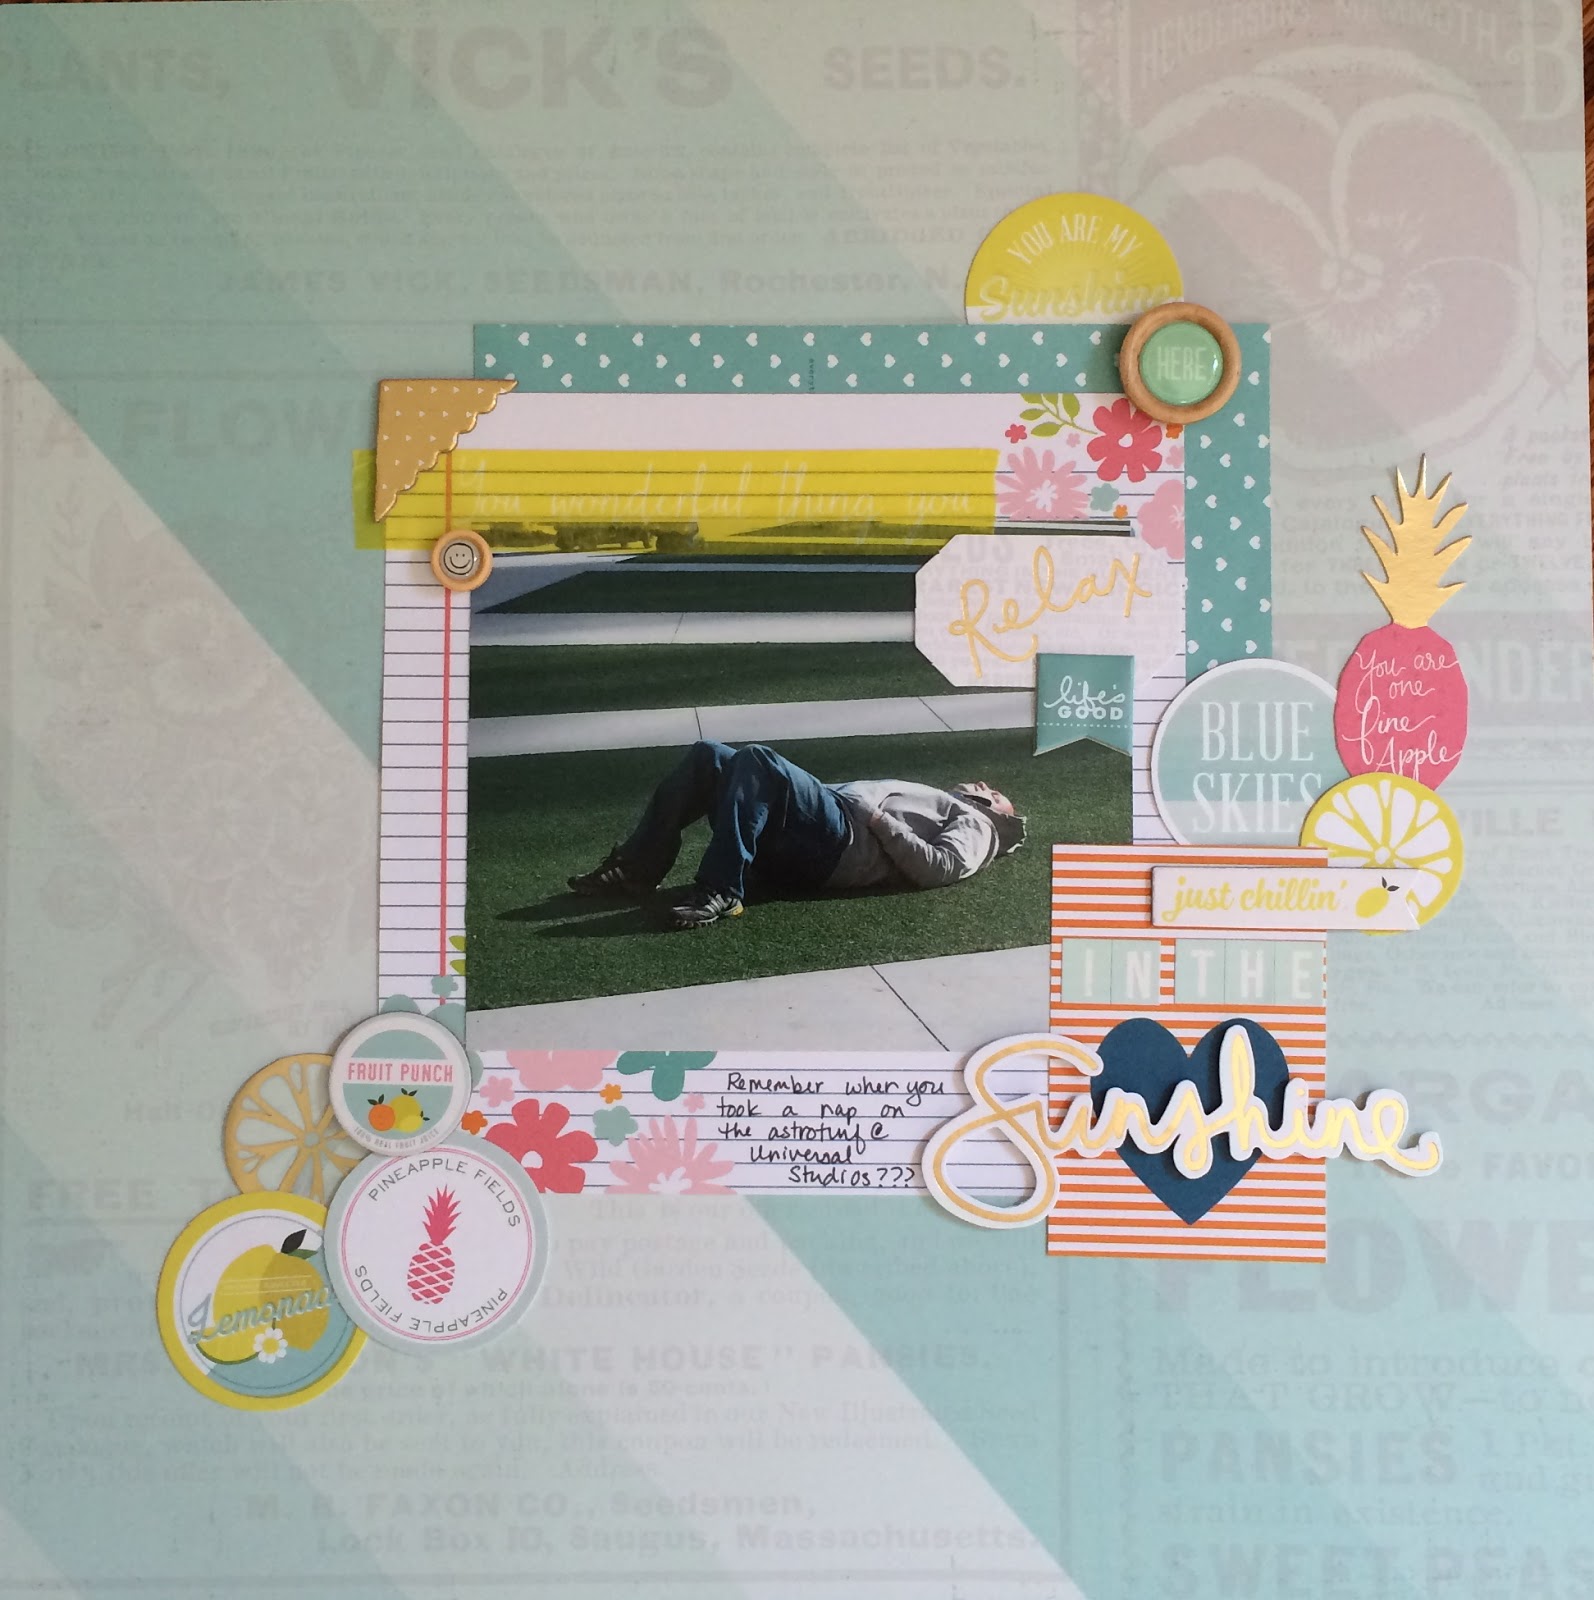
2. In the Sunshine: All supplies from the kit except for the wood button accents which are from Freckled Fawn.  I also lifted this layout from Wendy Antenucci.  You can find her beautiful layout HERE.  You can see she did a lot more layering of embellishments than I did.  I'm getting there but layering is still a challenge for me - especially layering embellishments!


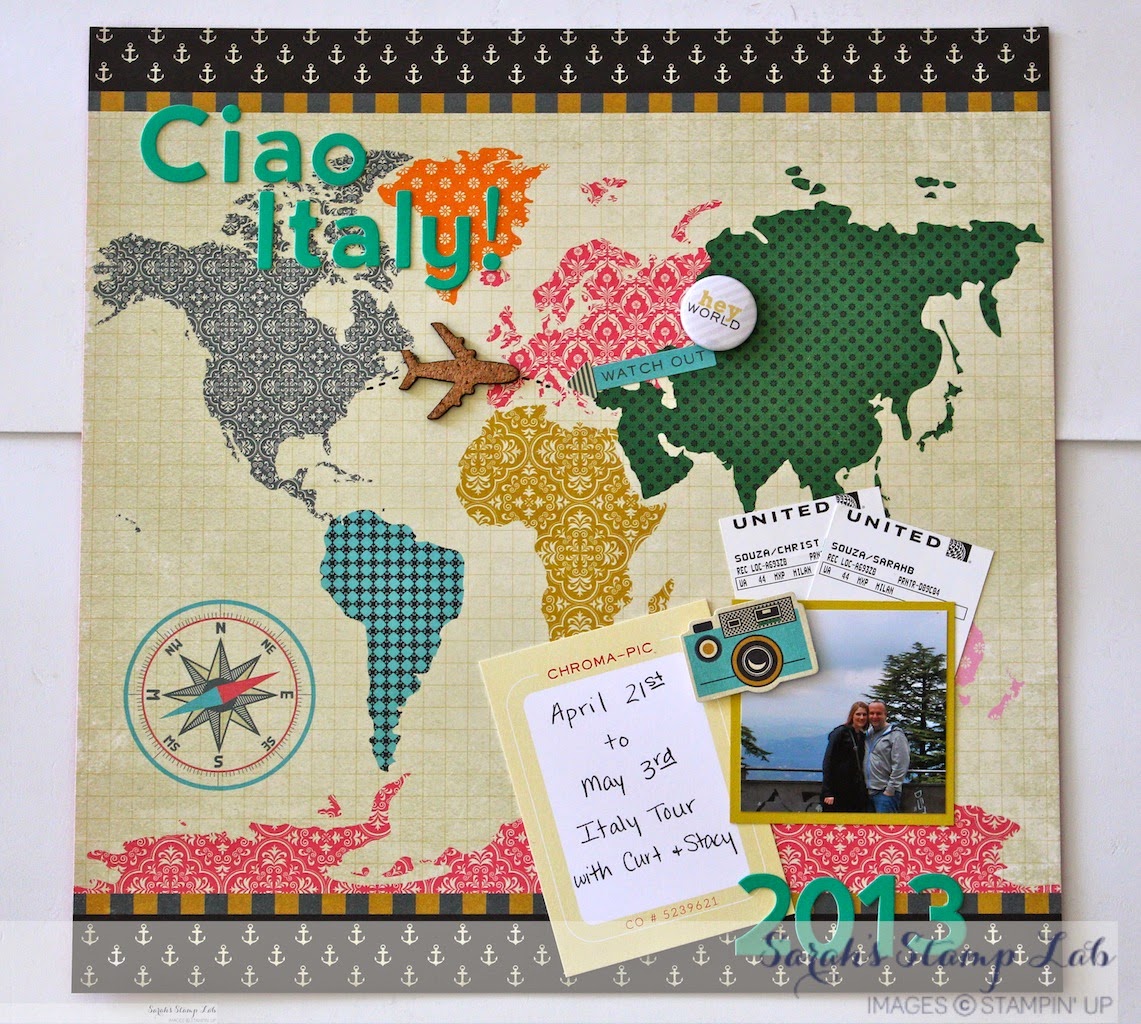
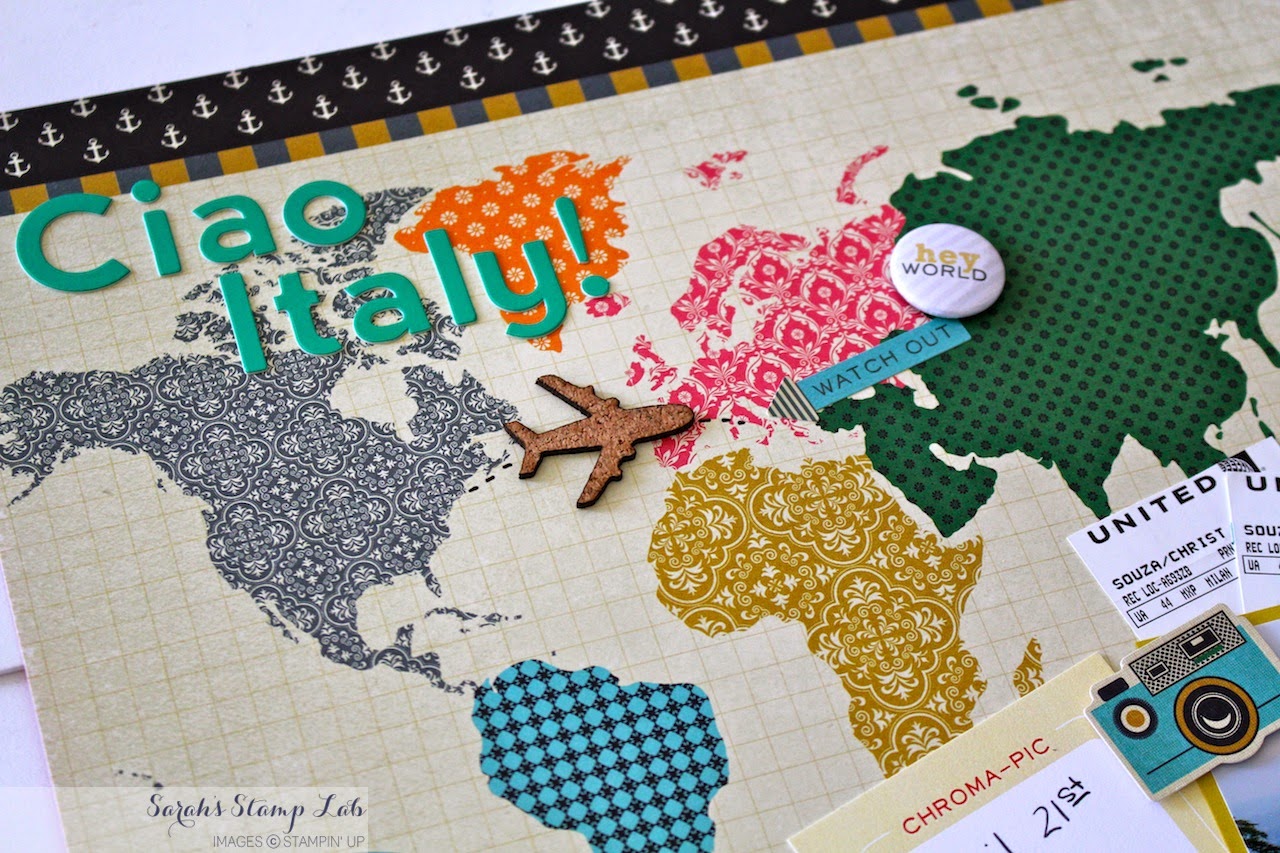
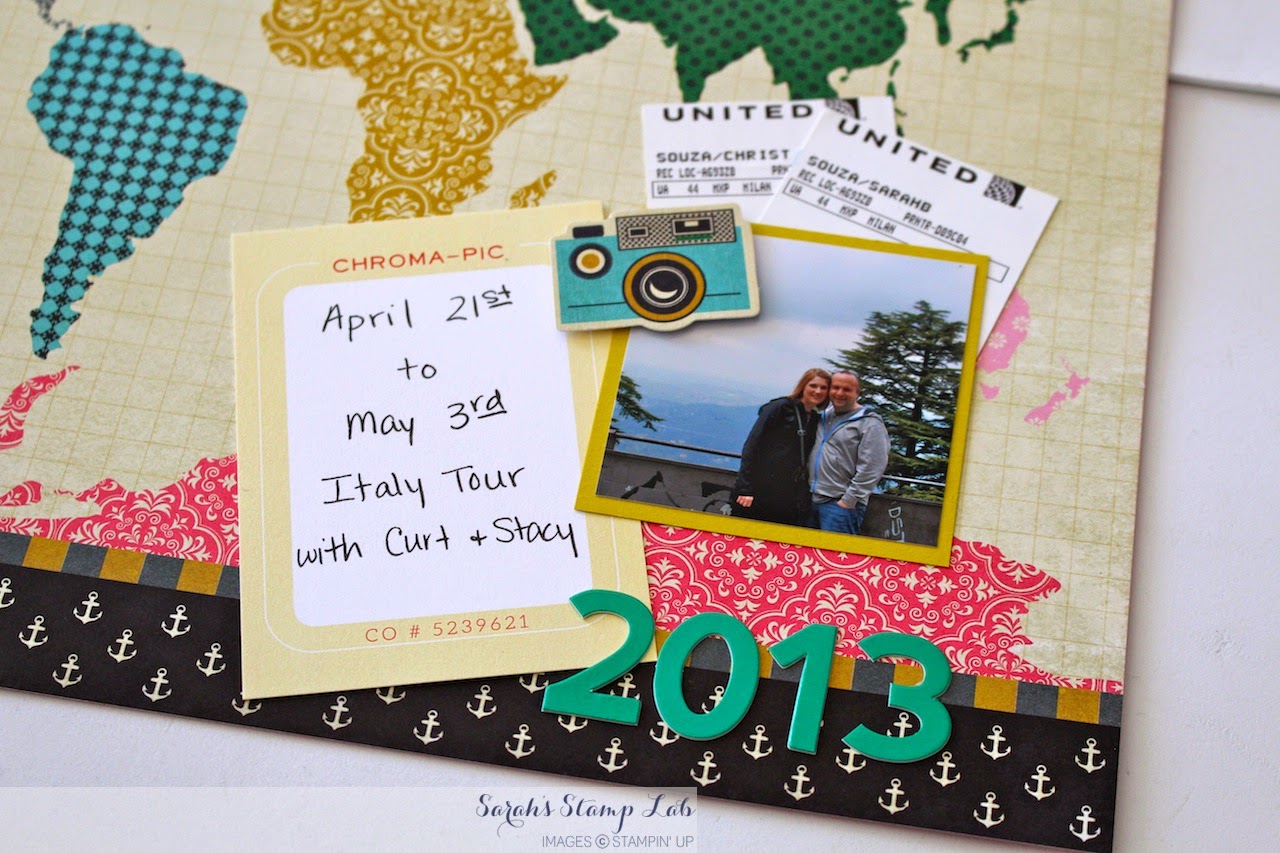
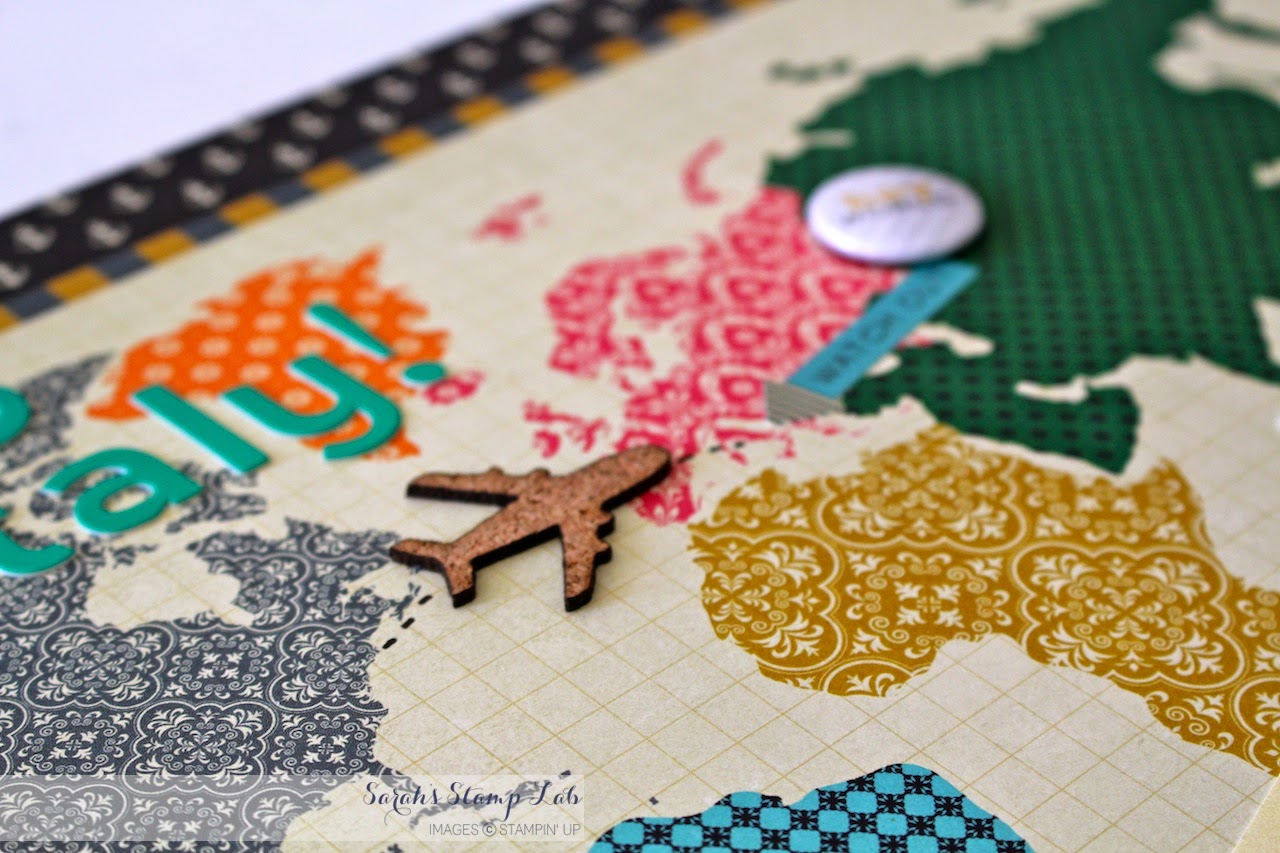
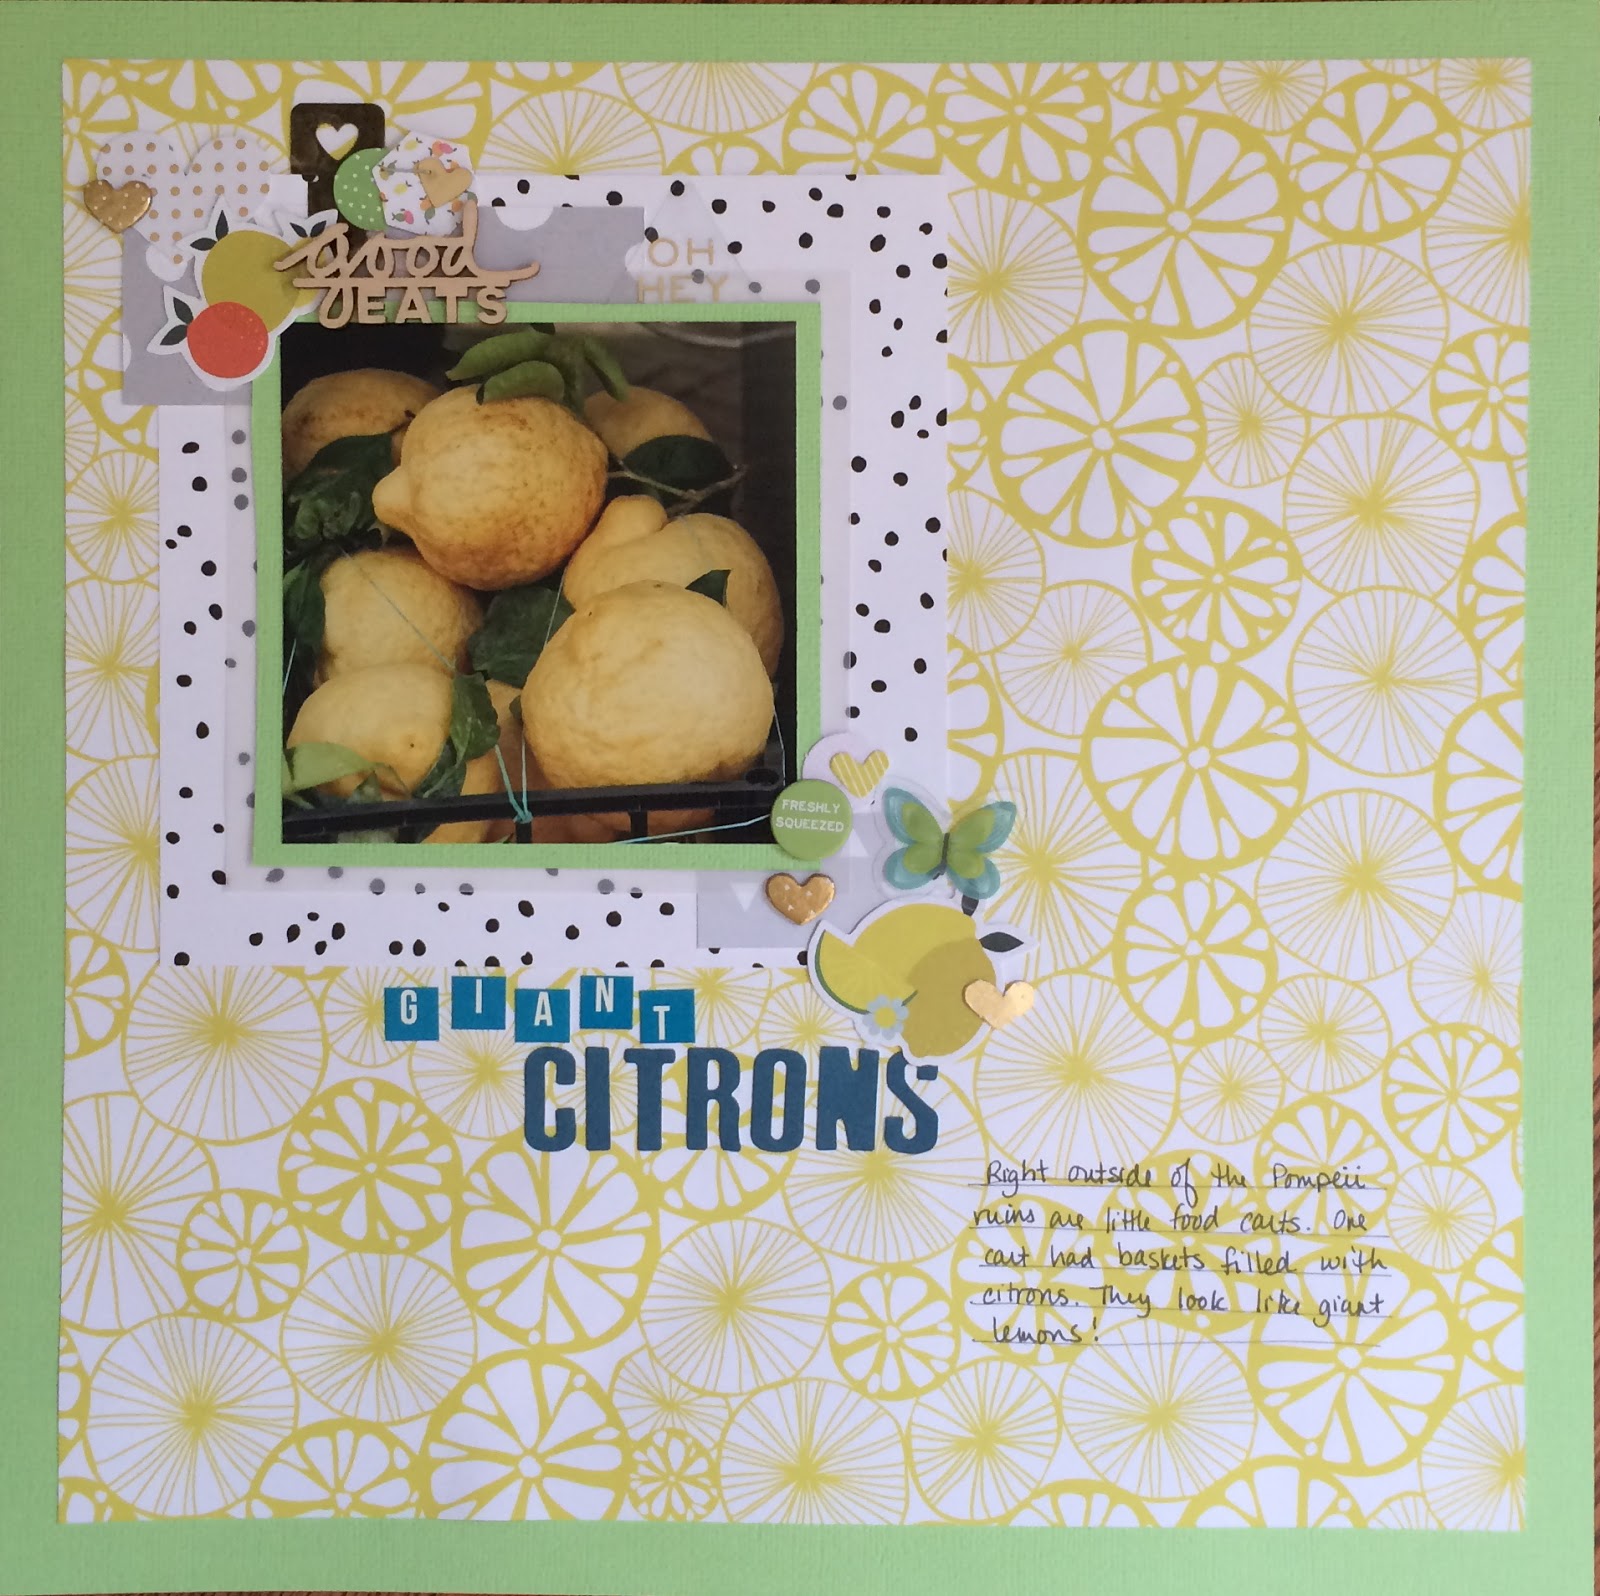
3. Giant Citrons: All supplies from the kit.  When I saw all of the citrus designs in this kit, I couldn't stop thinking about this photo from our 2013 trip to Italy.  I'm getting a little better here with layering the embellishments!


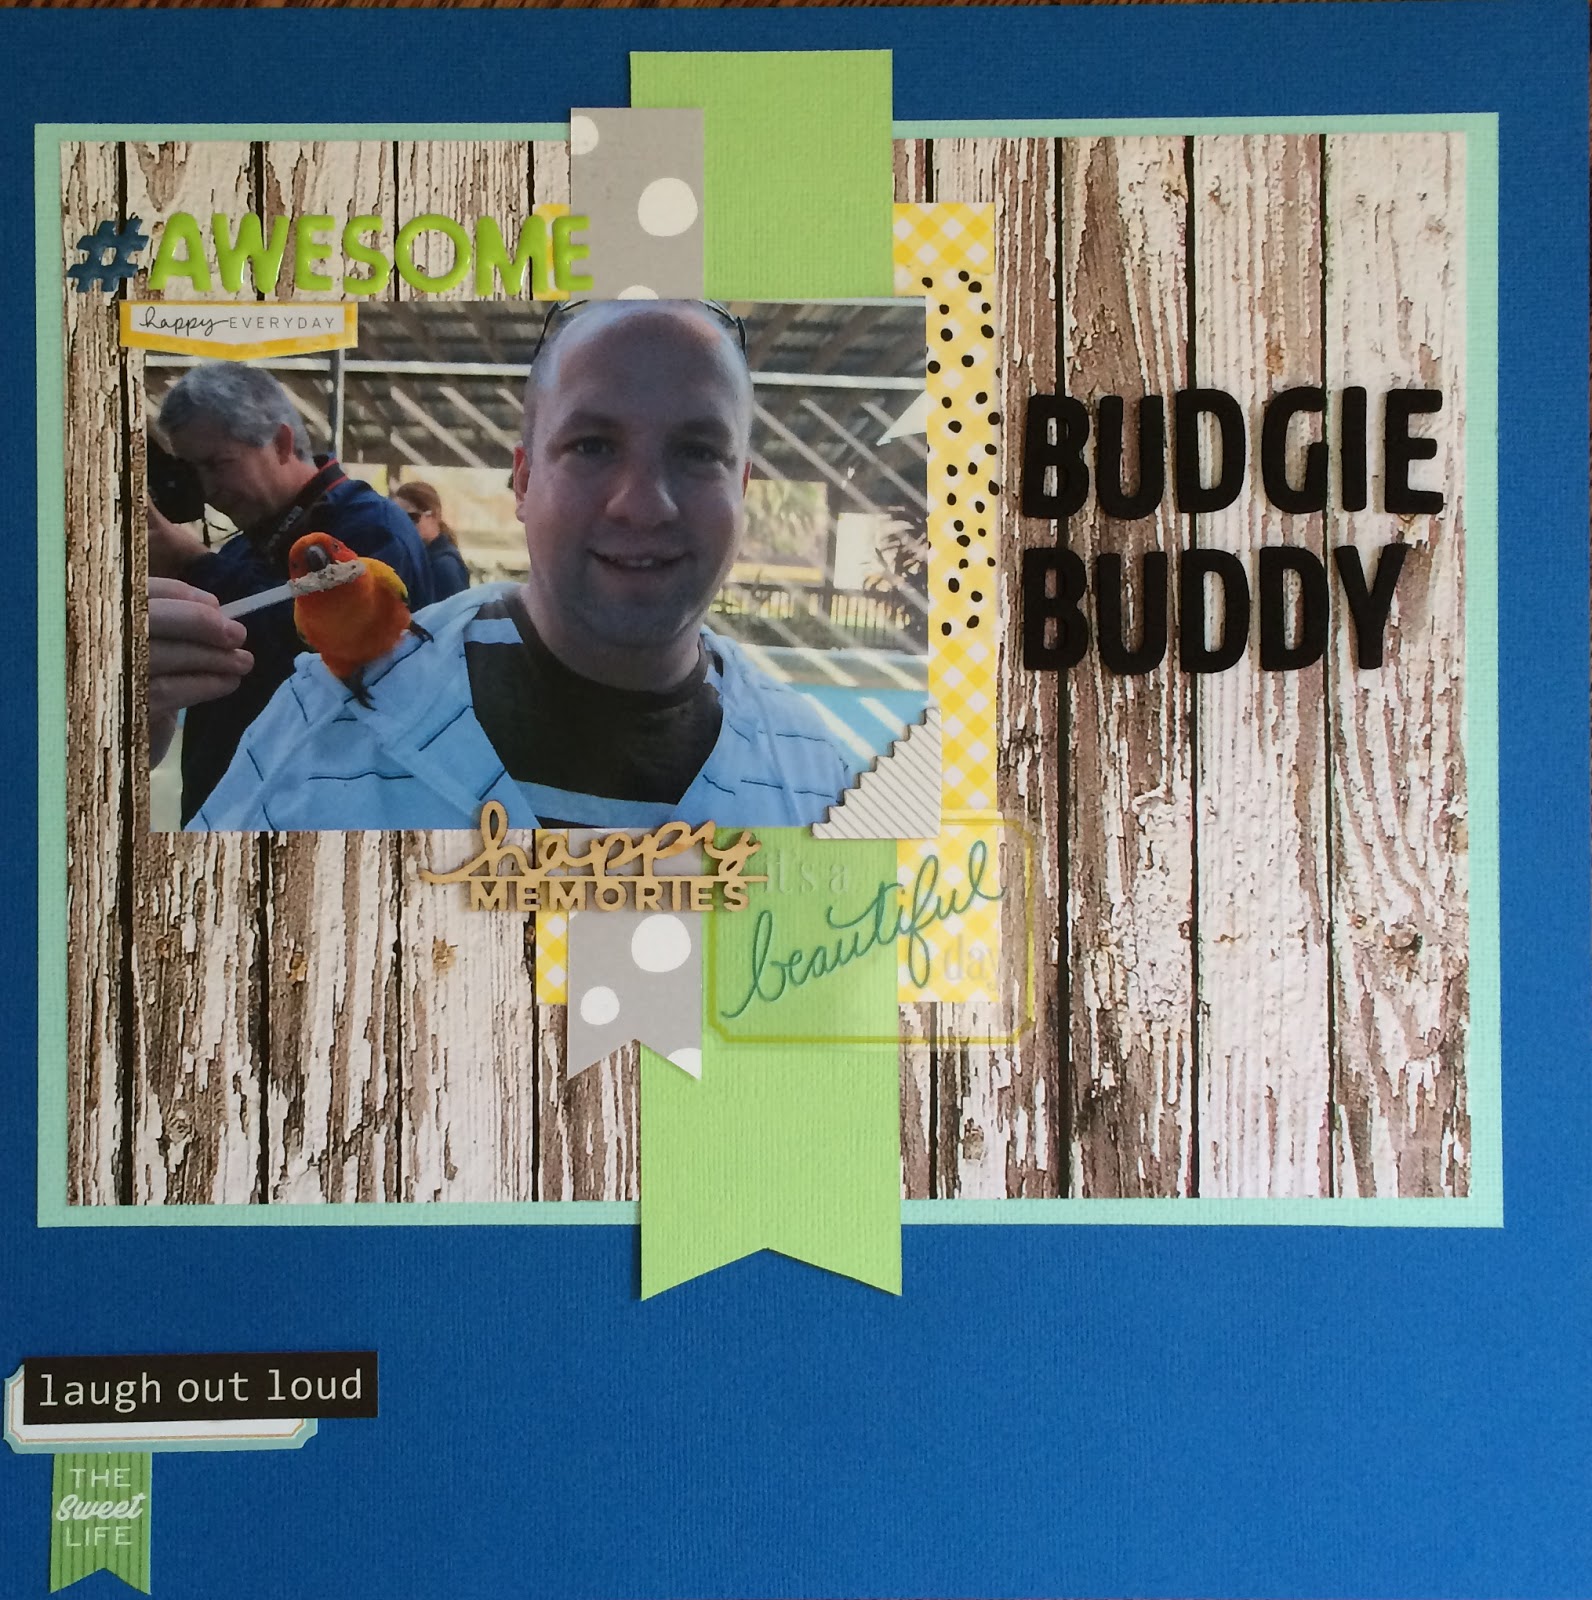
4. Budgie Buddy:  Hubby is probably not thrilled I'm posting this online, but too bad!  This pic is super adorable!  All supplies are from the kit.  I really love the woodgrain paper.


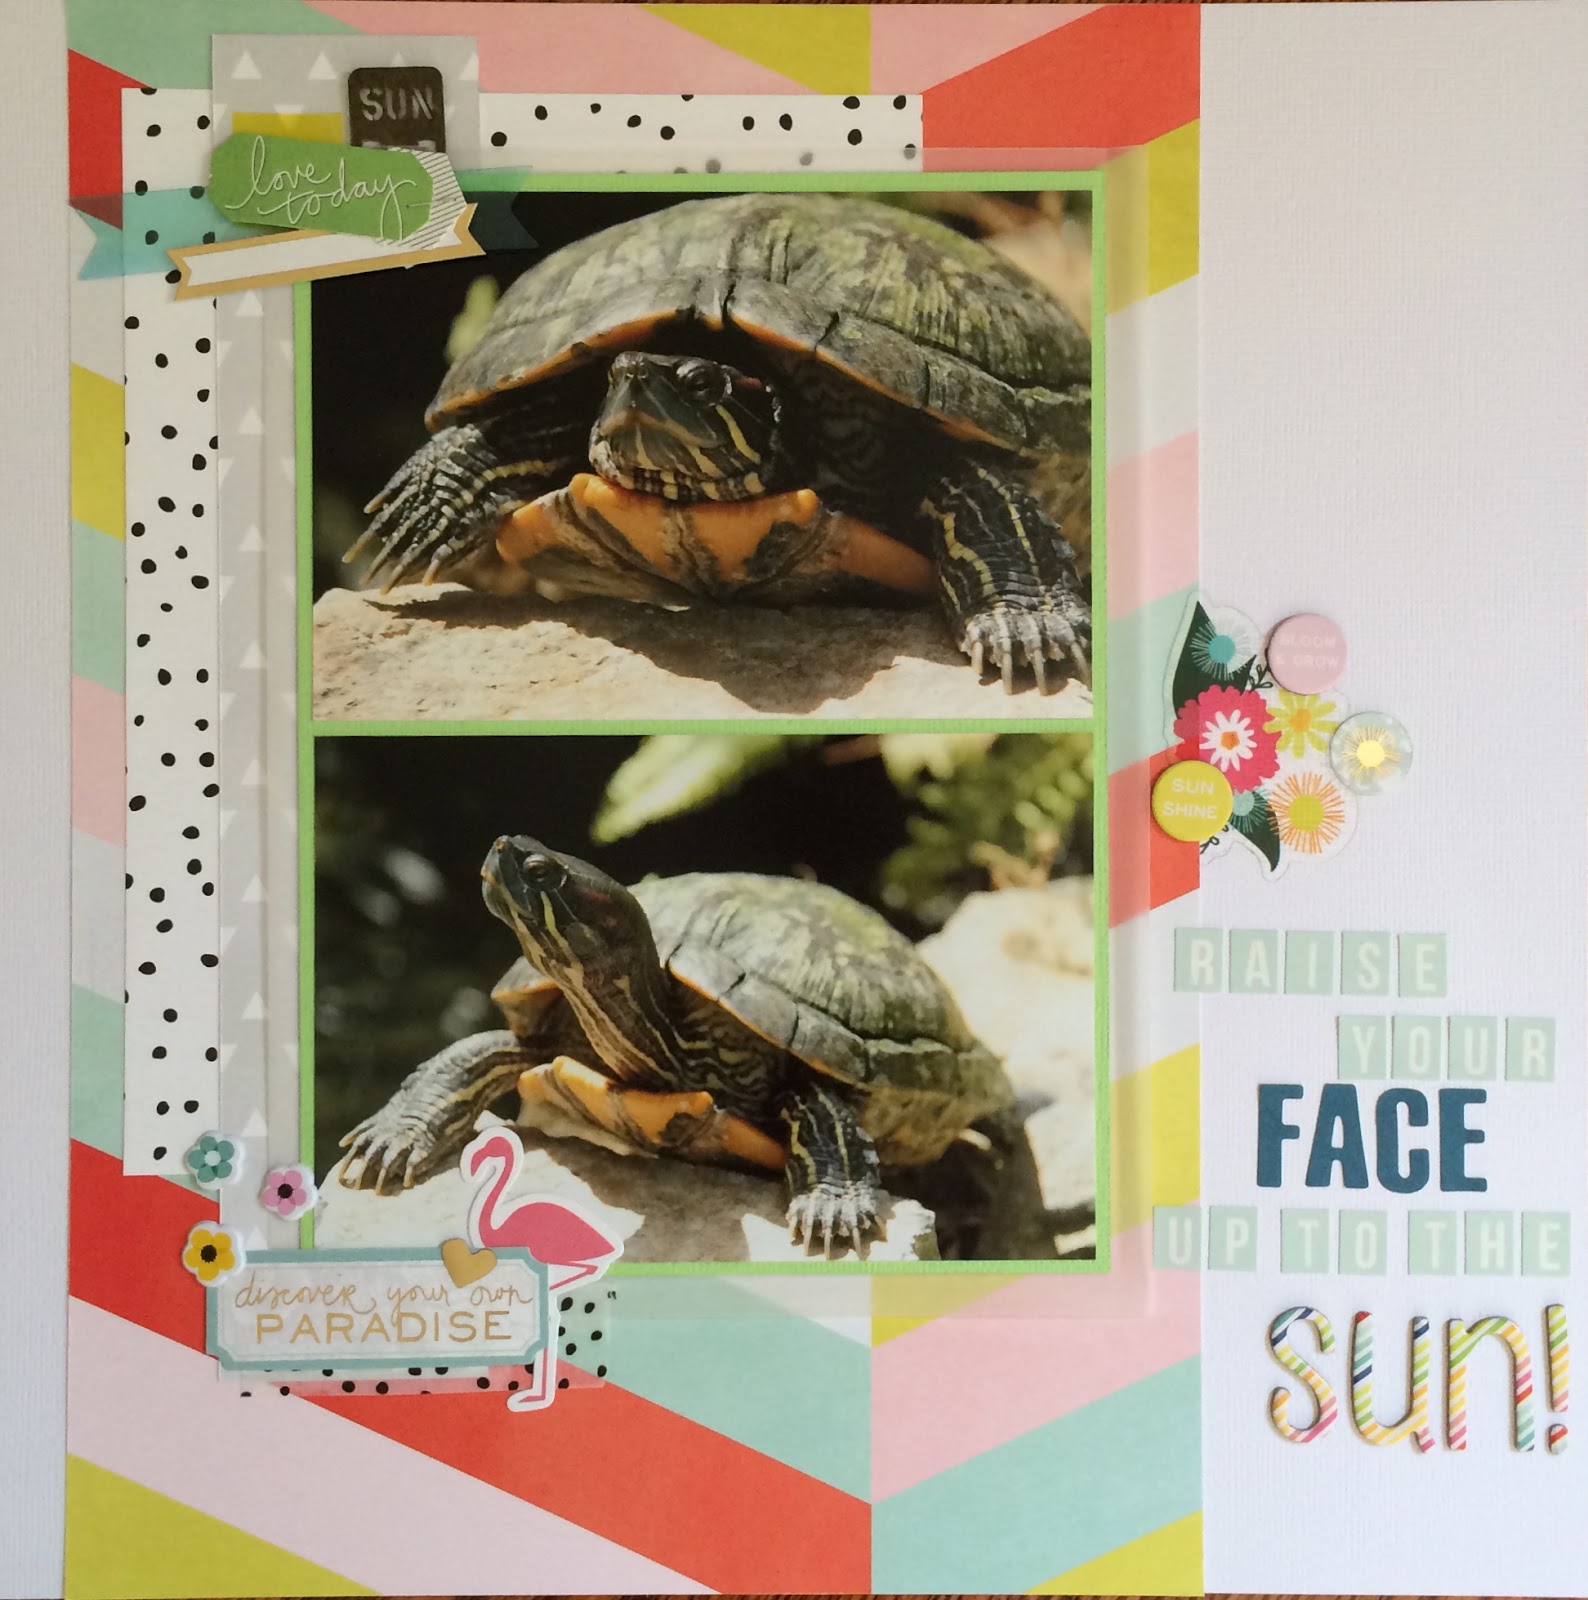
5. Raise Your Face Up to the Sun:  All supplies from the kit.  I made this layout after watching the first installment of Scrapbooking for Mortals on the Victoria Marie youtube channel.  Please go check out her videos!  I was really happy with my layering on this layout.  I was also experimenting with mixing up different fonts for my title.


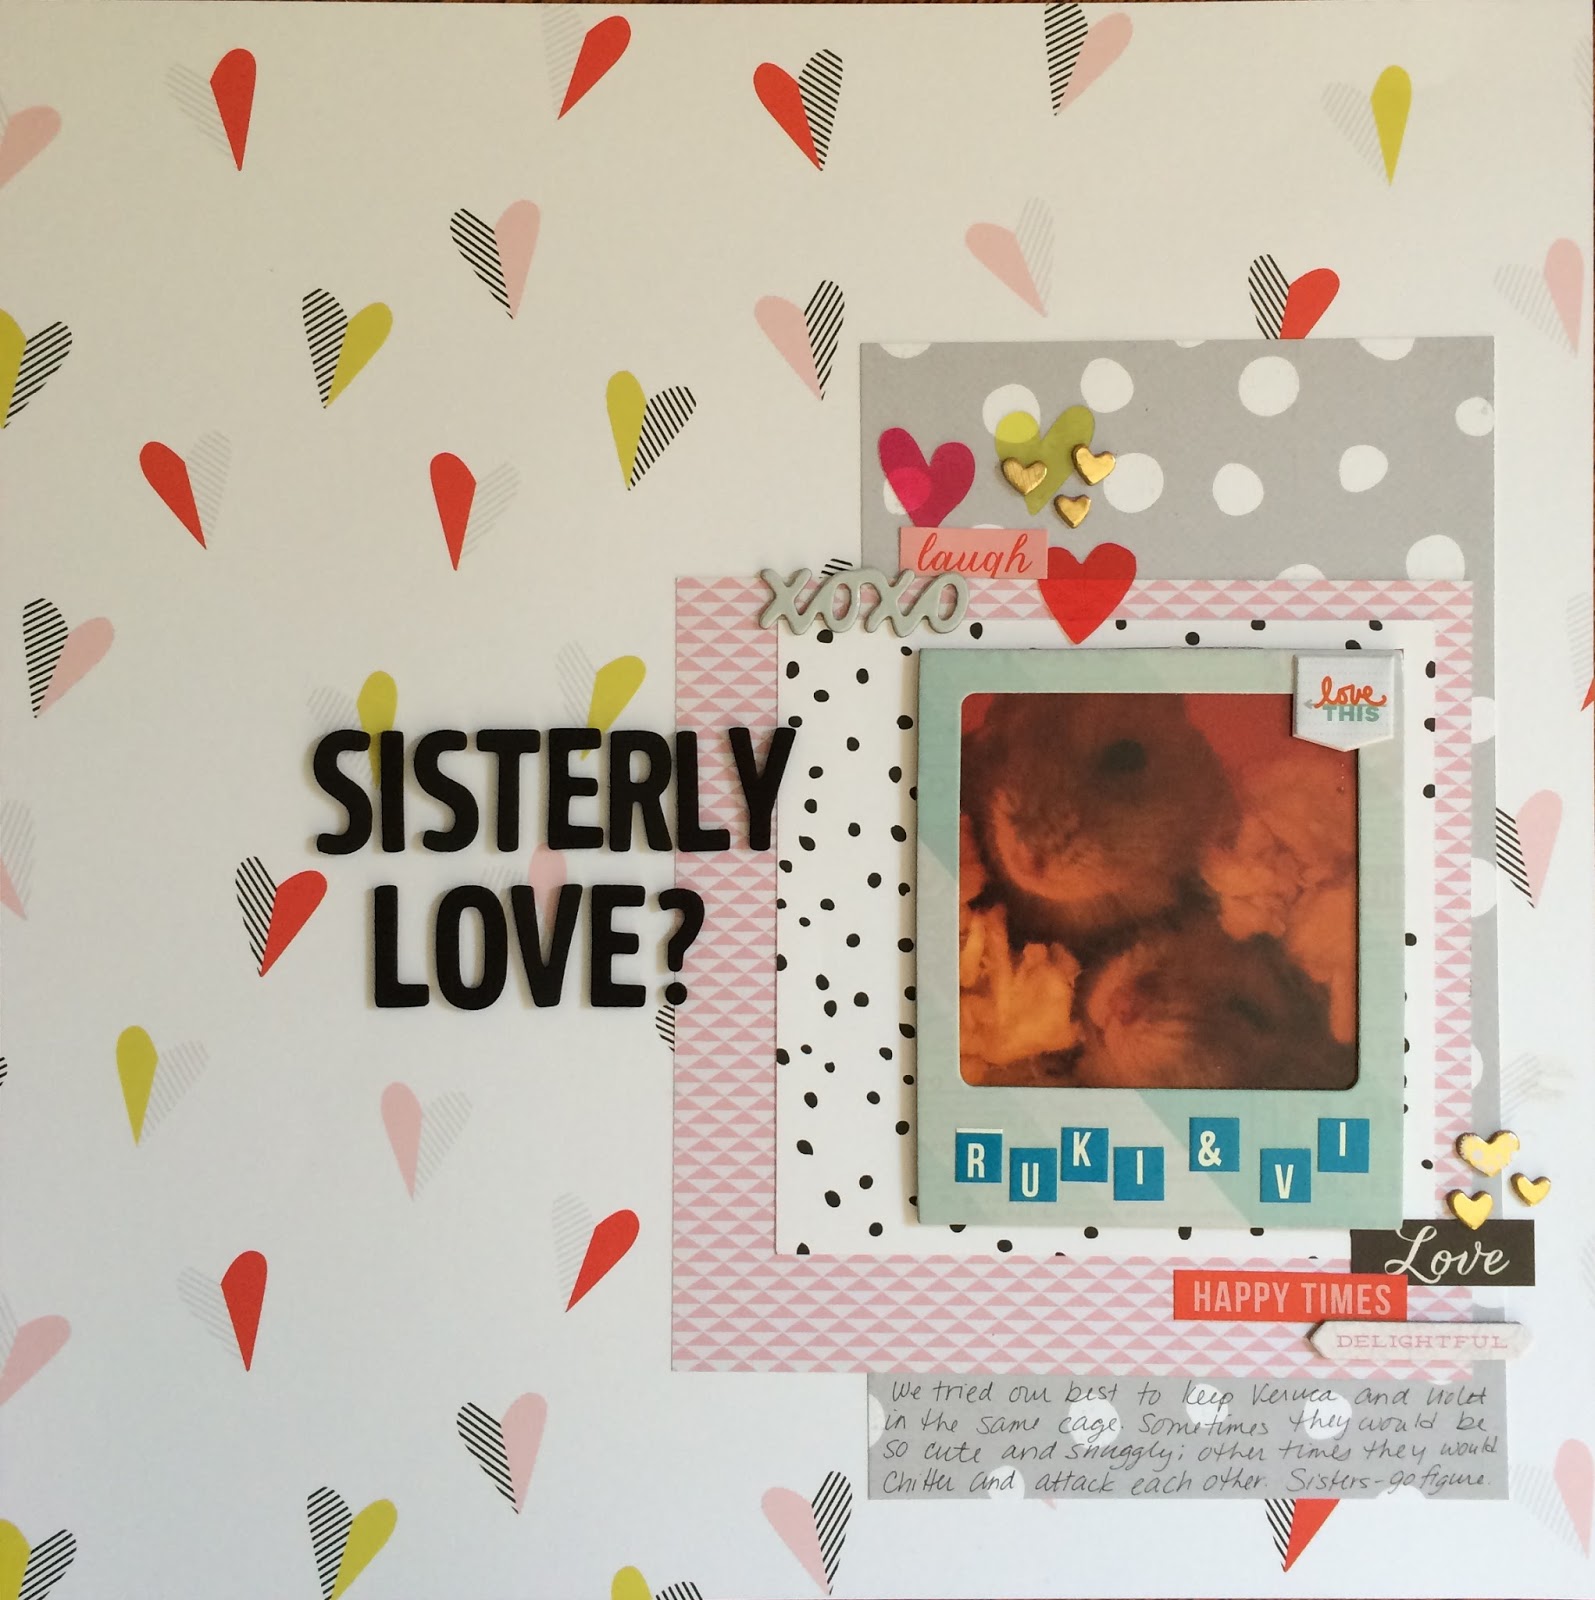
6. Sisterly Love?: All supplies from the kit.  Another experiment in layering!  I was trying to pair up papers that would look OK with the orangey color of the photo.


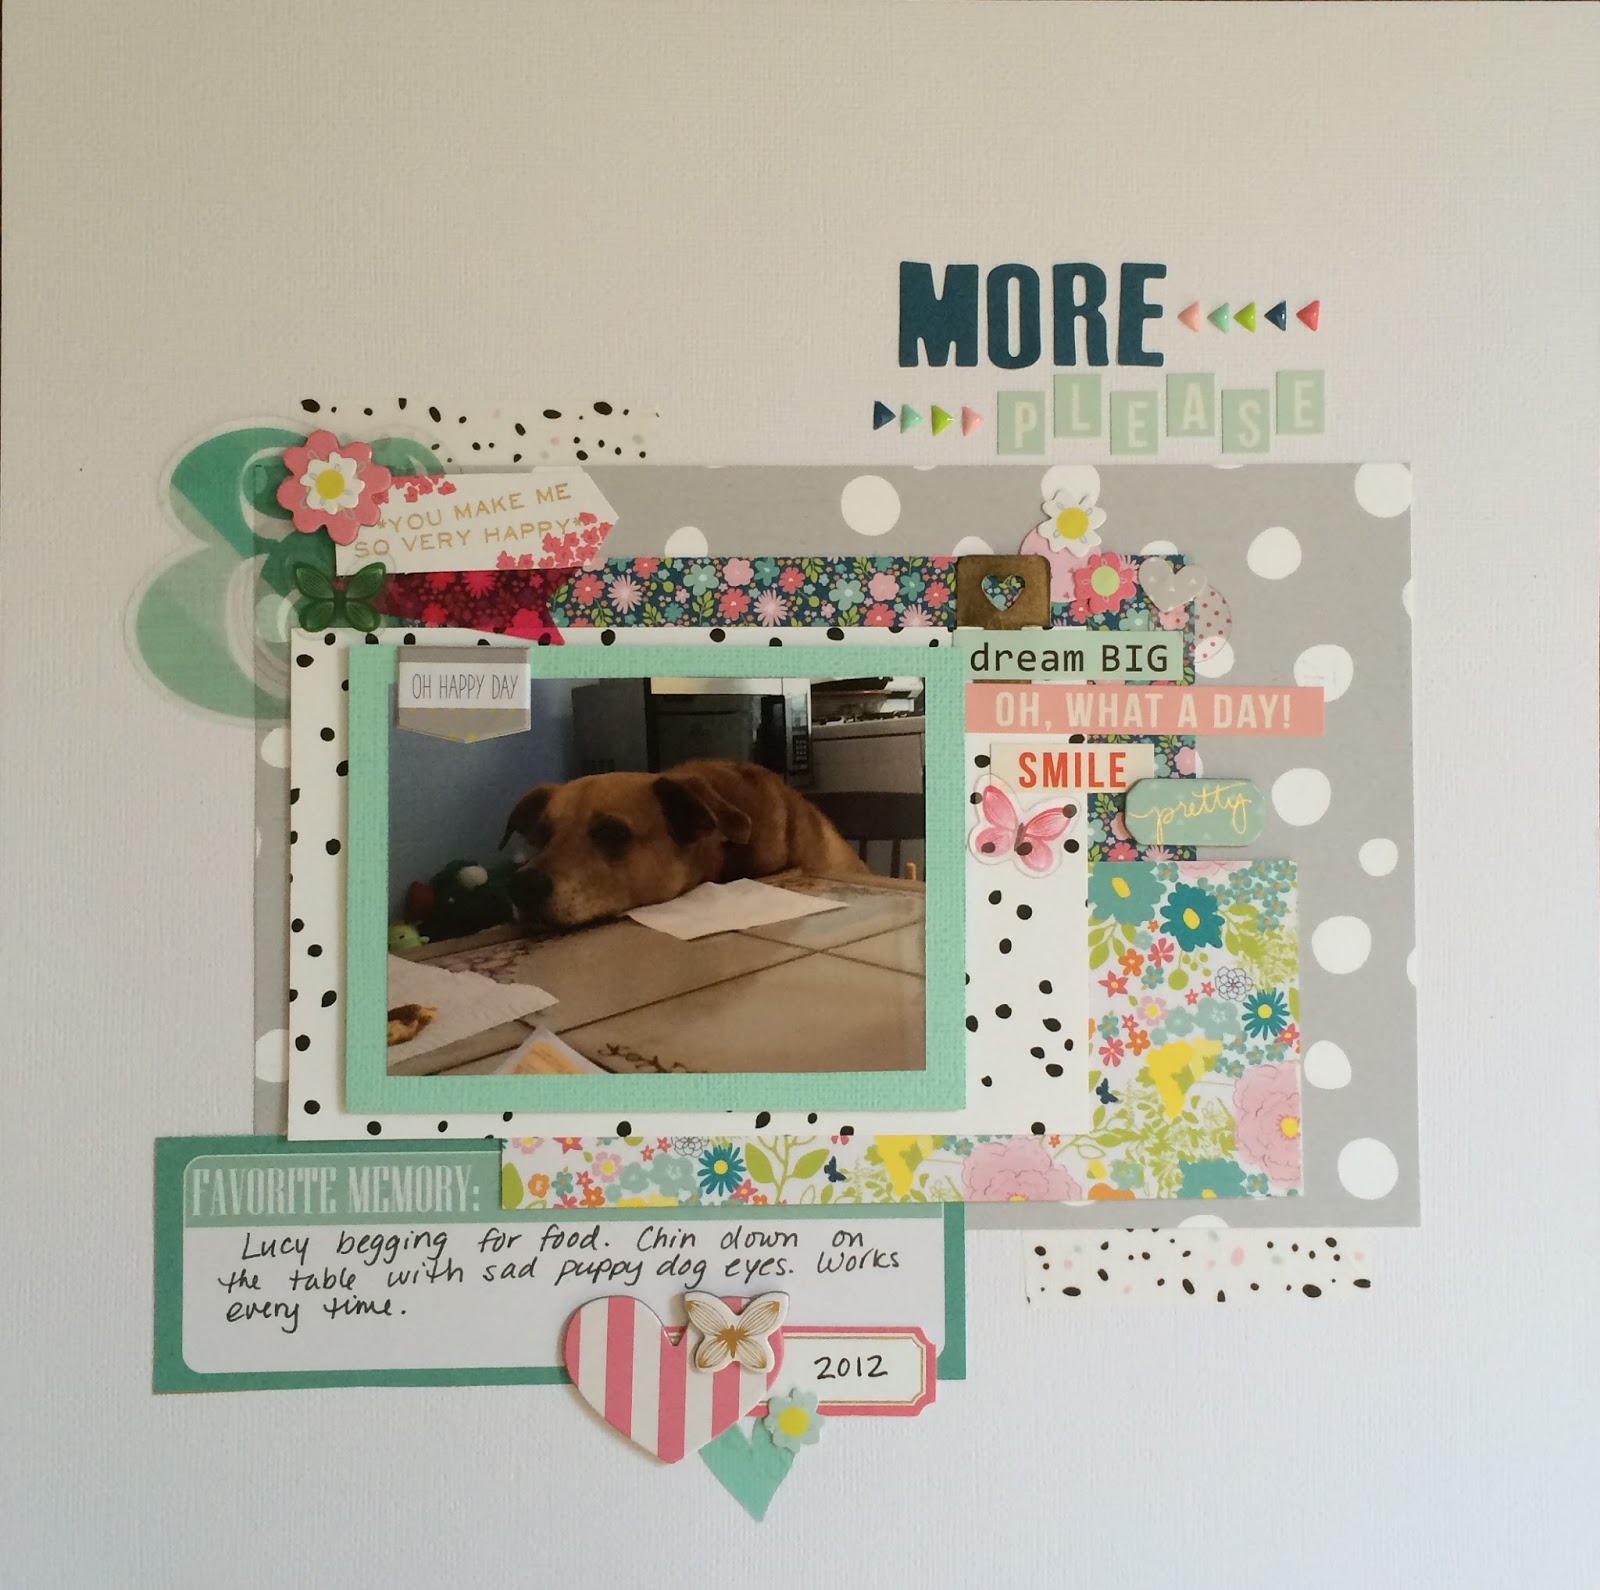
7. More Please: This was the last layout I made with the kit and it ended up being my favorite out of all of them!  I was really trying to focus on the concepts I learned in Victoria's video and I think it really paid off!  I love the colors and the layering on this one!  


Thanks for looking at my layouts from my May 2015 Hip Kit club kit.  Feel free to leave me a comment.  :-)

Tuesday, April 15, 2014

Project Life and Stampin' Up! - A Match Made in Heaven!

Hi Stampers!  

I have some really exciting news to share with you today!  Oh my gosh, it's just too much....here we go!


Get ready for a scrapbooking revolution with Project Life! It helps busy people (so basically all of us) document life using photos and journaling in a quick, simple, and fabulous way. Stampin' Up! has partnered with Becky Higgins, creator of Project Life, to offer a complete line of elite products. 
Becky explains, "It's called Project LIFE because it's about YOUR LIFE. Whatever your life is. Whatever your stage of life. Whatever your family circumstances. Whatever your lifestyle. Project Life is designed to help anyone and everyone get their pictures into a book."  In a nutshell, it's all about spending more time making memories and less time scrapbooking them.
 be interested in buying exclusive-to-Stampin' Up! Project Life products from you!  

Why Project Life enthusiasts (and soon-to-be Stampin' Up! enthusiasts) will love these products:

  • Coordination, coordination, coordination. You know we do it best, and our Project Life line is no exception. 
  • Our products center on things that matter most-weddings, babies, kids, and the everyday moments of getting together with your favorite people-all things that need to be remembered.
  • Our card collections come without rounded corners so you can decide if you want to keep them that way (and match the corners of your photos as they come) or use our Project Life Corner Punch to round them out. 
  • Our card collections come packaged in an exclusive storage system that holds all your Project Life supplies on your desk: cards, journaling pens, photos, accessory packs, stamp sets, and more.
  •  
    Check out this video to learn more!


You’ll be able to order a selection of Project Life products starting May 1! And with the launch of our new annual catalog on June 2, you’ll be able to buy from our complete line of Project Life products.
Can’t wait that long? Stampin’ Up! demonstrators will be able to order the limited selection starting April 21. So if you’re a demonstrator make sure to check the demonstrator website that day; if you’re not a demonstrator, sign up and you can order the products early too!
Here are the items you’ll be able to purchase on May 1:


Are you interested in getting the new Annual Catalog for FREE?  Do you want to see the entire line of Stampin' Up! Project Life products?  Then request a catalog from me!  All you have to do is send me an email! 2014-2015 Annual catalogs will begin mailing out in May.

Don't forget!  The Annual Retirement List will be announced on April 21st!  All retiring items are available while supplies last.  Double check those wishlists because you do not want to miss out!

Sunday, April 6, 2014

April 2014 Scraptastic Kit - Italy Book Opening Page Layout

Hi Stampers!

I recently have begun scrapbooking and I decided to join the Scraptastic Kit Club.  I received my first kit this month and I couldn't wait to open it up just to use this sheet of paper with the map on it!  I thought it would make the perfect page to the opening of my album for my Italy trip.


I used the Jillybean Soup chipboard alphas for all of the titles and dates.


I also got the April This is Life Noted grab bag pack of journalig cards which is where I got the Chroma-Pic card from.  I thought it went well with the color scheme and vintage travel feel of the page.  I tucked parts of our boarding passes behind the photo of us.


I used my Basic Black Stampin' Write marker to add a dashed line to connect the cork airplane from New Jersey to Italy.  Just a fun little extra detail.  :-)


If you love Summer Starfruit (or any of the other 2012-2014 In Colors [Gumball Green, Midnight Muse, Raspberry Ripple, or Primrose Petals]) be sure to stock up soon!  The Stampin' Up! retirement list will be released on April 21st and it will soon be time to say good bye to this set of In Colors.

Scrappin' Supplies:


Wednesday, December 25, 2013

The 2013 Mega Christmas Post! (Sort of...)

Merry Christmas Stampers!!!

Last year I created my very first Mega Christmas Post!  Normally I make so many Christmas cards that I don't have enough time to blog about them individually.  So to catch up on all of my blogging, I created a mega post of all of the remaining projects!  This year, either (a) I didn't make as many Christmas projects or (b) I was actually almost completely caught up because I only have two holiday type projects left to share!

Now on to the two remaining projects!

First up is a card that was inspired by one that I had seen in the SU Demonstrator magazine, Stampin' Success.  In the magazine, they had used Smoky Slate embossing powder for the snowflake image, but I want way more sparkle!  If you want to have your stamped images in glitter, then the Heat n Stick powder will be your best friend! 

To make a glittery stamped image, here's what you do:

1. Ink your stamp in Versamark and stamp on the cardstock.
2. Coat the stamped image in Heat n Stick powder, just as you would if you were using embossing powder.
3.  Heat the powder until it turns clear.  Then sprinkle glitter over the image and shake off the excess.
4. Heat the image again to set the glitter. Super easy!

I added a Frosted Finishes Embellishment to the center for even more sparkle.  You can never have enough sparkle!  I think I had glitter on me for a week after making this card! :-)


 Here's a close up of the snowflake.  Yes, that is the Silver Foil paper.  You can both dry and heat emboss it and it works beautifully! 


Stampin' Supplies:
Card Stock: Whisper White, Marina Mist, Silver Foil
Stamps: Festive Flurry, Christmas Messages
Ink: Versamark, Smoky Slate
Big Shot:  Petals-a-Plenty Embossing Folder, Festive Flurry Framelits 
Punches: Dotted Scallop Ribbon
Embellishments: Silver Stampin' Glitter, Frosted Finishes, Heat n Stick Powder, Heat Tool


Next up I have a scrapbook page to share with you.  I was dying to try out this starburst technique.  I love the way it came out!  So easy!  Look back for when this technique is featured at my Technique Time class.  I can't wait to teach it to you!

I made a solution of isopropanol, Old Olive re-inker, and some Champagne shimmer paint.  Sadly, the shimmer paint is retired.  Boo hoo!

I loved adding some fun elements to this page like the chevron punch outs and washi tape.


Here's a close up to allow you to see the shimmer in the sprayed areas of the page.  Also, can you spot the new product used on this scrapbook page?  I'll give you some hints....they are round and gold and shiny and available for purchase January 3rd!


Stampin' Supplies:
Card Stock: Baked Brown Sugar, Very Vanilla, Old Olive
Stamps: Christmas Messages
Ink: Baked Brown Sugar, Old Olive re-inker
Punches: Chevron Border
Embellishments: Season of Style Washi Tape, Gold Sequin Trim (available Jan 3rd), Stampin' Spritzer

I hope everyone has a fantastic Christmas!!

Monday, August 19, 2013

Chicks with Paper Power Tools August Challenge

Hi Stampers!

I participate in a blogging group - Chicks with Paper Power Tools - and we have started to have monthly challenges.  This month the challenge was all about favorites!  You had to take one of your favorites - favorite color, favorite food, favorite people, etc. - and create a scrapbook layout based on that.  I chose to scrapbook my favorite band.  It was easy to create using My Digital Studio.  I added in a couple pictures take at the show, typed in the date, location, and the whole set list.  Then I printed it out on glossy photo paper and trim me it down to 8"x8" so that it can fit in my scrapbook album.  What a fun way to capture the memories of that day!  

Big thanks to Dell for hosting this month's blog group challenge!  Hugs!!!


Stampin' Supplies:
All Digi!  My Digital Studio

Monday, August 5, 2013

May Paper Pumpkin Part 2

Hi Stampers!

This is the second installment of my May My Paper Pumpkin kit posting.  If you want to see the first part of this project, click HERE.

This kit is for a brag book that was part of my My Paper Pumpkin kit of the month club.  I love the bright geometric papers, and I thought they would be great to capture some highlights of my honeymoon to Hawaii.

This is the fourth page layout from the album.  The "Love This" stamp is also included in the kit.  I love the arrow shaped paper clip as a fun accent.

This is the fifth page layout.  Here I added in some Basic Black card stock, and used stamps from the Designer Typeset Photopolymer stamp set and Sent with Love (retired).


This is the sixth page layout.  Here I used some more Basic Black card stock added in.  I also took some of the scraps of the patterned paper included with the kit to create little banner flags to accent the lizard photo.


Finally, we have the back cover.  I kept it simple, but included the ticket sticker and put the date of our wedding on the ticket.  And what Hawaii album would be complete without a photo of a gorgeous orchid?  Cute, right?


If you are interesting in signing up for  My Paper Pumpkin subscription, you can join at a discounted rate!  Sign up before August 31st, using the coupon code PUMPKINDEAL and you will get your first two months at $10 per month.  After the first two months, the subscription price is $19.95, including shipping.  

Sign Up Here:

Monday, July 29, 2013

May Paper Pumpkin Part 1

Hi Stampers!

I am a little behind on my My Paper Pumpkin posts.  Sorry about that, I have really been trying my best to play catch up on all Stampin' Up related items.  This week I'm going to give you a double dose of My Paper Pumpkin!  The May PP kit was aimed at easy scrapbooking.  You were given all of the supplies needed to create an adorable brag book.  As you probably can tell from my blog, I am not a scrapbooker.  I get overwhelmed with the choices and forget about creating a 12x12 layout - ack!  That's why I love cardmaking so much...it's a much smaller canvas!

The Paper Pumpkin kit made creating this brag book a snap!  I wanted to share all of the layouts with you, so I'm going to split this project into two posts.

First up - the cover.  I decided that a brag book is definitely something you love showing off to people.  Therefore, I took photos from something I really loved for it....my Hawaiian honeymoon!  Hawaii is my favorite place on Earth!

See that cook film strip border?  That was a sticker included with the kit.  In fact, all of the elements on the page are stickers from the kit!  See? I told ya it was easy.
The first 2 page layout.  I added in some Basic Black cardstock to mat the turtle photo.  I also used my Basic Black Stampin' Write marker for journaling.


The second two page layout - I became a little more adventurous with the elements on my pages.  Adding in the little strip of patterned paper to the pages was a great way to use up some of the scraps.


The third 2 page layout.  I used the ABC-123 Outline Alphabet and Numbers stamp set to spell out "KONA" in the lower left corner.  The other stamp "The Good Life" came with the Paper Pumpkin.  That stamp is great for scrapbookers or those of you who create Project Life books.


Look at me....a self proclaimed non-scrapbooker who is scrapbooking!  My Paper Pumpkin made it so easy!  Everything was coordinated and ready for me to use. 

Do you want to get a monthly papercrafting surprise in your mailbox?  Then join My Paper Pumpkin!  If you sign up with me as your demonstrator before August 31st, you can get your first two months for only $10 per month (shipping included)! 


Enter in the code: PUMPKINDEAL

After the first two months, the subscription price goes up to $19.95 per month (shipping included).  Email me if you have any questions about My Paper Pumpkin, or any Stampin' Up! products!