Showing posts with label burlap. Show all posts

Wednesday, July 29, 2015

By the Tide Watercolor Card


Hi Stampers!

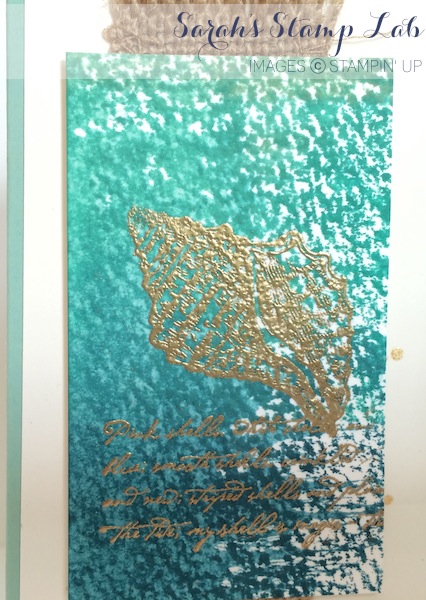
It's summertime, so how about a beachy card?  Today I have a card for you made with the By the Tide stamp set.  This set is really great for making all kinds of cards.  I made a background paper by inking an acrylic block with three different ink pads. Then I spritz it with some water and stamped the block on some watercolor paper.  It made a cool watery looking background.  Then I stamped and embossed the images in gold.


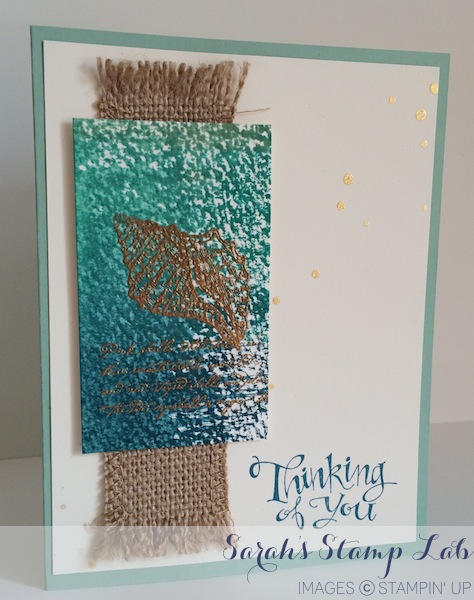
I layered the stamped image over a scrap of the burlap ribbon that was sitting on my desk. I frayed the ends a bit for some added texture.


I hope you liked my beach inspired card.  Where is your favorite beach?  Let me know in the comments!

Stampin' Supplies:
Built for Free Using: My Stampin Blog


Saturday, December 20, 2014

Autumn Wine Bottle Tag

Hi Stampers!

Today I have a non-card project for you.  Here is a festive way to dress up a bottle of wine that you may be giving as a gift this holiday season.  The one I have posted here is done in all Autumn colors, but this could very easily be done in Christmas colors for a last minute way of dressing up a bottle.  This would be a great hostess gift to give at a holiday party! 

I used my hot glue gun for creating the medallion and attaching it to the ribbon.  It just has a much better hold for this type of project than any other adhesive.


I love the burlap ribbon that Stampin' Up! sells.  It's perfect for making bottle tags because it lays so nicely!   I made my ribbon tails longer and then trimmed them down to the length I wanted right at the end.  I wanted my tails to come past the label so that it was more covered up.  That way the recipient moves the tag to the side to see what type of wine you gave them - it's kind of like unwrapping but with less mess! 

The banner was stamped using my Stamp-a-majig so that I could get perfect placement.  After stamping, I made the score lines on either side of the stamped image and then a second set of score lines 1/4" away from each of the first score lines.  After I did all of that, then I cut the flagged ends by hand. 


Do you like to dress up the bottles that you are giving this holiday season?  Let me know in the comments!

Stampin' Supplies:

Wednesday, December 11, 2013

Christmas Gifts Card

Hi Stampers!

Today I have a Christmas card that I made because I wanted to play with the fantastic ribbon that is in the 2013 Holiday catalog.  It looks fantastic when layered together and the contrast between the grosgrain and the burlap gives a lot of nice texture the card.

I used my Stampin' Write markers to color the stamp so that I could make the gifts be different colors.  I also like the contrast of the two different patterned papers on this card.  I also like that if you changed up the colors on this card, you can use it as a birthday card as well!


Here is a close up of how I layered all of the elements for the focal point of the card.  


Stampin' Supplies:
Card Stock: Whisper White, Old Olive, Cherry Cobbler textured
Designer Series Paper: Season of Style, Brights Stack
Stamps: Wishing You
Ink: Old Olive and Cherry Cobbler Stampin' Write Markers
Punches: 1-3/4" Circle
Big Shot: Window Frames Framelits
Embellishments: Cherry Cobbler 1" Stitched Grosgrain Ribbon, 1-1/4" Burlap Ribbon, Basic Pearls