Showing posts with label punch art. Show all posts

Monday, December 16, 2013

Mosaic Madness Class I

Hi Stampers!

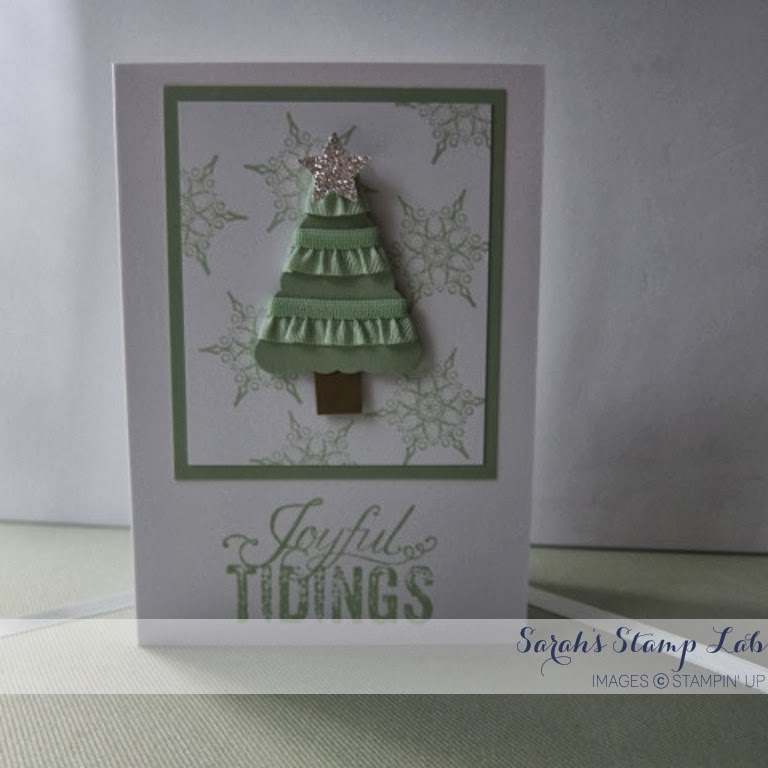
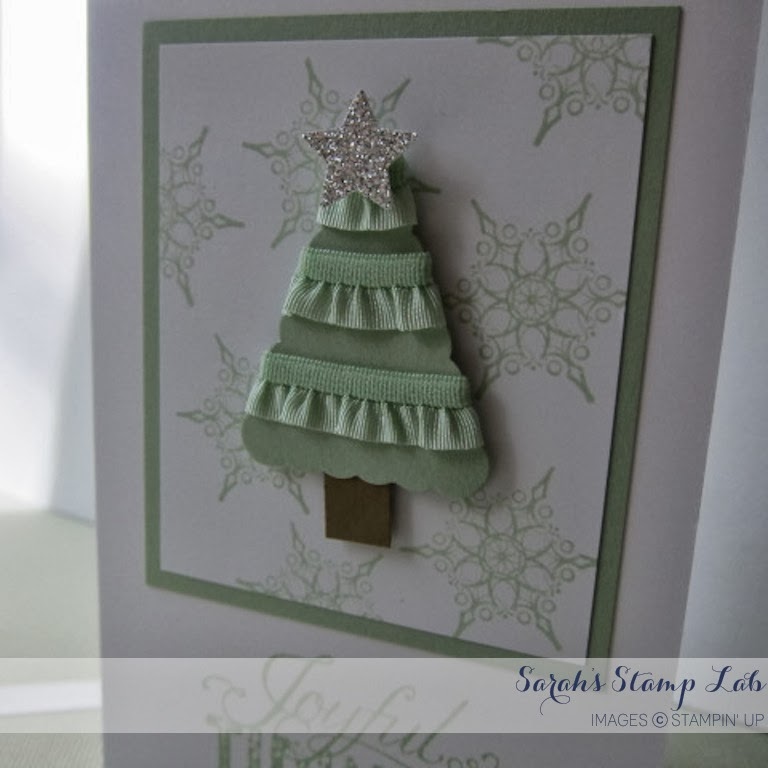
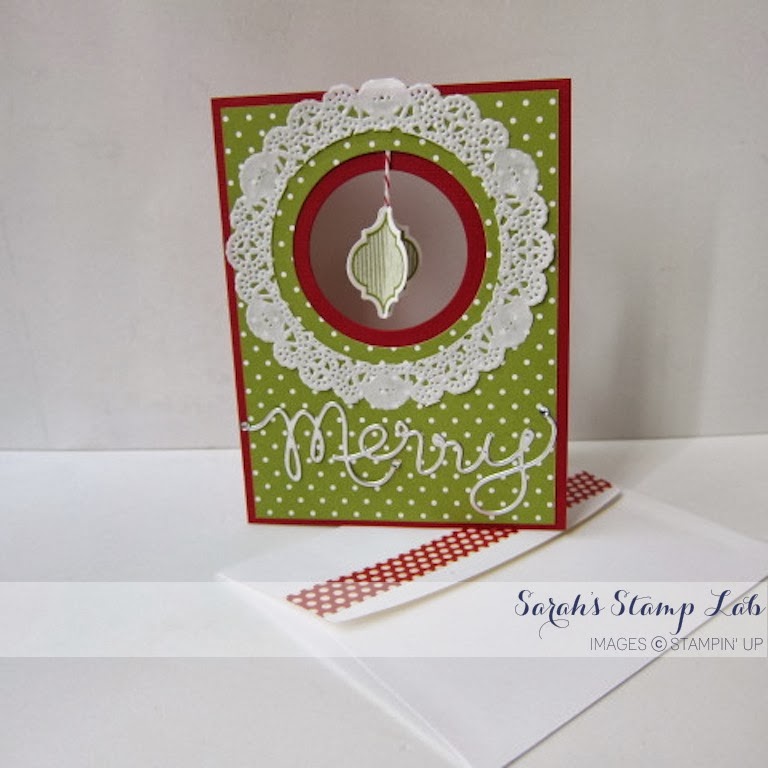
How many of your love the Mosaic Madness stamp set?  I know I do.  It's so versatile!  Today and on Wed. I'm going to show you how you can use that set to create beautiful Christmas cards.  These are just some of the cards that my customers made at my Mosaic Madness class.  It was so much fun!

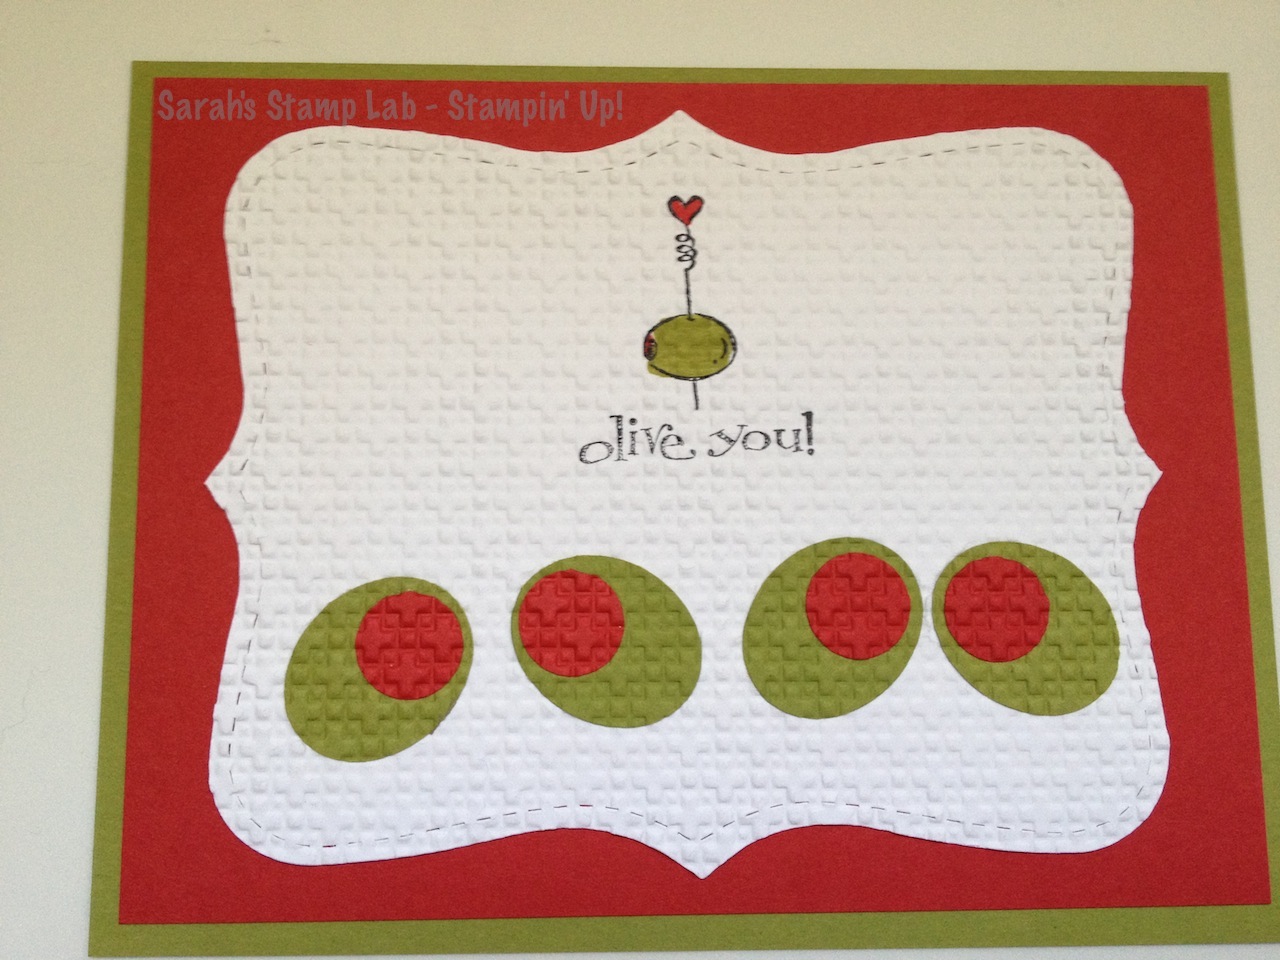
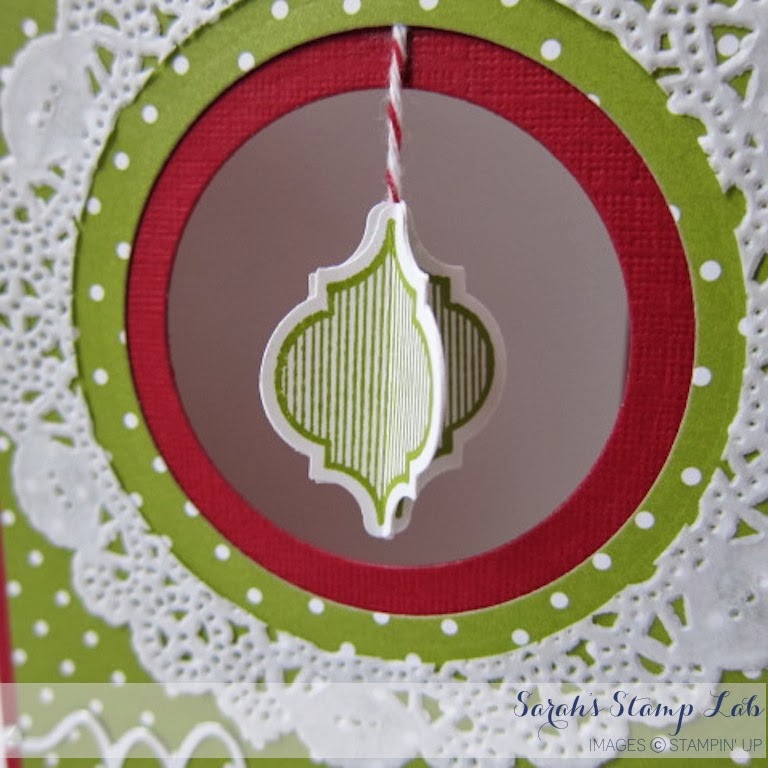
For this card, I used the Mosaic stamp and punch to create a dangling ornament.  To create this ornament, I stamped the image 4 times on Whisper White card stock.  Then using the coordinating punch, I punched out all four images.  You next want to fold each punched piece in half.  Glue them together, but don's forget to glue the Baker's Twine down the center of the shape before finishing.  Voila - a 3D ornament for your card.


To create the window, I used the Circles Collection of framelits.  It was easy to make a window and then reverse mat it with the framelits.  If you use the Magnetic Platform (Item # 130658; $39.95) for your Big Shot, you can line up the framelits easily!


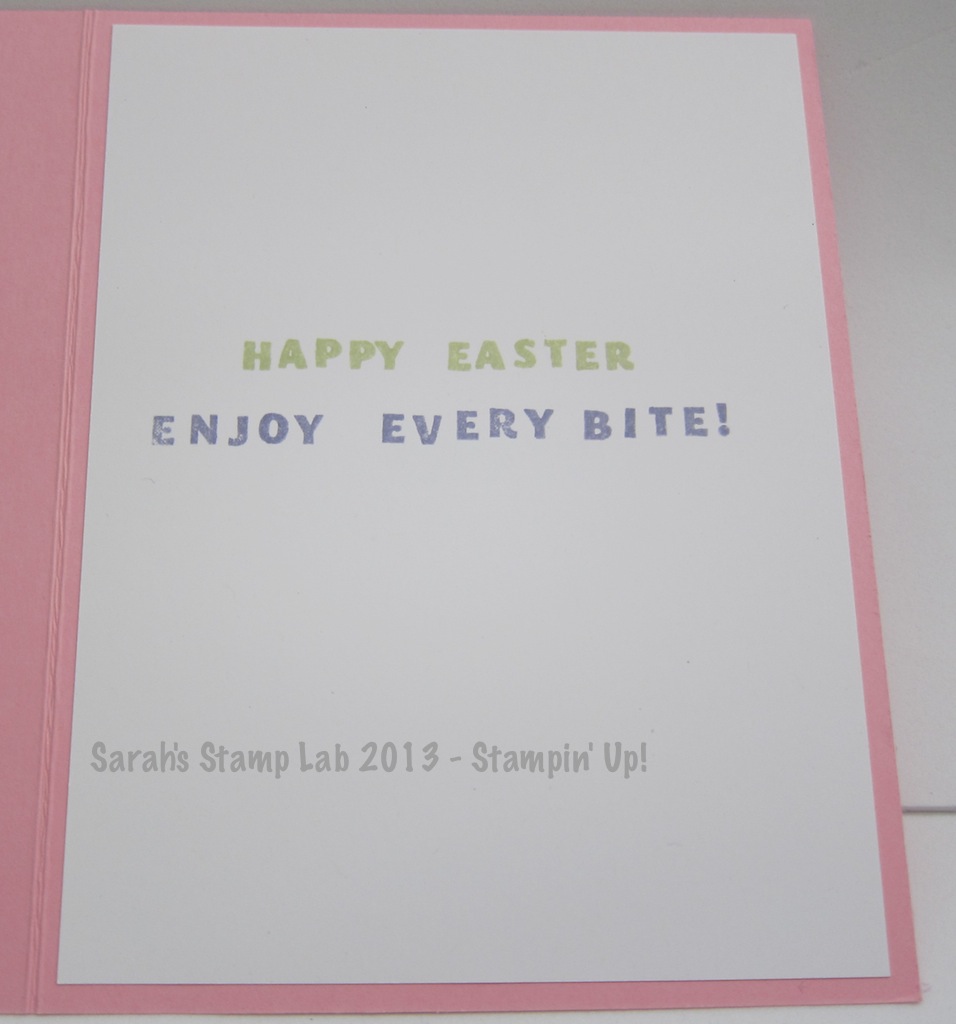
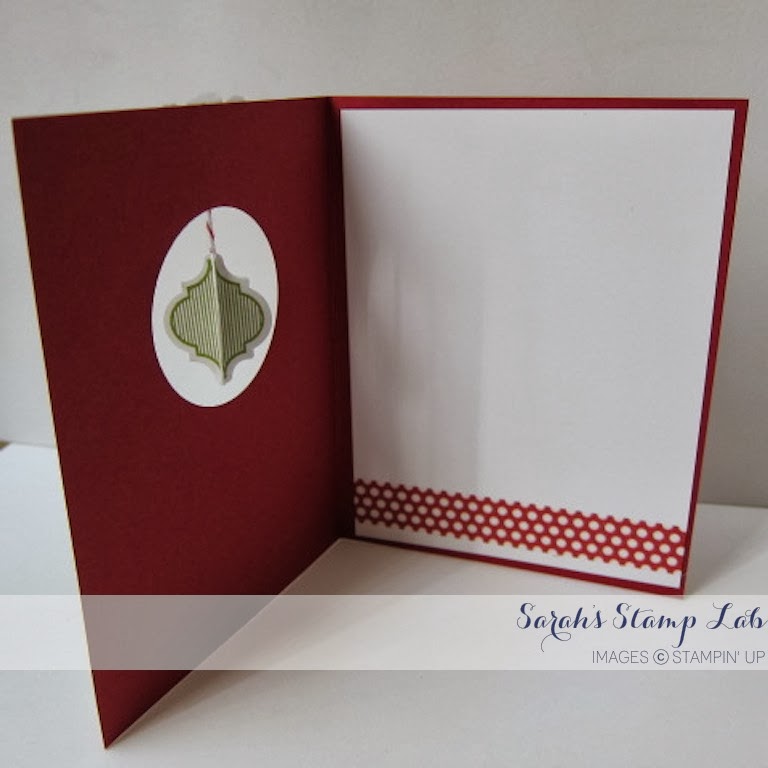
I used the Season of Style Designer Washi Tape to decorate the interior of the card and make a coordinating envelope.  Washi tape is super easy to use and it looks great!


Stampin' Supplies:
Card Stock: Whisper White, Cherry Cobbler Textured, Silver Foil
Designer Series Paper: Brights Stack
Stamps: Mosaic Madness
Ink: Old Olive
Punches: Mosaic
Big Shot: Circles Collection Framelits, Expressions Thinlits
Embellishments: Basic Rhinestones, Tea Lace Doilies, Cherry Cobbler Bakers Twine, Season of Style Designer Washi Tape


Friday, December 13, 2013

Pistachio Pudding In Color Club Sample

Hi Stampers!

Today I'm sharing my sample that I gave to all of my In Color Club members for the month of Pistachio Pudding!  I originally got the idea to create this adorable little tree from the Stamping Rox blog and added it on to my own card design.  Creating this tree is sooooo easy!  All you need is the Petite Pennants punch and some of the In Color Ruffle Stretch Ribbon!  I used the Word Window punch for the trunk, but you can easily cut a piece of cardstock for this without the punch.  (The punch just makes it easier!)  After punching out the tree, I cut three lengths of ribbon, wrapped them around the triangle, secured with glue dots and that was it!  Sooooooo simple but soooooo cute!


Here's a close up of the tree.  I used Dimensionals to adhere it to the card so give it even more dimension.  It adds a lot of great texture to an otherwise simple card.  I love Pistachio Pudding for holiday cards.  It's such a nice, soft green.  So pretty!

Stampin' Supplies:
Card Stock: Whisper White Notecards/Envelopes, Pistachio Pudding, Whisper White, Soft Suede, Silver Glimmer
Stamps: Snowflake Soiree, Christmas Messages
Ink: Pistachio Pudding,
Punches: Petite Pennants, Word Window, Merry Minis
Embellishments: Pistachio Pudding 3/8" Ruffle Stretch Trim

Wednesday, May 1, 2013

Another Swap

Hi Stampers!

Today I have another swap card that I designed that didn't make it to the regional with me.  This stamp is from the Best of Love stamp set.  This stamp is the sole reason that I even purchased this set!  I love this olive!  It's so cute.  You can make these little punch art olives very easily by using the small oval punch and the 1/2" circle punch.  I stamped, colored and adhered my olives to the Top Note before running it through the Big Shot.  I love how it looks like it's one piece of paper.


Stampin' Supplies:
Card Stock: Old Olive, Real Red, Whisper White
Stamps: Best of Love
Ink: Jet Black StazOn, Real Red and Olive Stampin' Write Markers
Punches: Small Oval, 1/2" Circle
Big Shot: Top Note Die, Square Lattice Embossing Folder

Remember, I am currently unavailable to take orders by phone or email.  If you would like to place an order, please place one online at:

Friday, March 29, 2013

Easter Card!

Hi Stampers!

The week has finally come to an end.  I am so happy the weekend is here.  I have two family dinners to go to and a lot of baking ahead of me.  Today I have my Easter card to share with you.  I have been seeing a lot of these punch art bunnies on the web lately.  I decided to make mine a chocolate bunny, and everyone knows that the best part of a chocolate bunny is the ear!  Yum!

You only need three punches to make this bunny.  It's so easy!  Don't have the SU Flower trim?  1. Well, what are you waiting for? 2. You can use a button, a brad, a pearl, a punched flower, etc, etc.  Lots of alternative options!  (But I still think you would LOVE the flower trim!)


Here is the card interior.  I used the Designer Typeset Photopolymer stamp set to create a custom sentiment.  Love it!  The possibilities are endless!!!!


Stampin' Supplies:
Embellishments: 5/8" Flower Trim, Basic Pearls

Stay tuned for a special post on Easter for another quick and easy gift project!


Friday, March 15, 2013

Brides and Babies Stamp A Stack Day 2

Hi Stampers!

I'm back with another card that I made for my Brides and Babies Stamp a Stack.  I originally called this a punch art card, but I think it's more like a Big Shot art card as almost all of the parts are cut using the Big Shot.  Oh well!  I do love my Big Shot!!!


To make the gown, I cut an oval out of Whisper White and then I cut the oval across (about 2/3 of the way down if you hold the oval vertically).  This gives you the lacy looking edge.  Then attach a heart cut using the Hearts Collection Framelits and put a sash around the "waist".  Very easy!

Stampin' Supplies:
Card Stock: Basic Gray, Whisper White, Marina Mist, Brushed Silver
Punches: Scallop Trim Border, Boho Blossoms
Big Shot: Oval Framelits, Hearts Collection Framelits, Finishing Touches Edgelits
Embellishments: Basic Pearls, Marina Mist 3/8" Striped Organdy Ribbon