Showing posts with label kit of the month. Show all posts

Tuesday, September 27, 2016

Check out what's in the September 2016 Paper Pumpkin kit!

Have you heard of Paper Pumpkin?  Have you been wondering what those kits include?  Check out this video to see what was included in the September 2016 kit and watch one of the projects be created!


If you are a new customer to Paper Pumpkin, you can take advantage of the BOGO offer!  See the details below.


Hostess Code for September 1-30, 2016 - ZZ6QKCTV
If you place an order with me during the month of September, use the code ZZ6QKCTV, and I will send you a free gift! If you place an order over $150, do not use the code - you qualify for Stampin' Rewards and you will still get the free gift from me! The hostess code will close out on Sept. 30th, 2016.  Free gifts will be sent out during the first 2 weeks of October 2016.


Paper Pumpkin BOGO

For the FIRST time ever, FIRST-time subscribers can buy their FIRST month and get their second month FREE!
Offer Dates: August 11–October 10, 2016
Offer Details: Use the promo code “BOGO” at PaperPumpkin.com, and you’ll pay the regular price of $19.95 USD/$26.95 CAD and get your second month for FREE! If you subscribe with the promo code between now and September 10, you will pay full price for the September kit and get the October kit free. If you subscribe between September 11 and October 10, your first kit will be the October kit and you will get the November kit free.

The Fine Print:
·    IMPORTANT: Offer invalid if subscription is suspended or cancelled during the first two months. In other words, subscribers cannot cancel or suspend their subscription during their first two months—if they do, the offer is void..
·    After the first two months, the subscription will continue for $19.95 USD/$26.95 CAD + tax per month (shipping included) unless cancelled or suspended. Ends October 10, 2016.
·    This offer is open to first-time subscribers only.
·    Not valid on prepaid subscriptions.
·    Ends October 10, 2016 (the last day to subscribe and get the October kit).

Monday, July 27, 2015

50% Off Sale: Try out Paper Pumpkin for 2 Months!!


From now thru September 10th, 2015, you can subscribe to the Paper Pumpkin kit of the month club for half the price!  If you've never tried Paper Pumpkin, now is a great time-get 50% off your first two months. A deal like this is too good to pass up!

Use the code HALFOFF to join Paper Pumpkin before September 10, 2015, and get 50% off the first two months! After that, keep the creativity coming for only $19.95 + tax per month (shipping included). 

Get Started
It's so easy to get started. Simply sign up for the program by visiting PaperPumpkin.com and click Get it. Every month a new, surprise project kit arrives at your doorstep. Just think of the anticipation of creating a fun project to pin, showoff, and share with your friends and family#every month!
Of course, you'll want to know more. So here's the nitty gritty:
  • Each month we send you a unique, surprise kit with a project-cards, journals, décor, and more! (We've even color-coordinated, measured, and cut everything for you!)
  • Each kit includes stamps, ink, paper, and accessories-everything but adhesive.
  • Each kit gives you a 30-minute creativity escape.
  • We will ship your Paper Pumpkin on or around the 15th of the month. 
  • You need to sign up for a kit by the 10th of the month to get that month's kit. If you sign up on the 11th of the month, your first kit will come the next month. (Let's say you sign up on May 10, we'll send your kit around May 15. If you sign up on May 11, we'll send your first kit around the June 15.)
  • A Paper Pumpkin membership is $19.95 per month (and shipping is included!) There's no commitment, you can cancel your monthly Paper Pumpkin at anytime. You can also skip a month if you want.
Here's a peek inside the July 2015 kit:


The Fine Print:
  • For new subscribers only.
  • Available for month-to-month subscriptions, not prepaid subscriptions.
  • Discount applied to one kit per month for the first two months of a new subscription. After the first two months, the price for each month's kit will go to the regular price: $19.95.
  • Visit PaperPumpkin.com to join.
  • Enter the Promo Code, HALFOFF when you sign up.
  • New subscribers must join by Thursday, September 10, 2015; 11:50 PM (MT).

Monday, July 28, 2014

August Class on the Go - Work of Art

Hi Stampers!

I am super excited to announce my first ever  Class on the Go Card Making Kit !!!  I think you are really going to love this kit!

Benefits of my Class on the Go Card Making Kits:

Product, product, product - Each kit will include a featured stamp set and all of the supplies that you will need to create the projects.  I have done all of the cutting, punching, Big Shotting, etc.  And just like my classes, I always provide you with envelopes for each and every card that you make in the kit!

Convenience - You get to make all of the projects from the comfort of your own home!  Create cards in your PJs, on a Tuesday morning, in front of your TV - whenever, where ever and however you like!

Options - Often, I will included additional add on items that can be ordered with your class kit!  For those add on items, I will cover the cost of the tax and shipping!

Substitutions - Already have the featured stamp set?  No problem!  Just choose another stamp set of equal or greater value to substitute!  If the stamp set is of greater value, I will adjust the price of the kit accordingly.

Stampin' Up! Kit Policy  - As per the SU policy, I cannot pre-stamp any images for you.  If there is an ink color that you are missing, you can either just be creative and use a different color, or add that Classic Stampin' Pad to your class kit order.  Please let me know in your order email which ink colors you will need!

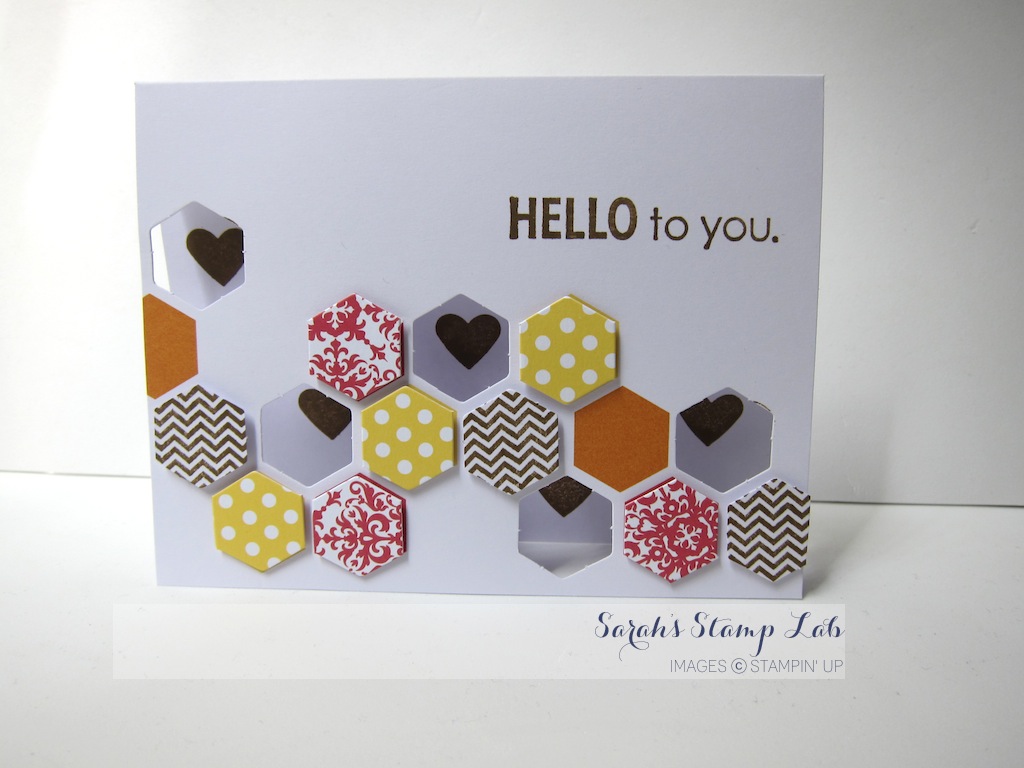
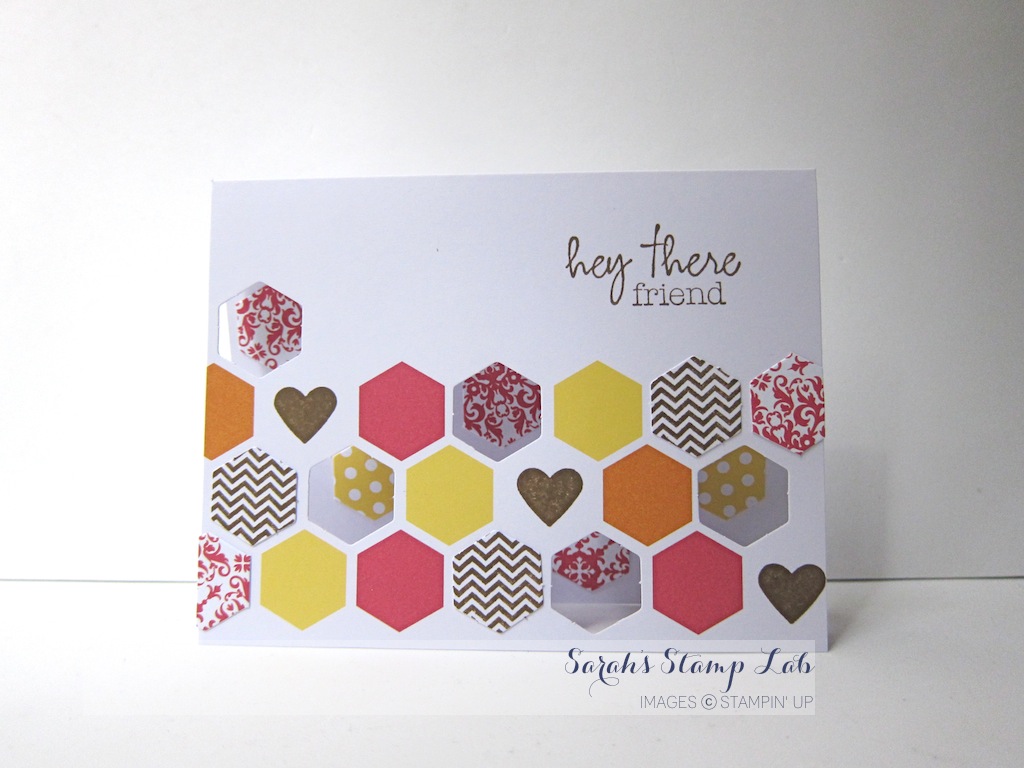
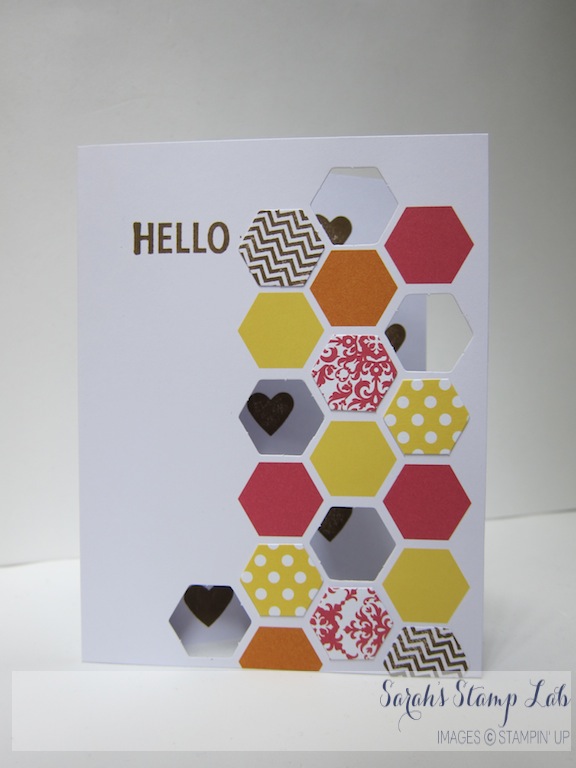
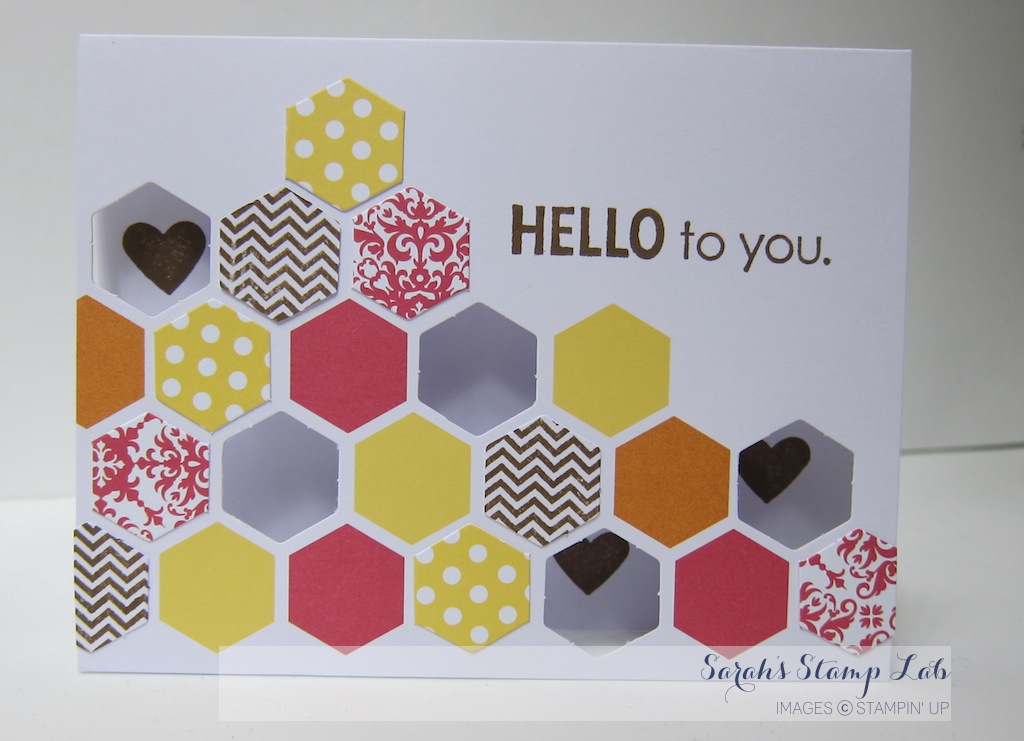
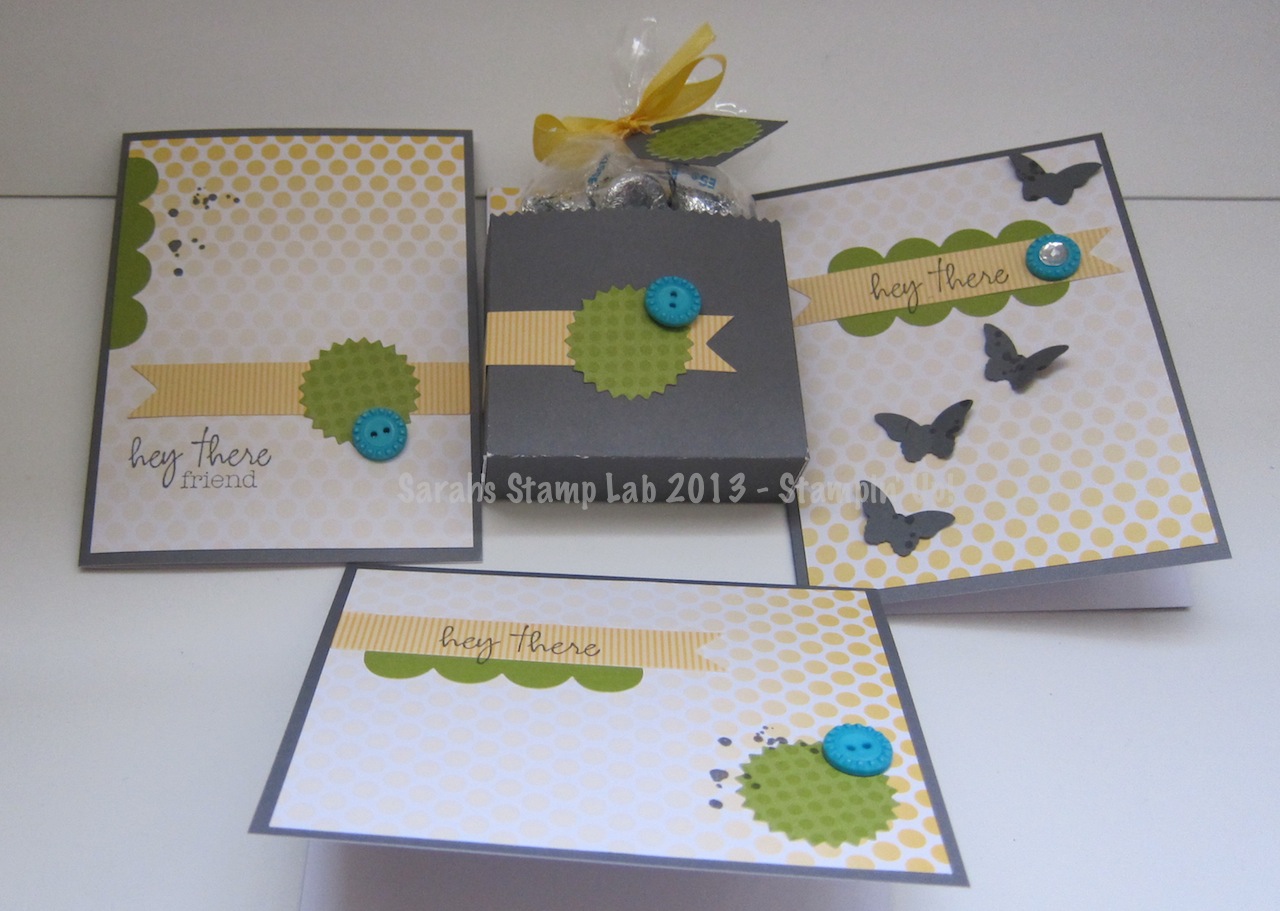
August's Class on the Go - Work of Art

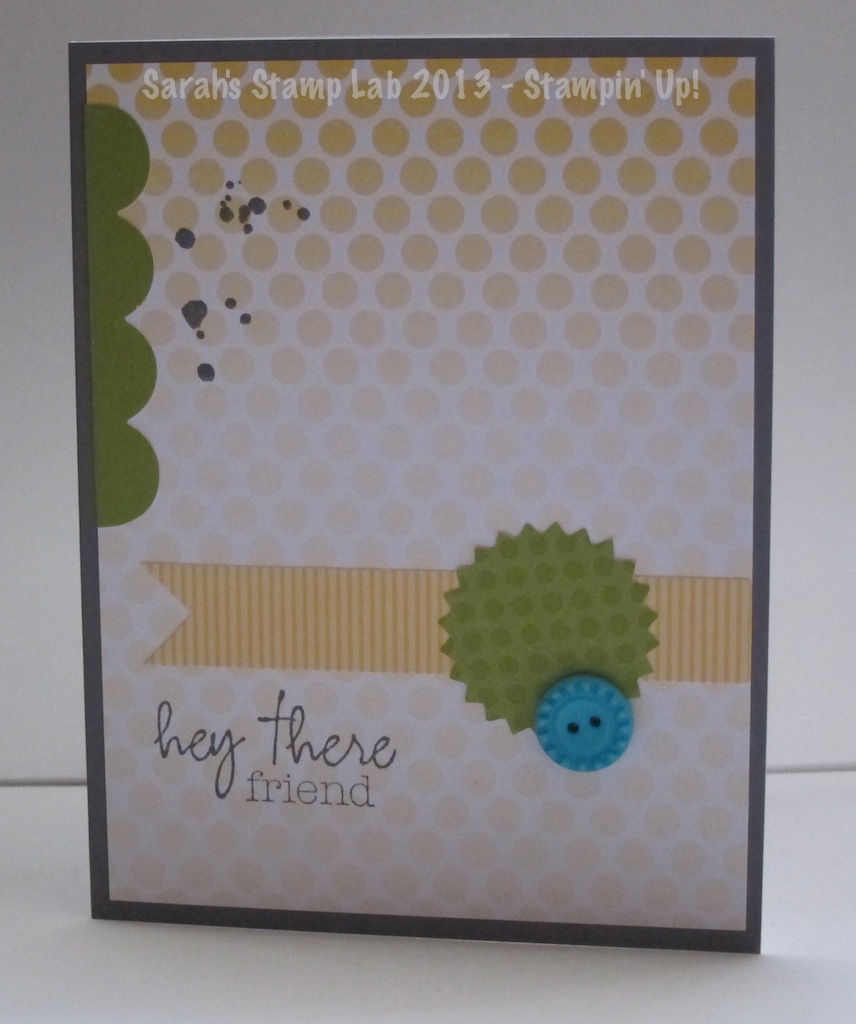
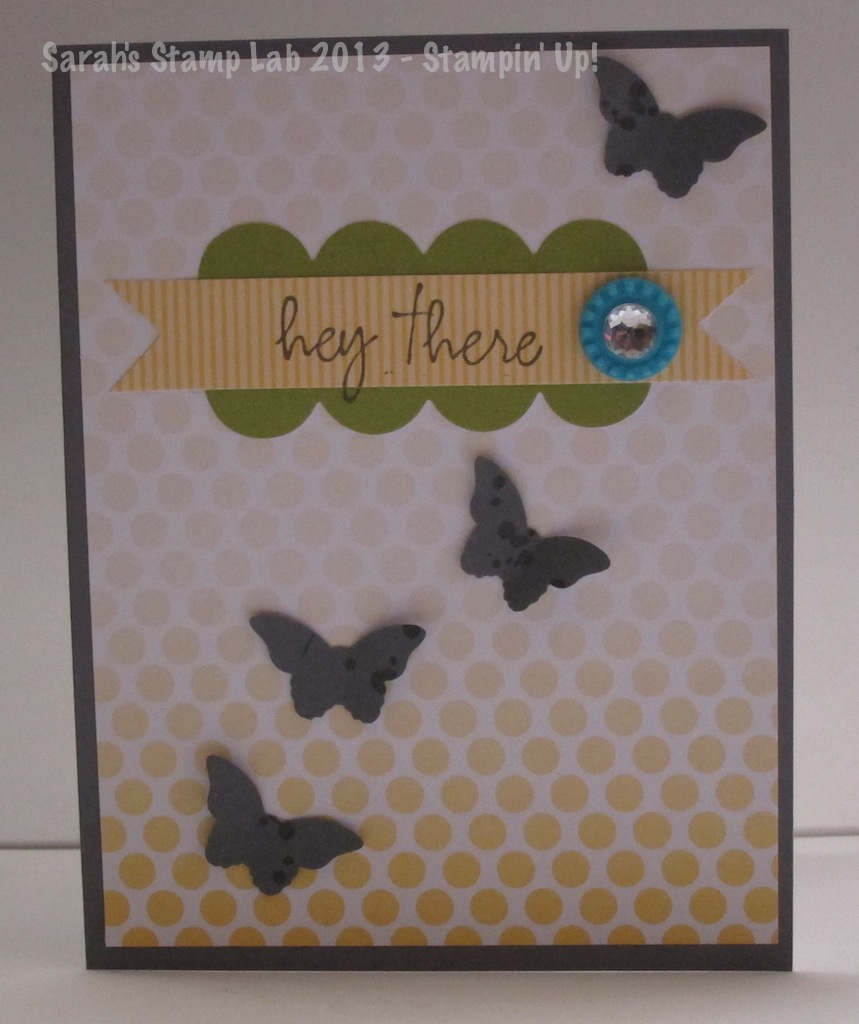
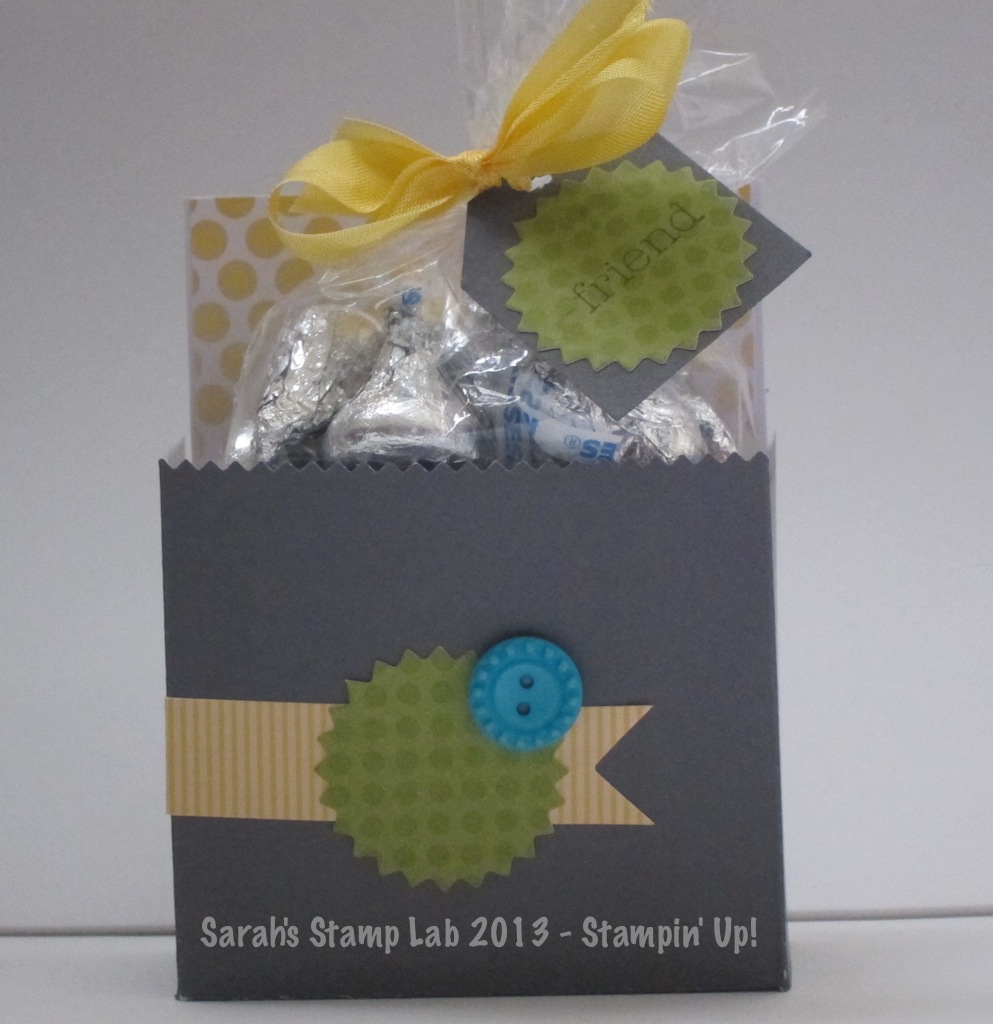
The Work of Art stamp set (see page 165 of the 2014-2015 Annual Catalog) combines many different graphic elements to create your own works of art.  With this kit you will see just how versatile this set can be!  In this Class on the Go kit, you will be creating 4 cards (pictured below).  I will show you how to create cards featuring the basic images in the set, as well as showing you some "outside of the box" ideas.  I love finding new, and unique, ways to use my stamp sets! 

Inline image 1
Inks used:Lost Lagoon, So Saffron, Calypso Coral, Pool Party, Early Espresso, Pear Pizzazz, Blushing Bride, Hello Honey, Blackberry Bliss, Mossy Meadow, Jet Black Staz On

Kit includes:
Work of Art Stamp Set (please specify clear or wood mount)
All supplies needed to create the four cards shown plus envelopes
A PDF Instruction Sheet emailed to you with detailed step by step instructions, measurements, and even access to my first ever stamping video!

Ordering Options:
Class on the Go Kit with Wood Mount Stamps: $45
Class on the Go Kit with Clear Mount Stamps: $35
Class add on: Dazzling Diamonds and 2-Way Glue Pen $9.45
Shipping: $5.60 for Priority Mail
Pre-paid Registration is Due by 5:00PM Friday August 22nd
Contact me by email to register with your name, address, phone number and what class options you would like.  I will respond with a total.  Local customers may pay by cash or check.  If you are not local, I will send you a Paypal Invoice which you can use to pay with your credit or debit card.

Kits will be ready for pick up/ shipped by Friday, September 5th.

Wednesday, September 18, 2013

June My Paper Pumpkin

Hi Stampers!

Well I am certainly waaaaay behind on my My Paper Pumpkin kit posts!  Today I'm sharing with you the cards I made with the June Kit.  This kit was all about hexagons.  Isn't it adorable?  I love the little windows cut in the card stock.  The best part is that everything is already cut and ready for you to put together.  My Paper Pumpkin is an easy way to get a little crafting into your busy schedule.

This card is the one featured in the kit instructions.

For the next card, I changed the sentiment.  Recognize it?  That's the one that came with your Paper Pumpkin Welcome Kit!  Also, I put some of the hexagon sticker on the inside of the card so that they can be seen through the cut outs.  Just another fun idea to change up the project.


For this card, I simply changed the orientation from landscape to portrait.  To change up the sentiment, all you have to do is just apply ink to the "HELLO" part of the stamp.  This is easy to do with the Stampin' Spot included in the kit.  Keep a baby wipe on hand to wipe off any excess ink that might occur from over-zealous inking of your stamp.  Hey, it happens.


And finally, this card is my hexagon explosion!  I feel like I just kept adding and adding and adding hexagons to this one.  I love how it turned out.  In fact, you could cover the entire cardfront in hexagons and make it look like a quilt!


I hope you have enjoyed seeing the cards I made with the June 2013 My Paper Pumpkin kit.  If you would like to start getting Paper Pumpkins delivered right to your door step, click on THIS link to readd more about it and sign up!

Friday, March 22, 2013

My Paper Pumpkin is Finally Here!

Hi Stampers!

This week I received my Welcome Kit for the My Paper Pumpkin Kit Club.  It was so exciting to see the box waiting for me when I got home. I knew that in a matter of minutes I would have some fun projects completed!  The Welcome Kit is the first kit that you will receive when you sign up for the subscription, no matter what month.  If you cancel and then re-subscribe you will receive the Welcome Kit again.  Just thought I would pass along that bit of info to you!


Look on the Stamp Lab blog every month to see that month's kit as well as additional projects you can make using the kit supplies.  Did you miss a post?  No worries, all of the My Paper Pumpkin posts will be listed under the My Paper Pumpkin tab at the top of the page.  Remember, a lot of the stamps provided in the kits will be exclusive kit designs and they will not be available for purchase from Stampin' Up!


So this is what the kit looks like when you first open it.  In the future your kit will come in the orange My Paper Pumpkin box.  Stampin' Up! had a lot of the Welcome Kits still in the brown craft boxes.  No worries, it's still adorable!


There is a sweet little note inside the box.


Wrapped up in tissue - makes you feel like it's Christmas morning!


Inside you will find a Basic Gray Stampin' Spot and your exclusive stamps for this kit.


This is the kit packet.  The color image is your set of instructions.


Everything you need to make fantatic projects.  Colors featured are Basic Gray, Daffodil Delight, Lucky Limeade, Whisper White, and Tempting Turquoise.  In the welcome kit you will also get a D Block as a thank you for joining gift!  Save this block for use with future kits.


When opening your Stampin' Spot, keep the sticker on one side still intact.  This way you won't loose your lid!


I made 4 different projects with this kit.


This card was made following the instructions included with the kit.


This one features the same components with a different layout.  Also, I only inked up the "hey there" part of the stamp.  This is easy to do with the Stampin' Spot.  I also stuck the green circle to the card and then stamped the splatter spots overlapping the green circle.

With a few extra items you can go from a more masculine card type/design to one that's more feminine and whimsical.  I cut the Daffodil Delight banner on the opposite end with a fish tail and used two of the scalloped stickers to create a sentiment banner.  I punched out some Basic Gray butterflies with the Bitty Butterfly punch, and stamped the splatter marks on them.  Then I added some sparkle with a Large Basic Rhinestone.


Finally I used the remaining kit components to make this little box to hold some treats!


Here's how you create the box:

1. Decorate the short edge of the card base with an Edgelit or border punch.  Here I used the Finishing Touches Edgelit.


2. Place the short edge of the card stock on the top of your Simply Scored tool and score at 1-1/8" and 4-3/8".


3. With the long edge on the top of the Simply Scored tool, score at 2" to the score line, and score at 5-3/8".  You will automatically have a score line at 4-1/4" because the card base is pre-scored.


4. Cut out the two rectangles starting from the 2" score lines.  You can use these scraps for punching out the butterflies featured in the card shown above.


5. Cut along the remaining two score lines to make flaps.  Fold along all of the remaining score lines and use your bone folder to make crisp creases.


6. Apply Sticky Strip as shown.


7. Assemble the box and decorate!


Feel free to contact me with any questions or if you would like to order any of the extra supplies used to make these projects.  

If you would like to sign up for My Paper Pumpkin, visit the website and kindly select me, Sarah Souza,  as your demonstrator.