Monday, May 20, 2013

Customer Spotlight

Hi Stampers!

Today I'm featuring a couple of cards I received for my birthday from some of my customers!  Check out these beautiful cards!

Melissa D. used her Sale-A-Bration goodies to make this pretty card!  


Sally P. used the Embellished Events set and the Floral District Designer Series paper to make this card!


Come back on Wednesday to see more Customer Spotlight cards!


Friday, May 17, 2013

The April Paper Pumpkin

Hi Stampers!

This month I'm a little late in posting my My Paper Pumpkin samples because I was traveling, but here it is!!!  How much fun did you have making the cards in this kit?  They were seriously fun to put together. Seriously.

Here is the card that is shown in the kit instructions.  There are two small sentiment stamps - "you kick booty" and "love your guts".  


I flipped the orientation of the card and then used the Designer Typeset Alphabet Photopolymer stamp set to make my own sentiment.


This one is a case of a card shown by the amazingly talented Shannon West at the Baltimore Regional. I did not do it justice, as you can see by my horrible misaligned stamp and shadow.  Anyway, you get the jist - I combined the two sentiment stamps by partially inking each one up.  Make sure you use your Stampamajig when doing this!


Finally I wanted to make a 3D item with this kit.  I came up with this cute little lip balm holder.


I used the Designer Typeset stamp set again to add in the "kissable". I then stamped the lips from the Best of Love and added some Crystal Effects.


I even added in some of the patterned paper that comes with the kit to the interior.


Here are all of the projects in one picture.


I hope that you have enjoyed the projects I have posted today!

If you want to get a fun stamping kit in the mail, click on the link below to sign up!


This post has been submitted for the Paper Pumpkin Challenge Blog!


Wednesday, May 15, 2013

Swallowtail Watercolor

Hi Stampers!

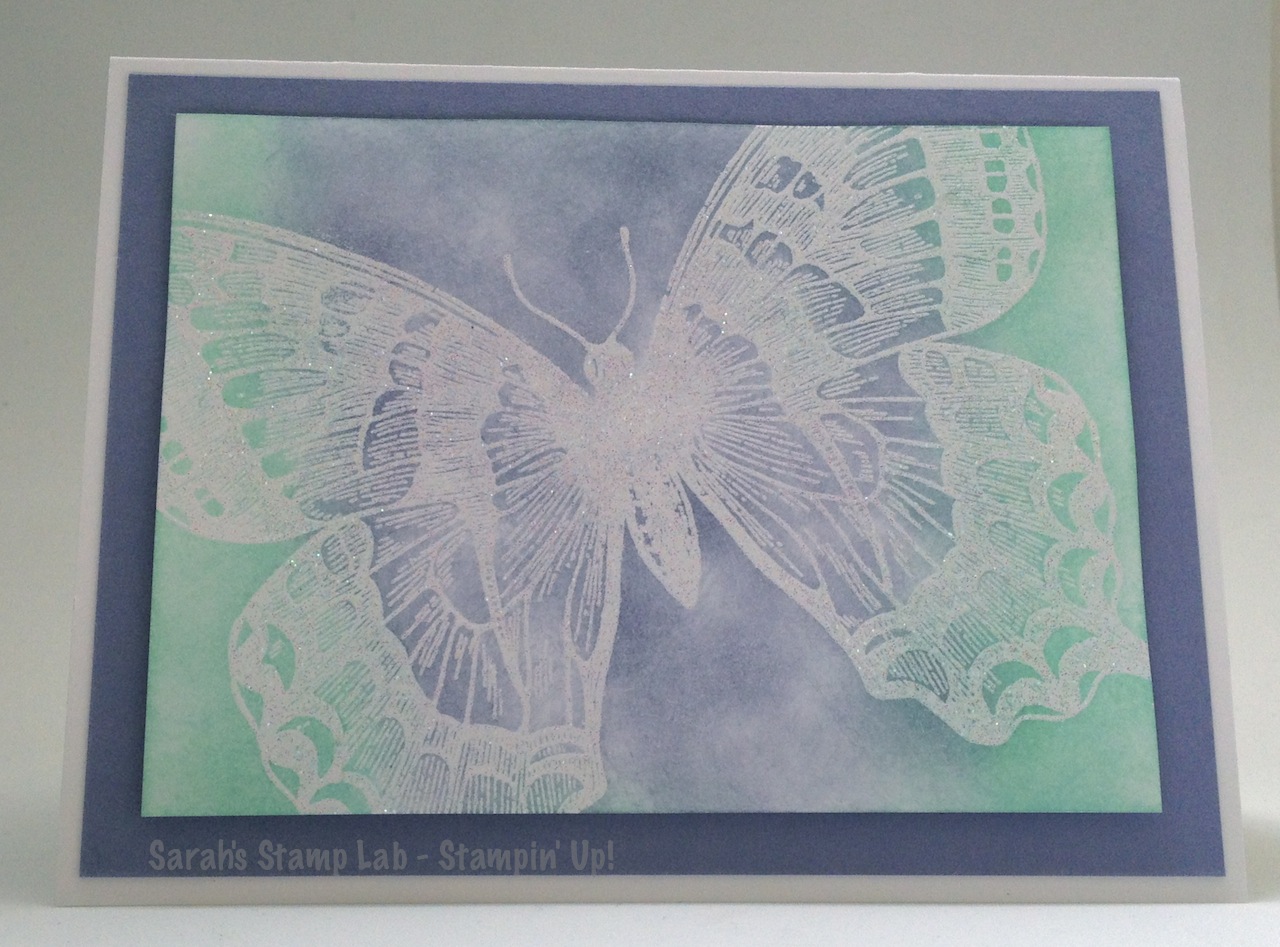
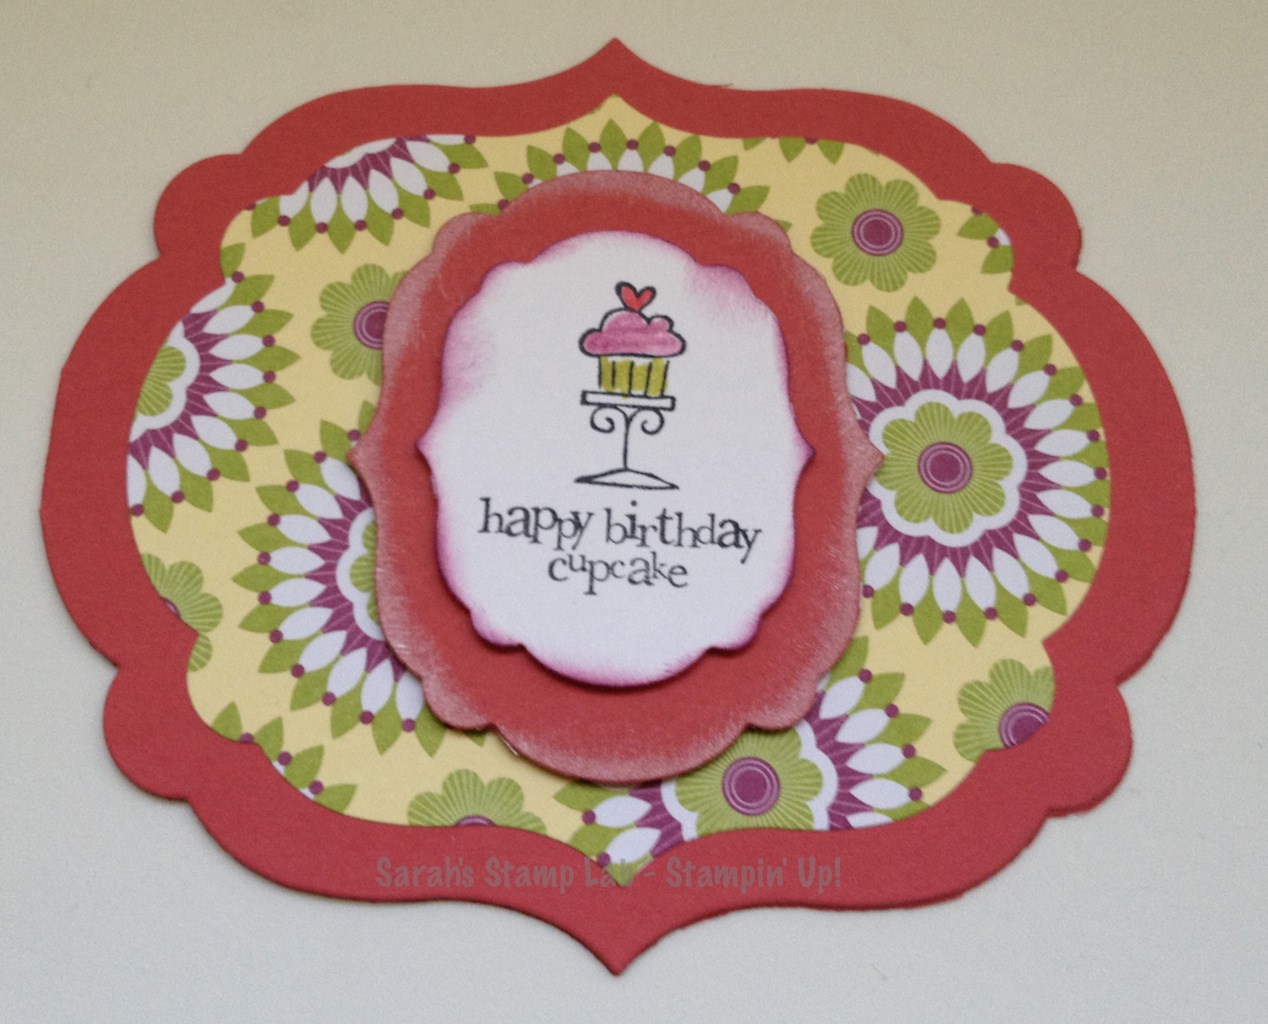
I'm desperately trying to get myself back on a good blogging schedule, but ever since Italy I just feel like I have no time to catch up.  Ever feel that way?  Guess there's nothing I can do but keep on plugging along!  Luckily, I have a card today!  I made this one before my trip for a good friend's birthday.  I had to mail it out before I left but I snapped a few quick pics before I put on the postage stamp.  


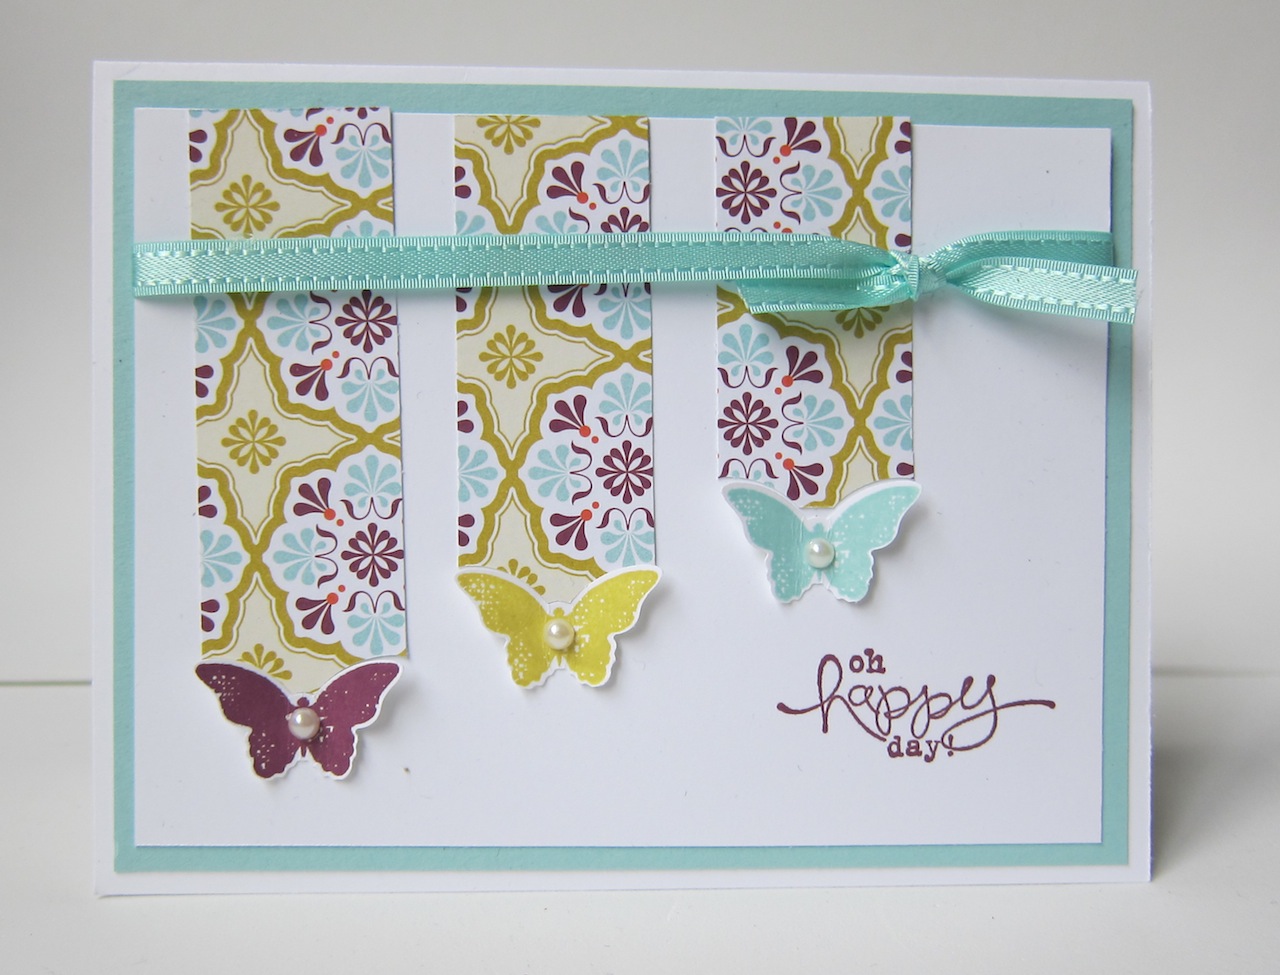
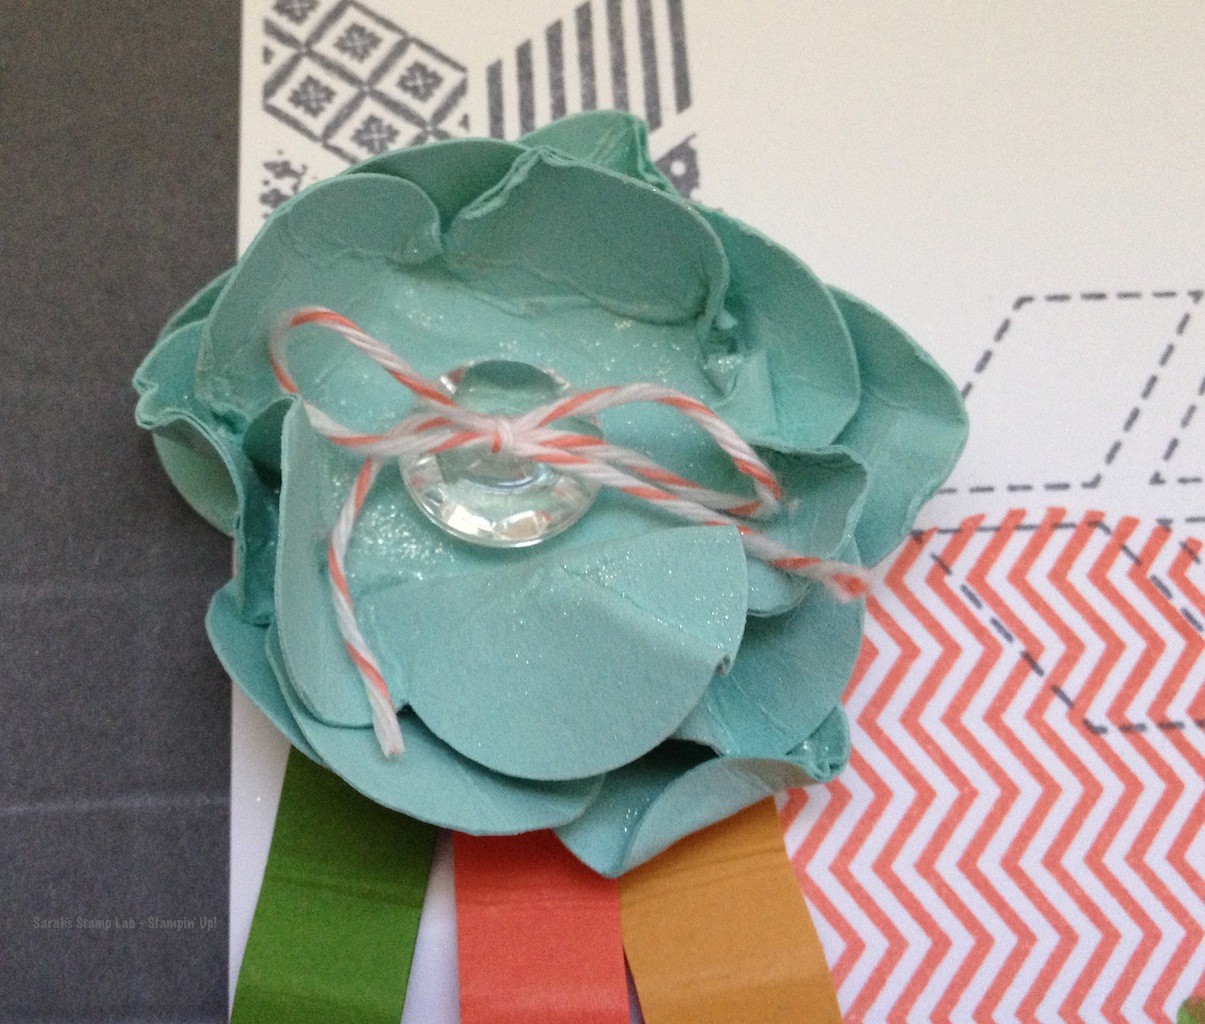
For this card I used the emboss resist technique.  I first stamped the butterfly in Versamark, added Iridescent Ice embossing powder, and then heat set the image.  Using sponge daubers, I added color in a circular motion to give this watercolor effect.


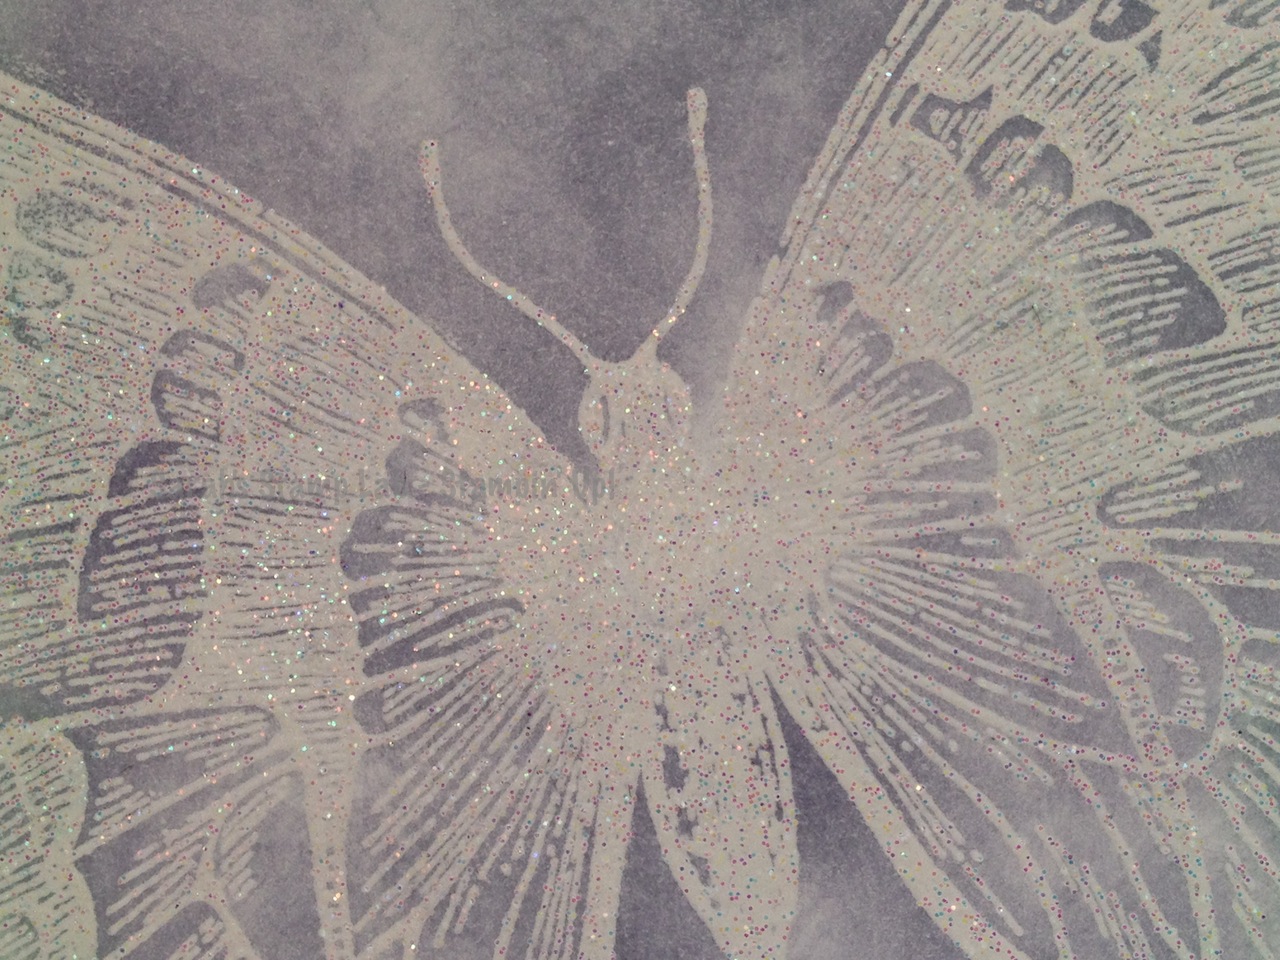
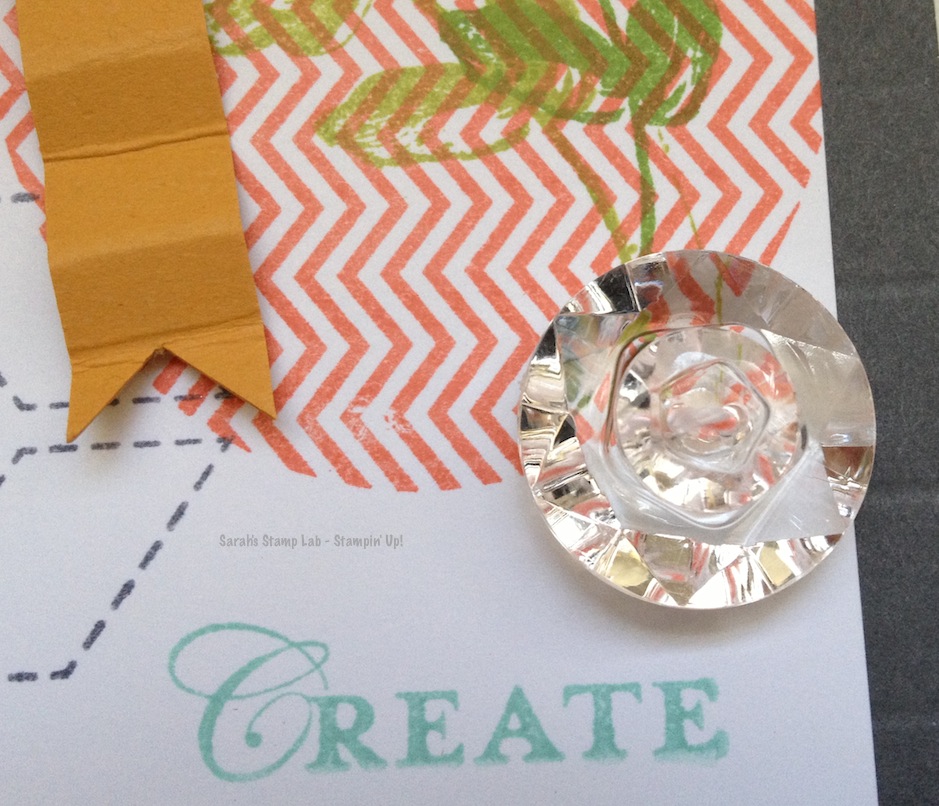
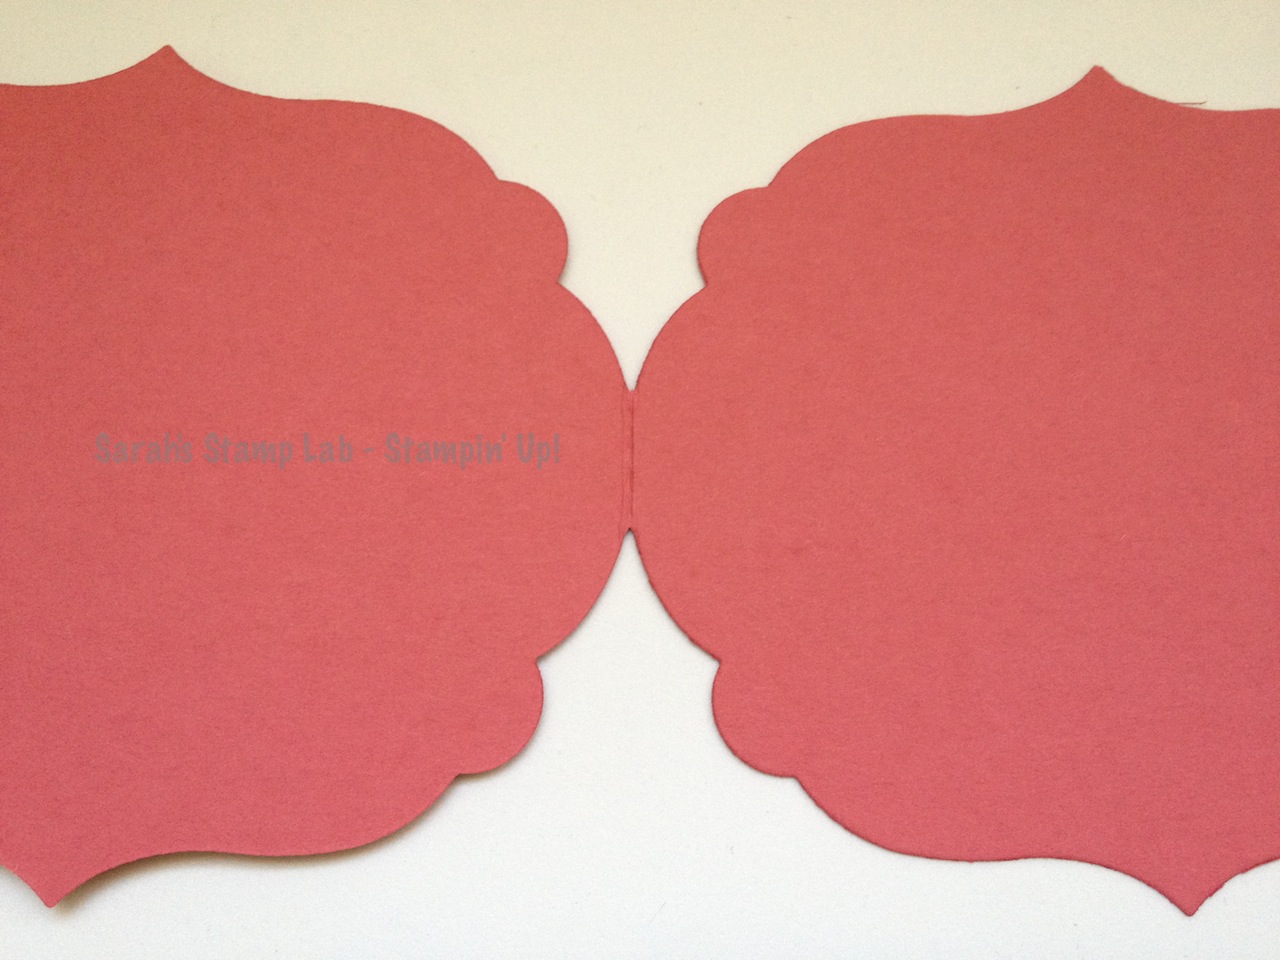
Here's a close up look at the embossing powder.  See how pretty it is?  It's a white powder mixed with glitter.  It gives you a very subtle sparkly effect.  Love it!  Warning - doing an emboss resist over this type of embossing powder may wreck your sponge dauber!!!  The glitter in the embossed image tore the sponge a little bit.  It's OK though, because sponge daubers are a must have tool and I always have plenty of extras on hand.


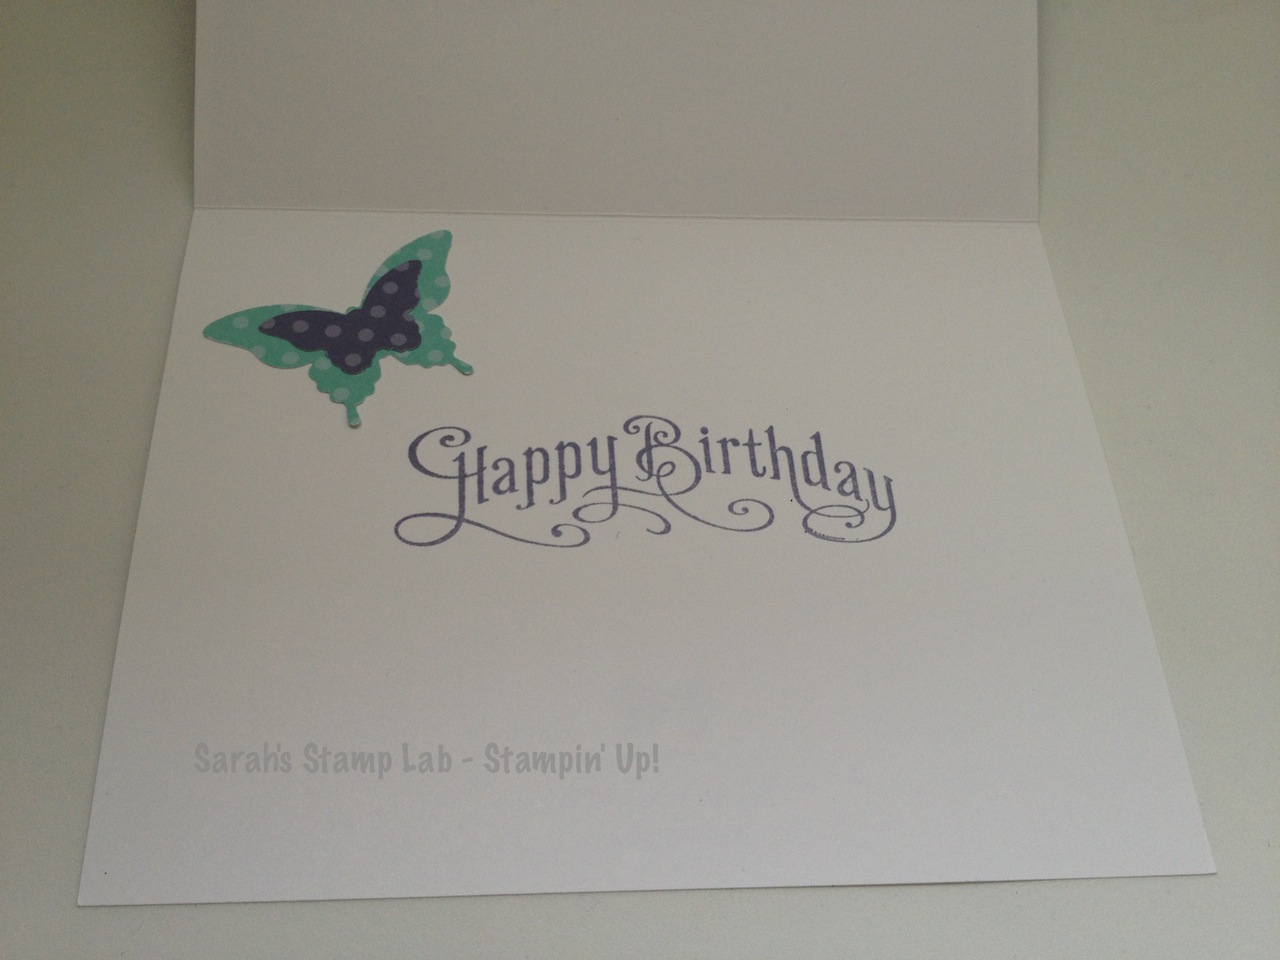
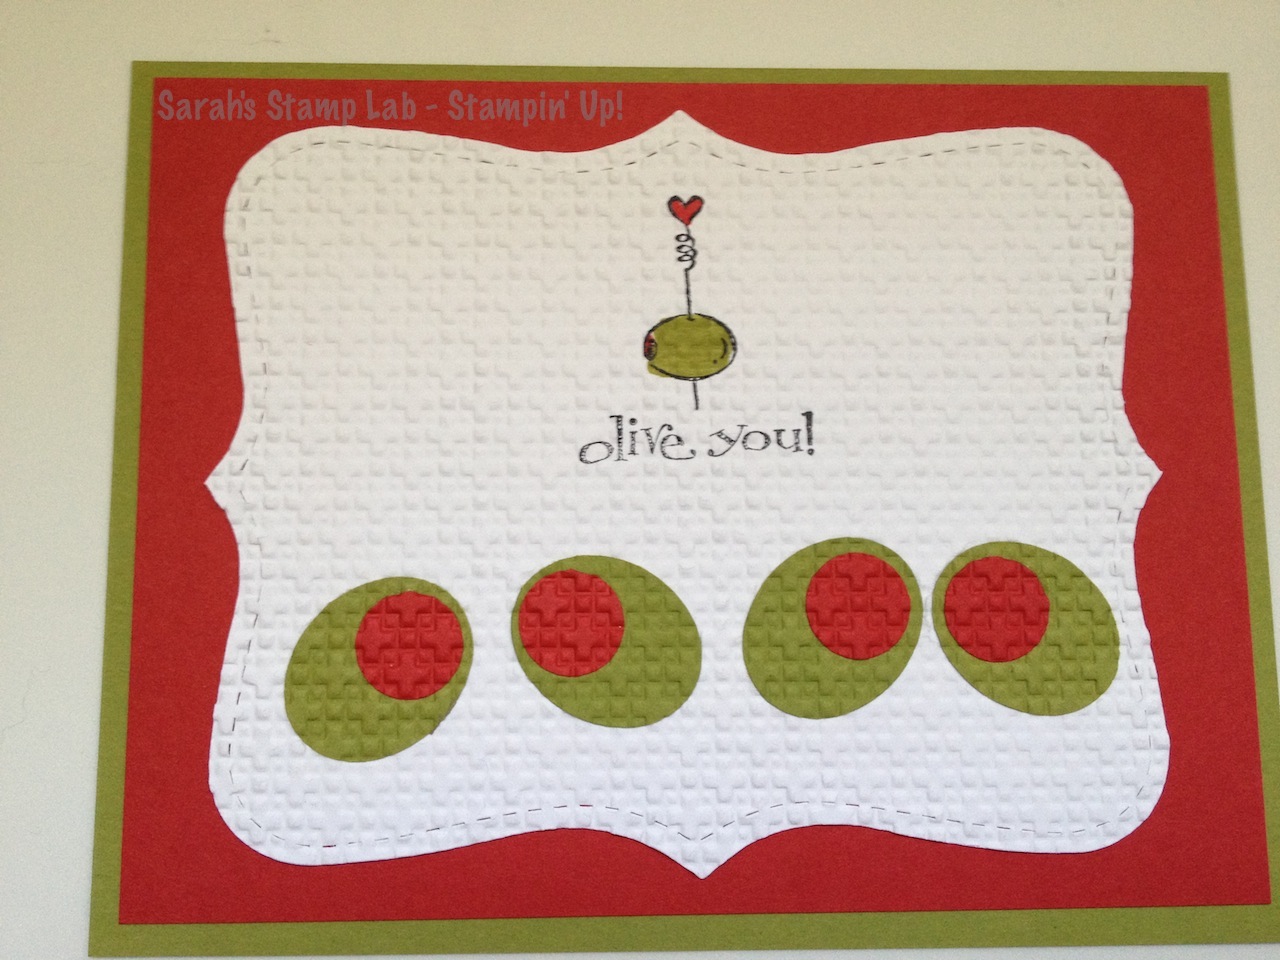
Here's the interior.  I thought the card needed just a couple more butterflies. You can never have too many!

Stampin' Supplies:
Cardstock: Whisper White, Wisteria Wonder
Designer Series Paper: 2011-2013 In Color Stack
Stamps: Swallowtail, Perfectly Penned
Ink: Versamark, Wisteria Wonder, Pool Party
Punches: Elegant Butterfly, Bitty Butterfly
Embossing: Iridescent Ice Embossing Powder, Embossing Buddy, Powder Pal, Heat Tool
Other: Sponge Daubers


Friday, May 10, 2013

Baltimore Regional Make and Take

Hi Stampers!

Today I'm sharing with you one of the Make and Takes from the Baltimore Regional.  I was so busy swapping and looking at all of the samples there that I ran out of time to make my project, so I brought it home!  At the regional, the Clockworks stamp set was used, but I switched it up and used the Oh, Hello stamp set.  I LOVE this stamp set so much!

Here's the project - a cute notepad cover!


I have a spritzer filled with isopropanol and a few drops of champagne shimmer paint. I love the little bit of sparkle it adds to my projects.


This accent is actually two of the Vintage Faceted buttons layered on top of each other.


Stampin' Supplies:
Cardstock: Basic Gray, Whisper White, Gumball Green, More Mustard, Pool Party, Calypso Coral
Stamps: Oh, Hello, Loving Thoughts
Ink: Pool Party, Basic Gray, Calypso Coral, Gumball Green
Embellishments: Vintage Faceted Buttons, Calypso Coral Baker's Twine
Punch: Fancy Flower
Other: Simply Scored

Monday, May 6, 2013

I'm Back with New Promotions!

Hi Stampers!

I'm finally back from my trip.  It was a blast!  I still have not downloaded my pictures to the computer yet, but I'll try to post some up this week.

While I was away, Stampin' Up! posted several new promotions!

Bloomin' Bouquet Project Kit


Mother's Day. Teacher appreciation. Just because. Say thank you with this no-maintenance bouquet. There's no watering, no weeding-just enjoying. This easy-to-assemble kit comes complete with the petals, stems, and buttons to create the flowers, as well as four different tags to make this the perfect gift for any occasion. All you need is some paper, ribbon or a vase to add the finishing touches to the bouquet.

Ordering information:Item 134542      $12.95 Available starting April 29, while supplies last.

Kit contents:
  • 2 sheets of preprinted and precut flowers on 12" X 12" cardstock; makes 13 flowers using Pool Party, Gumball Green, Calypso Coral, Daffodil Delight, and Rich Razzleberry
  • 13 Vintage Faceted Buttons
  • 13 green floral wire stems
Adhesive not included. (Glue gun recommended.)


Best of 25 Years May Stamp Set: Best of Brides & Babies


 More Info: May Flyer


New Photopolymer Stamps


Show & Tell 1 and 2 Photopolymer Stamp Sets
Our new Show & Tell 1 and 2 Photopolymer Stamp Sets feature more than 60 versatile images that you can mix and match to create personalized backgrounds, patterns, layers, and dimensions to make any project stand out.

Seeing the Possibilities Online Class
Order our Seeing the Possibilities online class featuring these new sets and
learn how quickly and easily you can line up stamped images for precision placement, achieve just the right ink coverage, combine images together exactly where you want them. . . and so much more! You’ll receive six lessons (topics range from Backgrounds to Building and from Layering to Gift Giving), step-out photos, instructional videos, and instructions and supply lists for 15 projects.

Bundle & Save
While supplies last, you can save 15%
when you order the stamp sets bundled with the online class.

Show and Tell 1 Photopolymer Stamp Set: Item # 133450 $13.95 24 stamps

Shown and Tell 2 Photopolymer Stamp Set: Item # 133481 $13.95 40 stamps

Seeing the Possibilities Online Class: Item # 134532 $14.95

Show & Tell Bundle: Item #134533 $35.95


Friday, May 3, 2013

One Final Potential Swap

Hi Stampers!

I'm almost home!  Can't wait to tell everyone all about my trip!  :-)

I still have one final potential swap card to share with you.  This one was a little more involved, and with my limited free time, that's the reason I didn't reproduce it!  It's still super cute, and you wouldn't believe how easy it is to make such a fancy shaped card!


If you want to make a card shaped like one of your framelits, it's really easy.  Cut a half sheet of card stock, as if you were making a regular old A2 size card,  score it down the middle, and fold it over.  Then line up your framelit over the folded card.  Make sure that the crease is just within the cutting area of the framelit.  Cut the card on the Big Shot as you normally would.  The frame lit will cut through two layers.


You can see that there is a very small amount of the crease that is not cut off.  I hope you get a chance to try this out.  I would LOVE to see what you have made!

Stampin' Supplies:
Card Stock: Primrose Petals, Whisper White
Designer Series Paper: Floral District
Stamps: Best of Birthdays
Ink: Jet Black StazOn, Lucky Limeade, Rich Razzleberry, Primrose Petals Stampin' Write Markers, Illuminate Stamp Pad
Big Shot: Labels Collection Framelits
Other: Sponge Daubers

Remember, I am currently unavailable to take orders by phone or email.  If you would like to place an order, please place one online at:

Wednesday, May 1, 2013

Another Swap

Hi Stampers!

Today I have another swap card that I designed that didn't make it to the regional with me.  This stamp is from the Best of Love stamp set.  This stamp is the sole reason that I even purchased this set!  I love this olive!  It's so cute.  You can make these little punch art olives very easily by using the small oval punch and the 1/2" circle punch.  I stamped, colored and adhered my olives to the Top Note before running it through the Big Shot.  I love how it looks like it's one piece of paper.


Stampin' Supplies:
Card Stock: Old Olive, Real Red, Whisper White
Stamps: Best of Love
Ink: Jet Black StazOn, Real Red and Olive Stampin' Write Markers
Punches: Small Oval, 1/2" Circle
Big Shot: Top Note Die, Square Lattice Embossing Folder

Remember, I am currently unavailable to take orders by phone or email.  If you would like to place an order, please place one online at: